


Tired Bedroom Suite Awakening - Before & After
2 Weeks
Medium
A cutie patootie couple who were retiring to - get this - Downtown Harbourside Toronto hired me to help them rejuvenate their boudoir. They left their significantly sized home with the pool & gardens to enjoy all that cosmopolitan T.O. has to offer. How very hip, I say! They were pondering big box/put-it-together-yourself kinda furniture for their new space but when they sent the photos of their suite to me I concluded that the existing furniture was not only comparable in size but was great quality & in amazing shape. "Lemme at 'em" I pleaded. :)
Here she goes again! XD

Solid Maple and functioning perfectly, I could see beneath the façade. With a few questions, some convincing and a lot of determination, I rolled up my sleeves.
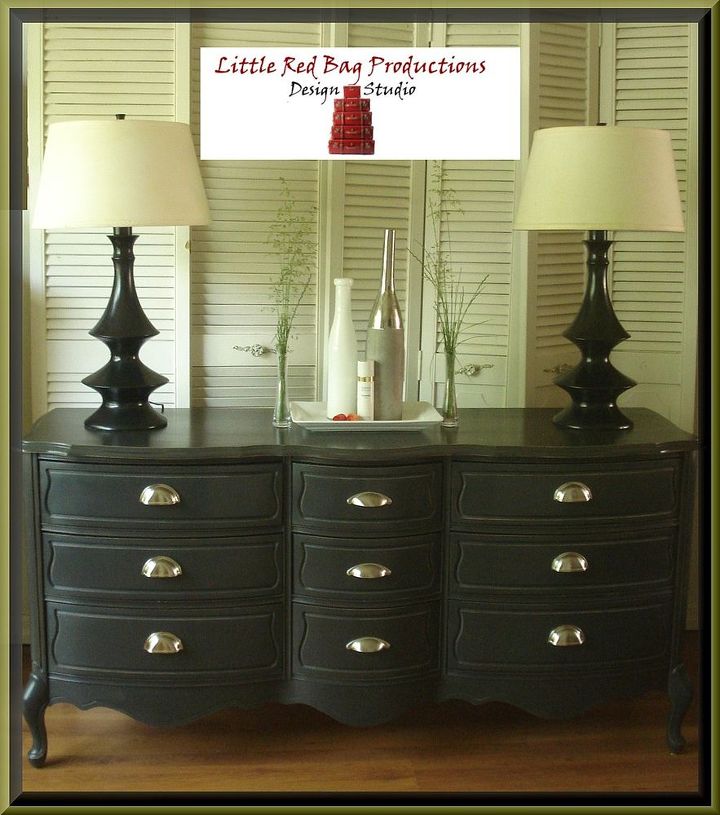
"Stainless cup pulls" I suggested. "No way! Too old fashioned" they replied. But with a little pacifying, reassurance and some concept sketches, they agreed :) Mr. B. even gave me the slatted doors behind the pieces. Worked perfectly in the photo shoot and I'm sure it provided them with a more personalized image to consider.
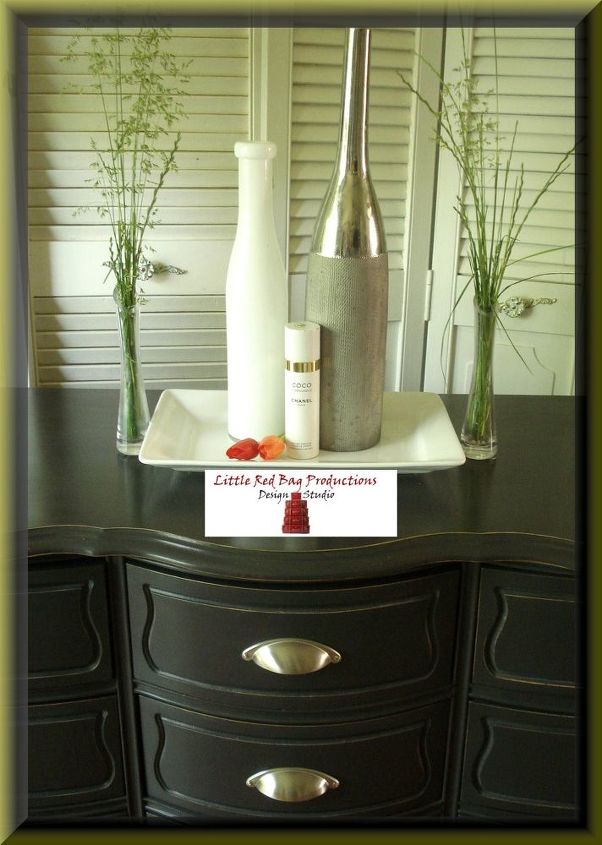
The curve of the hardware works in conjunction with the soft lines in the pieces. And the finish brings elegance and a modern feel. Kinda like the couple themselves :)
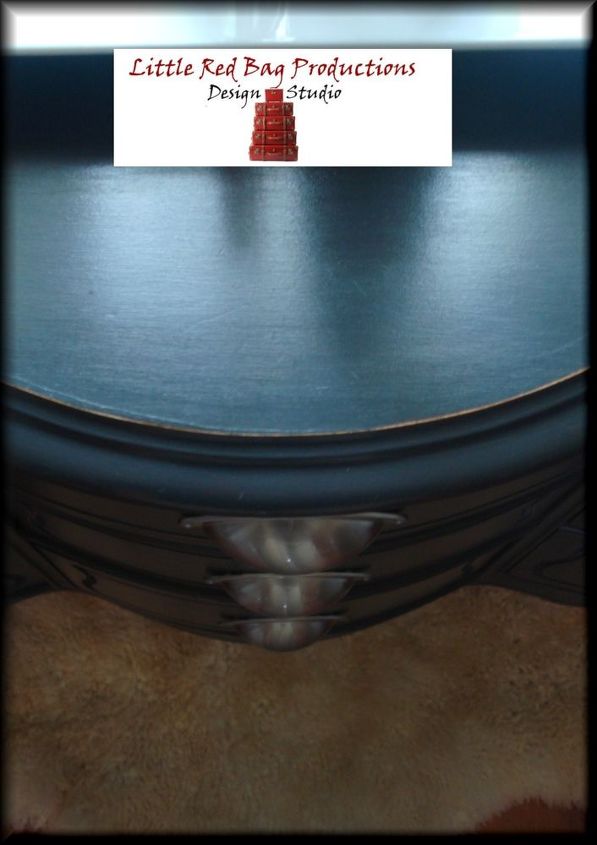
You can't find this fab "bow" front at a big box retailer my friends!
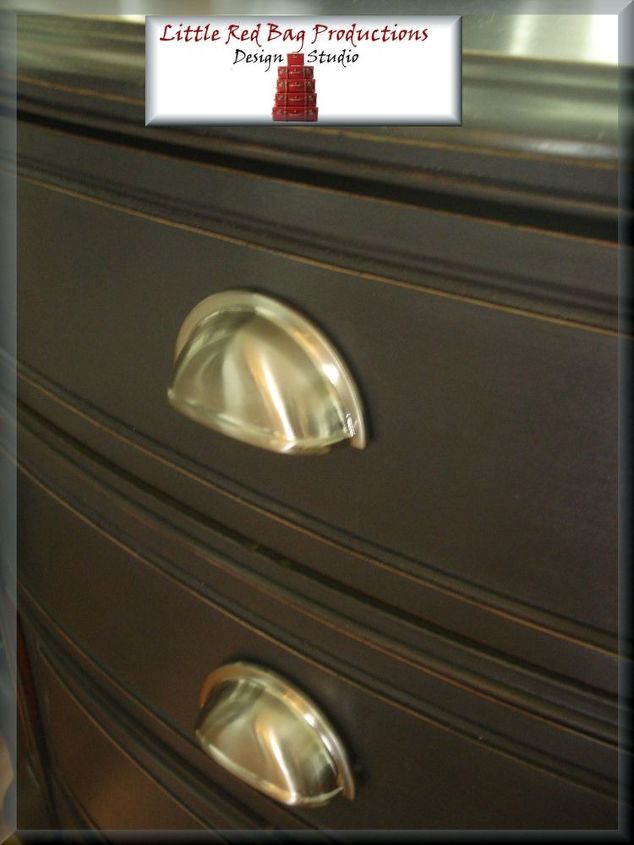
A light sanding around the more prominent lines after each waxing gave the chattel a little more depth and interest. It also showed off the design which had taken a backseat to the wood grain over the years.
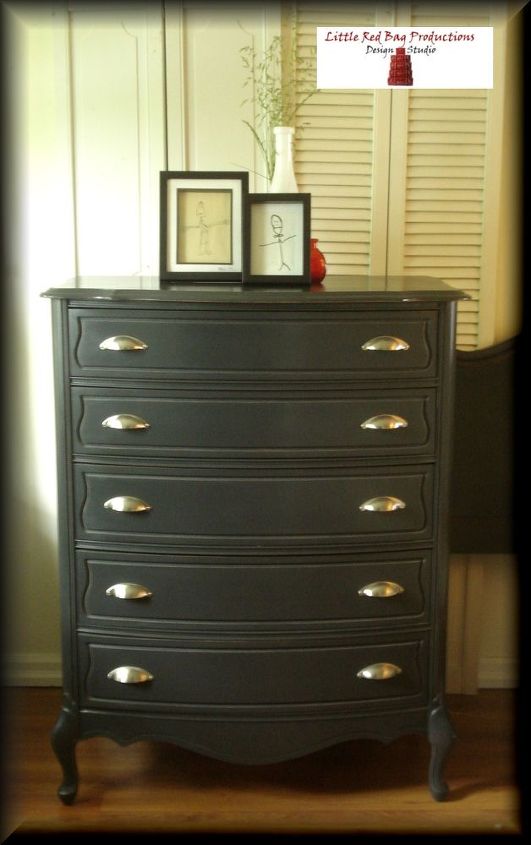
Pretty but masculine. Did I mention I could enter an arm wresting contest after all the waxing of these babies?!
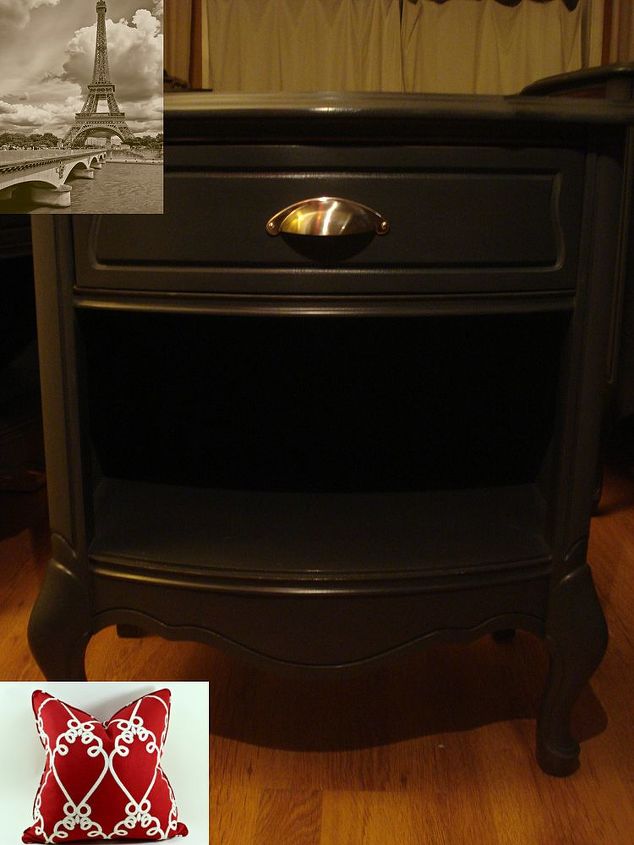
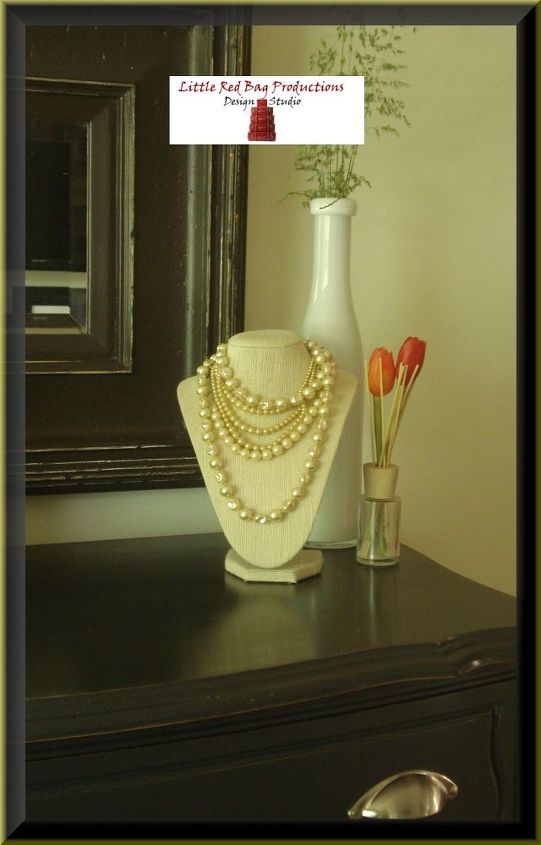
A little research to learn about other pieces which would reside in the room persuaded my decision for finishes & details. They have a Parisian print and white linens dotted with cherry red accent pillows.
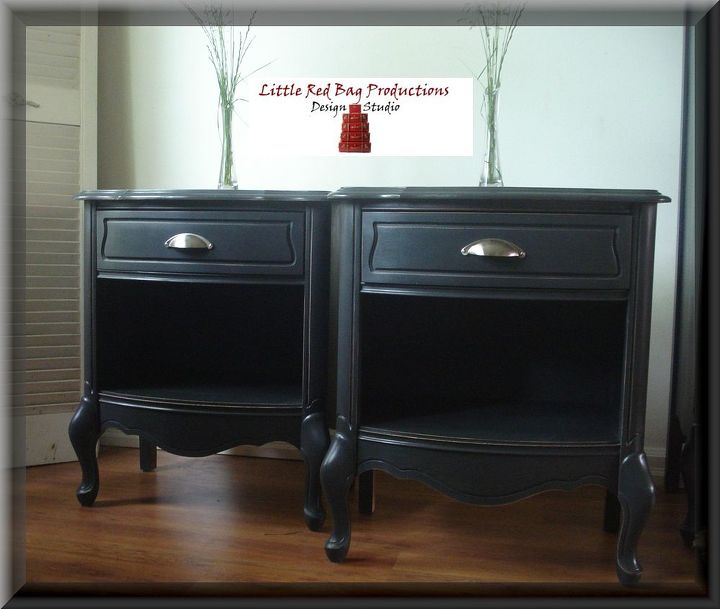
Side tables are a nice, easy scale for a condo -
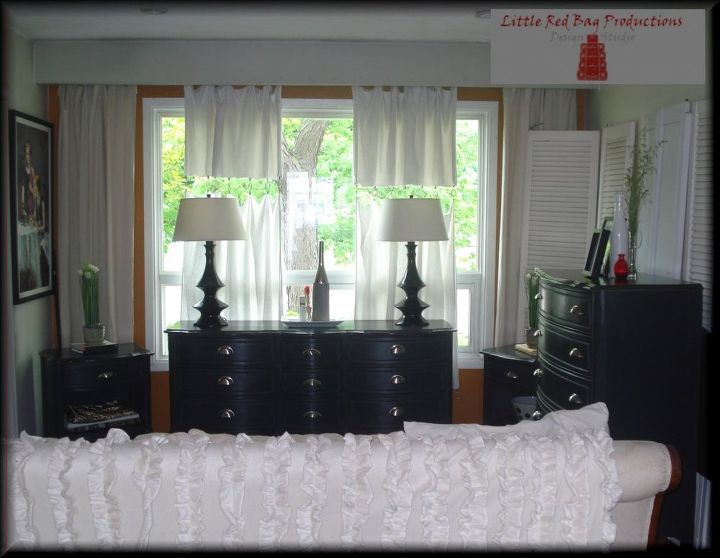
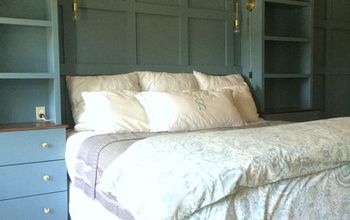
I had to clear out my dining room table & chairs, loveseat and any a few other case furnishings in order to be able to work on so many pieces at one time. My sons will be happy that we will be able to dine like "normal" people, won't have to do homework on the kitchen counter and will play cards again soon. Here are the pieces finished in my living room (headboard included) - I will enjoy them for the next 2 days before they leave for their permanent home.

Want more details about this and other DIY projects? Check out my blog post!
Comments
Join the conversation
3 of 66 comments
-
What did you use on these pieces. IE: Paint, chalk paint, stain?? And what type of wax do you recommend for sealing the piece. Thank you and this is absolutely beautiful. Thank you
-
@littleredbagproductions.com Hi Tana, so much going on in my life since we spoke. It is time to get back on track. Would you be so kind as to refresh my memory on the paint and type of wax you used on these pieces. I am ready to dig in and make these pieces I have collected into something beautiful and breath new life into them. Thanks again, Mimi


Frequently asked questions
Have a question about this project?