


DIY Shabby Chic Burlap Wall Art
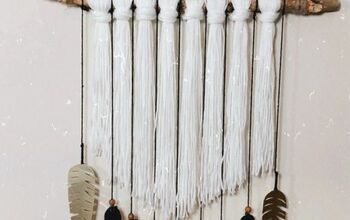
I love DIY wall art! Store bought wall art can be pricey, and sometimes you just can't find the exact item you are looking for. Making it yourself means the finished product will be the exact color and design you were dreaming of. I'm delighted with my shabby chic wall "diamonds". Would you believe that I made all three in under an hour?
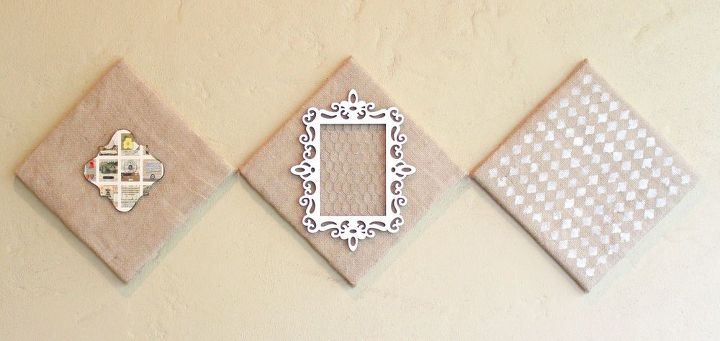
For this home decor project, I got to try out a cool new product from Fairfield World. It's called Foamology, and it's a very lightweight foam with a sticky backing. This product makes it easy to simply add fabric to the tile, tack it onto the back, and mount the foam tile to your wall without nails or other adhesives! It's very simple to use, and fun to work with! I have a LOT of ideas for how I want to use this product all over my house.
Supplies:
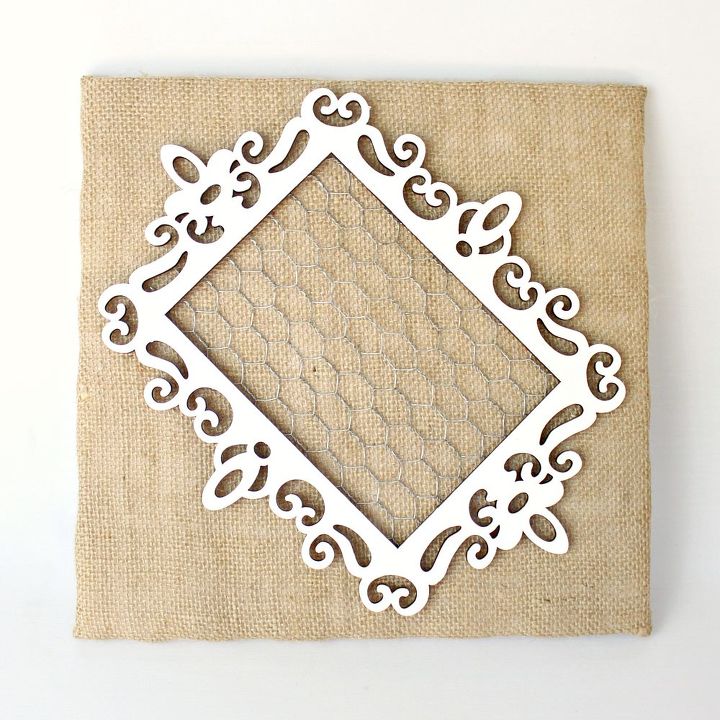
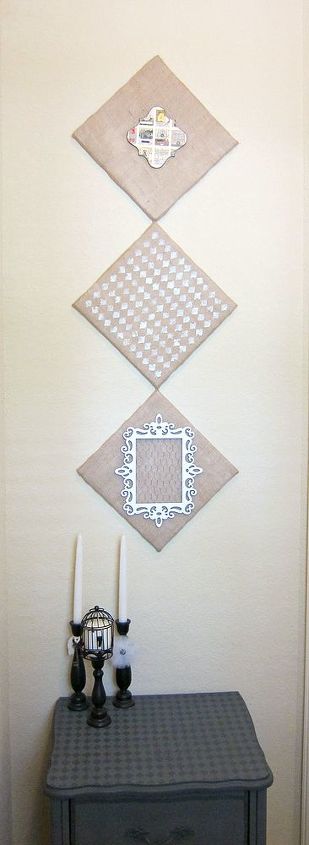
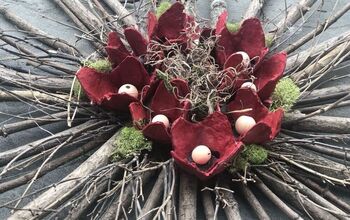
I used hot glue to add the wood items to the burlap. I was ready to hang my new wall art! Simply remove the backing again, and press the foam tiles onto the wall. Initially, I tried them outside on my patio, but decided they looked best in my bathroom. Even after sticking them up, removing them, and re-sticking them to a new wall, the adhesive held firmly! My new wall art made this boring wall so much more interesting.

Want more details about this and other DIY projects? Check out my blog post!


Frequently asked questions
Have a question about this project?