Lidded Origami Square Twisted Box Tutorial

Nancy Gramm
by Nancy Gramm
6 Materials
Make an elegant presentation box from paper and cardboard!
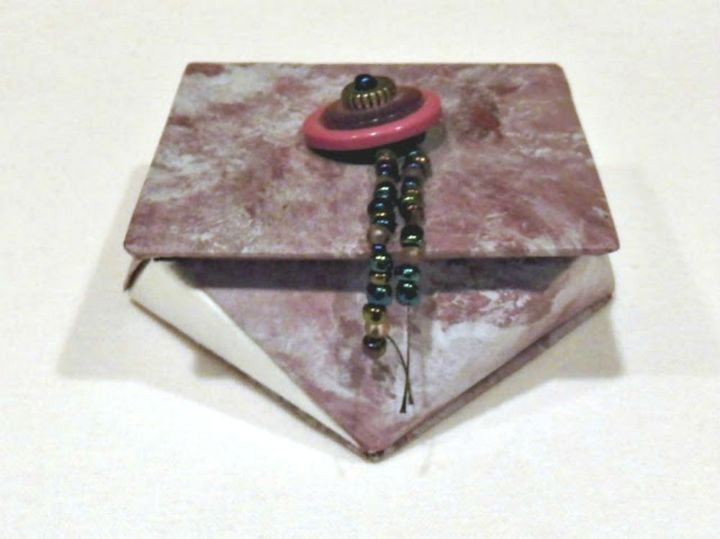
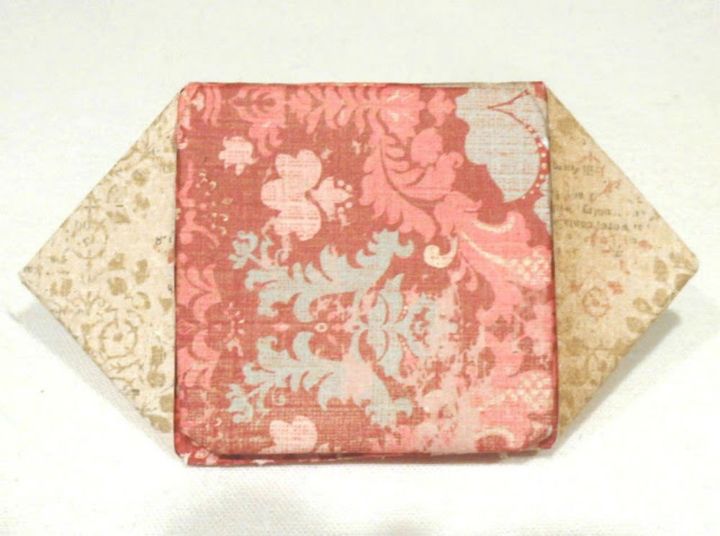
Many years ago, a friend gave me this origami box she'd made. I was properly amazed; it's a gorgeous box.
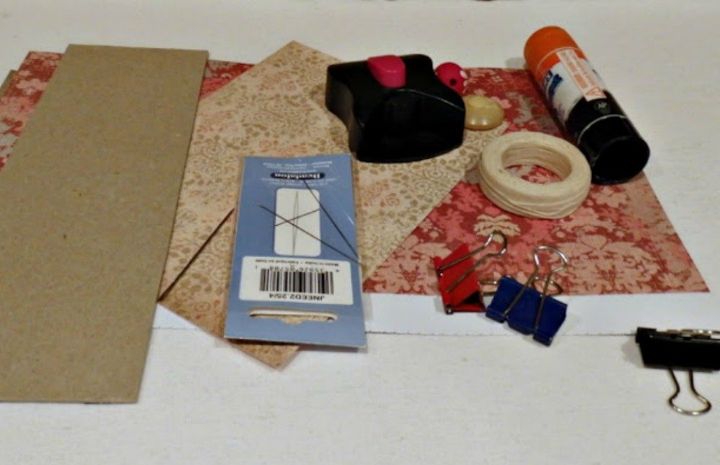

By the time I decided to make one myself, my friend couldn't remember in which book she found the instructions. It took a lot of looking before I found what the box was called: square twisted box. Even then, I was unable to find instructions for the finishing details so, using my friend's box as a model, I developed something similar.
Materials:


Paper--I used double-sided scrapbook paper, but single-sided smooths easier over corners.


Cardboard--I used the back of an old desk calendar. Something with a bit of stiffness works best.


Glue stick


Bulldog paper clips


Buttons and/or beads


Needles and thread--I used a tapestry needle for punching holes in my cardboard and a beading needle for sewing on the button knob.


I show a corner punch here but mine is too lightweight to cut cardboard so I used scissors instead
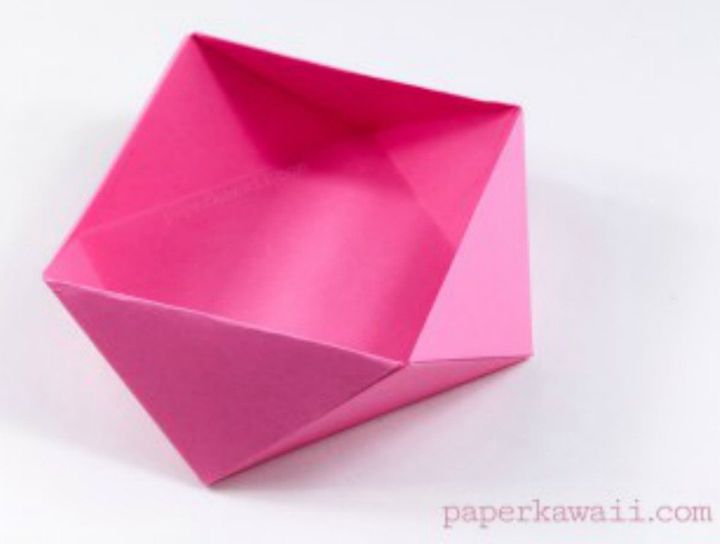
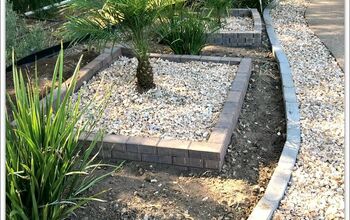
Make your box. I followed this tutorial: https://www.youtube.com/watch?v=2Jn-Mkb2jGA (Picture shown above attributable to Paperkawaii as well.)


I use a 5 1/2" x 7 1/2" rectangle of paper to make a box with approximately a 2 1/2" square bottom and opening. Please note that if you're using double sided paper the side that is facing you as you fold will be the most predominant color/pattern.
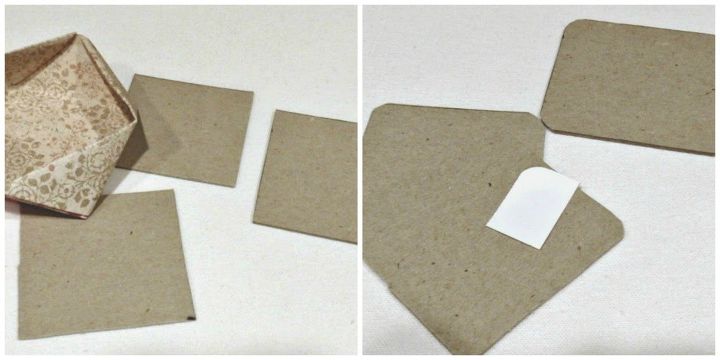
Cut three squares of cardboard: one to the exact measurement of the bottom square, another a tidge smaller than the box opening (it should fit inside), and one that's approximately 1/2" larger on both sides than your opening. Mine usually work out to be 3" for the lid, 2 1/2" for the bottom and a bit smaller to fit in the opening.


Round the corners on all three squares.


Cut a piece of patterned paper about 1/2" larger for the first and second pieces of cardboard and approximately 3/4" larger for the third. I make the top of the lid the same color/pattern as the predominant color/pattern of the box, the bottom of the lid and the bottom of the box the color/pattern on the bottom of the box.


Glue the cardboard, centered, to the paper square.
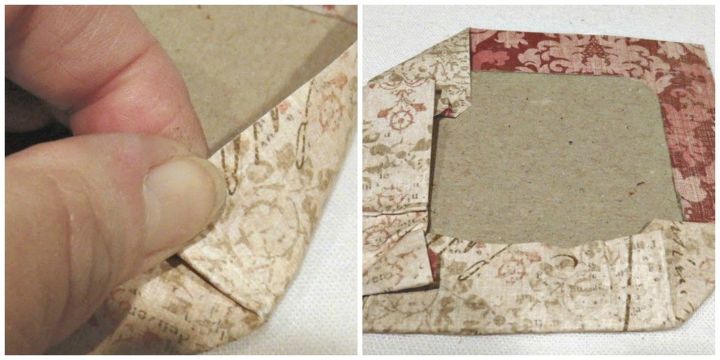
Start by gluing the corners on each end of one side. I swipe the glue over the corner, then pull the glued section onto the cardboard, then finesse the edges in little pleats until I create a roundness, gluing as I go. Believe me, even though this appears difficult, in the long run it's better than squared corners. With squared corners, the cardboard tends to poke through the paper.


Pretend you're upholstering chair seats and ease the paper over. Do one side/two corners at a time. Complete all four sides. Secure with paper clips until dry.
Glue paper in this manner onto all three cardboard squares. Then glue a finished square onto the bottom of your opened paper box. At this point, you can clamp it on two sides or weight it with a something heavy, i.e. a book.
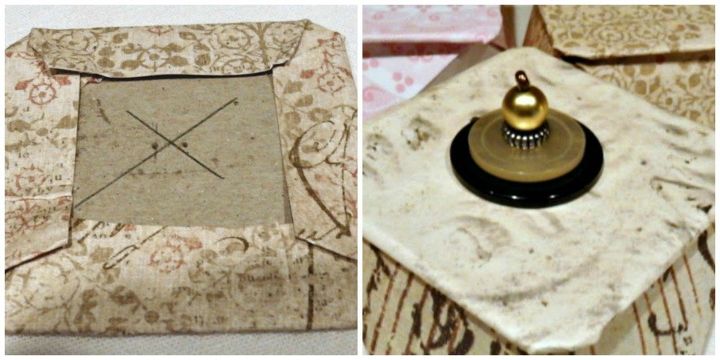
Determine the center of the lid cardboard by measuring corner to corner and drawing an X. Make holes all the way through both the cardboard and the paper, using a tapestry needle. Attach your choice of buttons and beads.
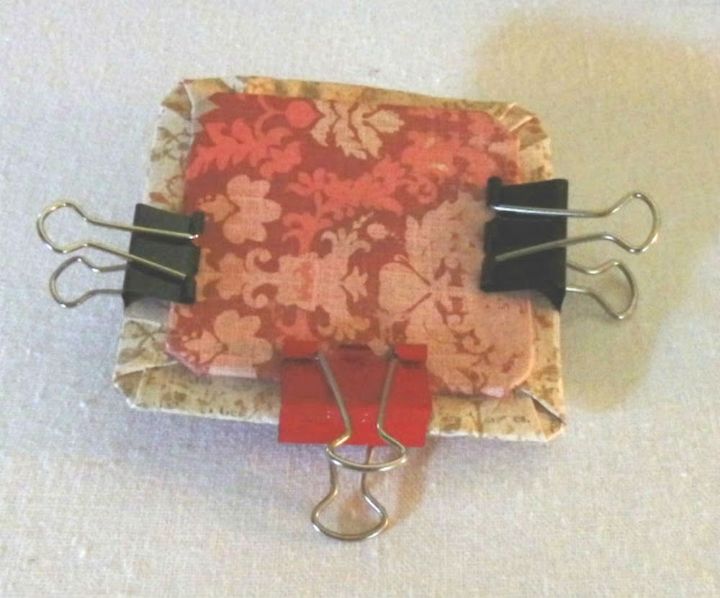
Glue the square sized to fit inside the box opening to the one made as a lid, clamping until glue dries.
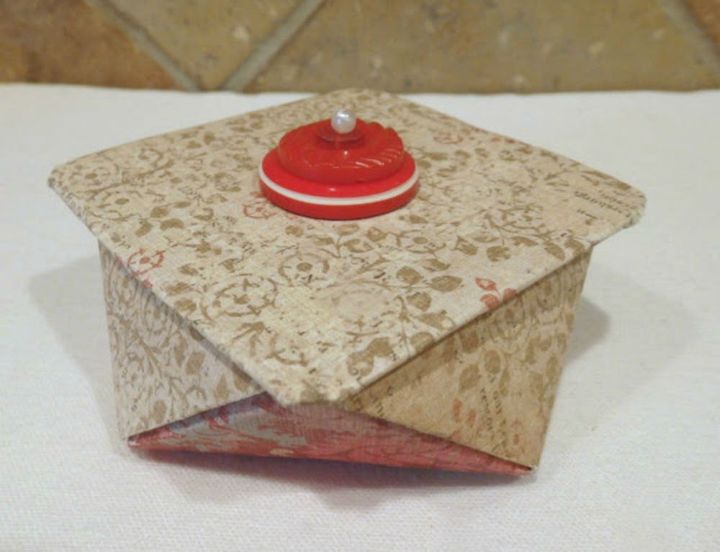
Voila! You're done.


These make great presentation boxes for jewelry. I put little pillows inside mine (sized 2 1/2" sq. with an envelope back and stuffed with polyfil). They would be wonderful as wedding favors made with wedding gift wrap or kraft paper.
Suggested materials:
  • Paper
  • Glue stick
  • Buttons/beads
See all materials
Frequently asked questions
Have a question about this project?
Comments
Join the conversation
 1 comment
  • Mary McDonald Mary McDonald on May 08, 2017

    Well, it's a very interesting piece! I'm afraid I'd be screaming in frustration 5 minutes into the project. 😁But seriously, I really like the uniqueness of your creation!

Next