


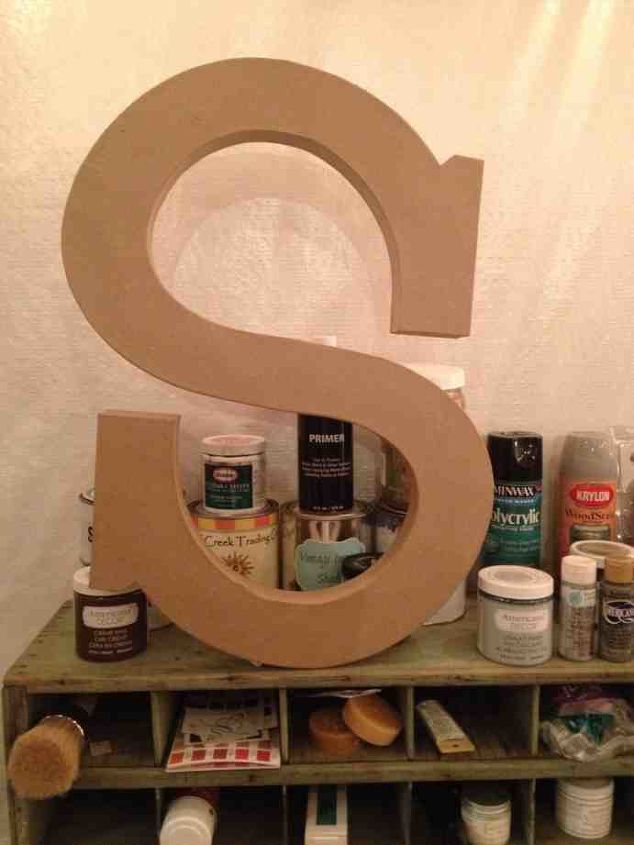
My experience using Modern Masters Metal Effects Paint
Using primer before paint seems like a no-brainer, right? But if you're curious (or confused) about using specialty paint solutions, you're not alone. Read more about my trial and error with this medium in the link below.
In my case I was scared to make a mistake, so I followed the rules (and used the base primer) but didn't love the results on my first project, which was on a table earlier this Spring. (User error is likely, but sometimes it's personal preference as well as trial and error).
Now I'm easing my way back into using this new paint medium on my own terms, and I love the results.

My experience and lessons learned using Modern Masters Metal Effects paint.
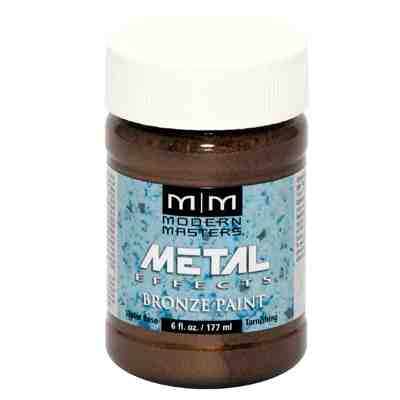
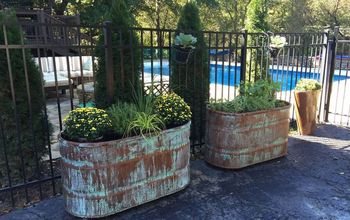
Step 1: apply paint and move onto step 2 before it dries!
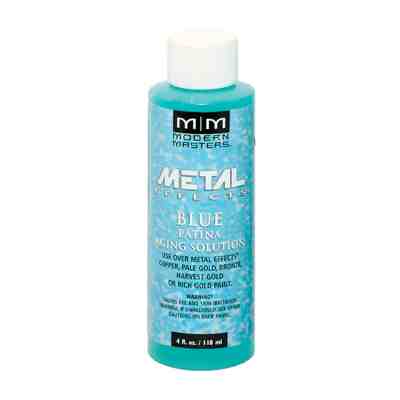
Step 2: spray on the Blue Patina before the first coat dries. (Otherwise the effect won't work)
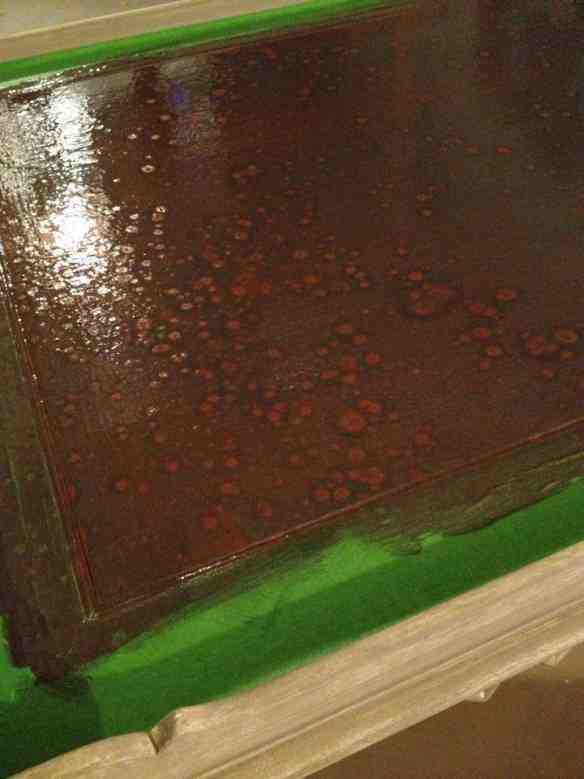
DON'T: Do what I did to my first project. Read more about it here: http://snazzylittlethings.com/grunge-texture-metal-effects/
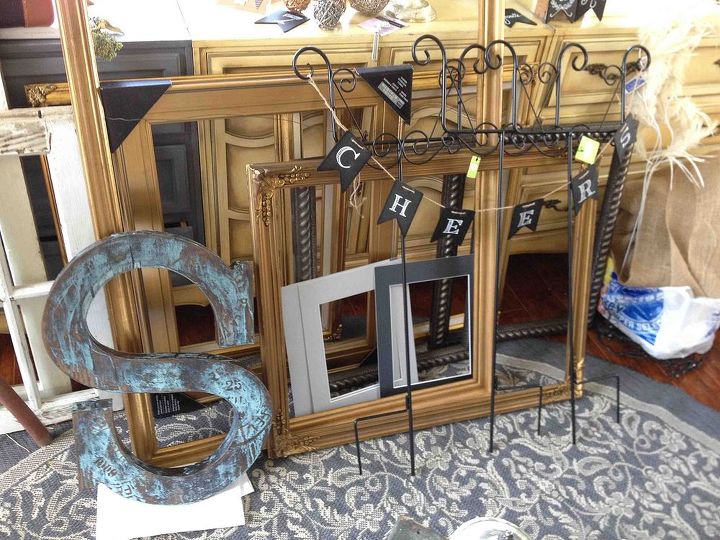
This is just one of many things I'm working on for our wedding which is a vintage style with an industrial twist.

Want more details about this and other DIY projects? Check out my blog post!
Comments
Join the conversation
2 of 4 comments
-
Really cool! I've made rusty picture frames on plastic frames. You'd never know they're not rusted metal. Love this metal effects stuff!
-
There's a paint that actually rusts because it has iron in it. It's kind of a charcoal gray when first applied. Let it dry 24 hours and apply a liquid that comes in the kit. It will begin to rust before your eyes. I like it because it gave a shiny plastic mirror frame the actual rough texture of rust. I found the kit at Sherwin-Williams, but I don't know whether this paint is still sold there.


Frequently asked questions
Have a question about this project?