


Antique Door Beds Instructions With SK

Old doors can be found everywhere. I always look on Craigslist or a remodel from the 50's or an earlier home. Most people will just give them away to get them gone.
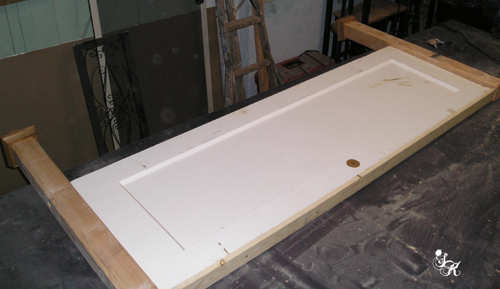
I try to find three panel doors with the panel sections equal size. A lot of antique doors are three panel but not equal sized panels this would make the headboard and footboard looked skewed.
I try to find three panel doors with the panel sections equal size. A lot of antique doors are three panel but not equal sized panels this would make the headboard and footboard looked skewed.
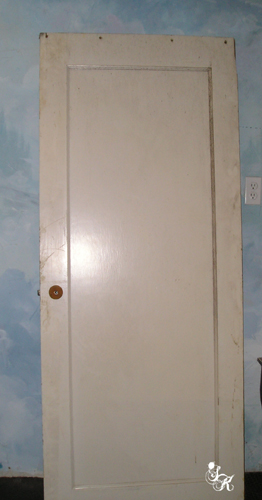
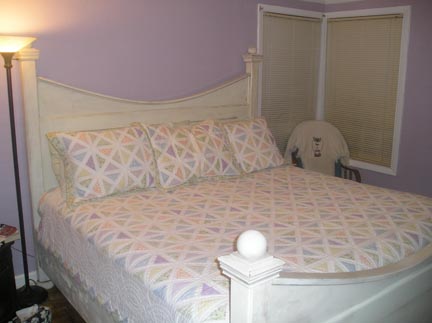
This door is perfect for a king size bed. Which is is 76 x 80 in. or a California King is 72 x 84 in.
Materials
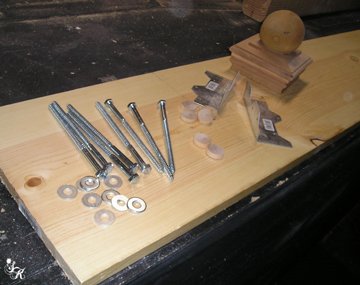
4 fence post finials
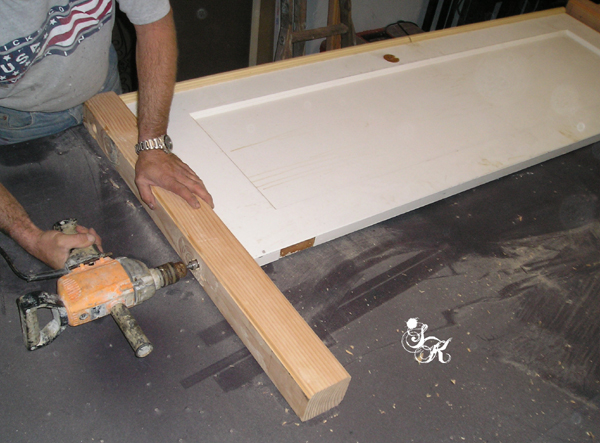
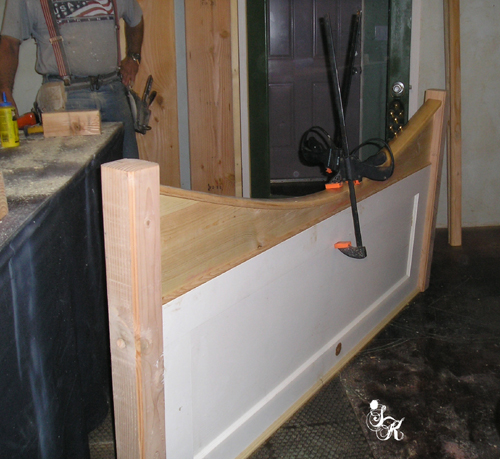
Headboard -- Position door between 6' 4x4 posts -- 22 inches from the bottom. (This height depends upon how high you want your bed to sit. I wanted mine very tall.) Pre-drill two holes on each post 6" from edge of door. Counter sink holes 1" deep. With a ratchet wrench install two lag screws on each side of 4x4 post and into door ends. Be sure to position holes so that the screws will enter the door ends at the center width.
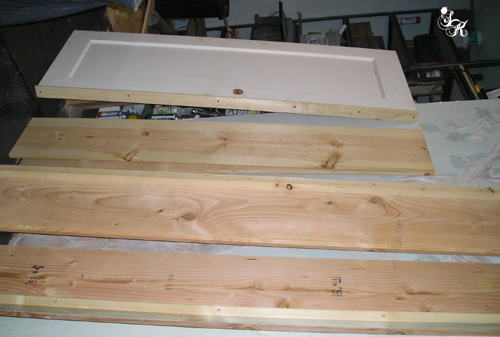
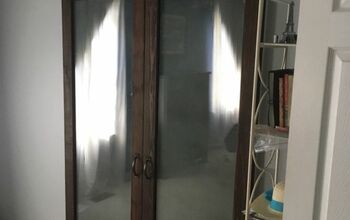
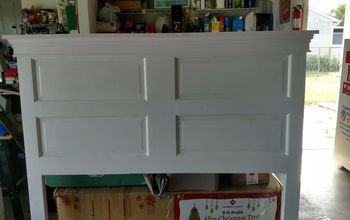
This is the footboard. The doorknob hole is at the bottom.
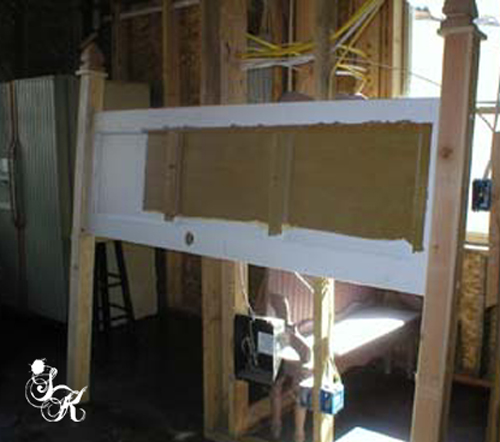
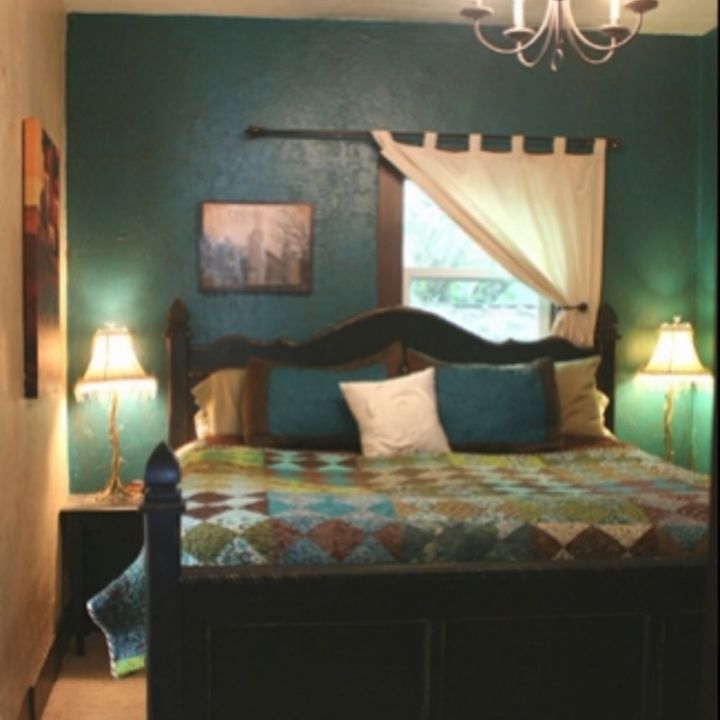
The length of the posts determines the height of your bed. This bed was going into a room with 11' ceilings so my client wanted a tall "almost" four poster.
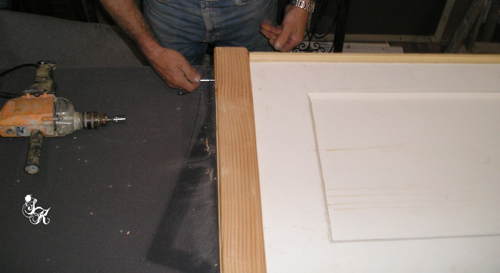
Cap all four posts with fence finials. .Side Rails -- attach 1" x 2" along bottom edge of 2" x 12" side rails with L brackets. Side rails must be attached level end for end.
With a jig saw cut the 1"x 12" board into a design that pleases you. (It helps to draw the design on paper and then draw your design on the wood prior to cutting.) Attach this to the upper edge of the headboard using the 6" straight brackets. Fit with rope molding to conceal seam.
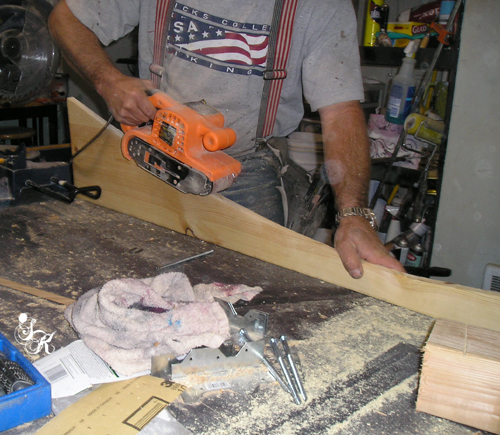
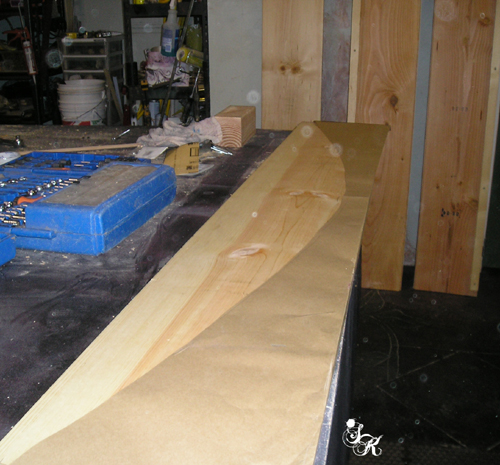
Ron sanded the curved 2x12" board for the headboard
1 1"x12" cut to finished length of cut door (6" wider than box spring) for decorative top
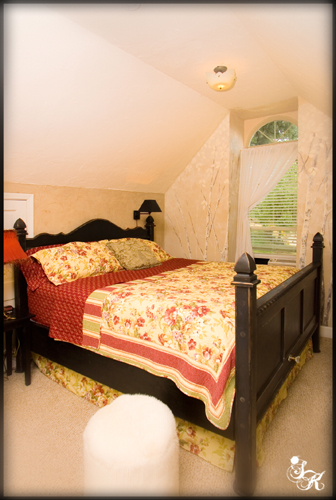
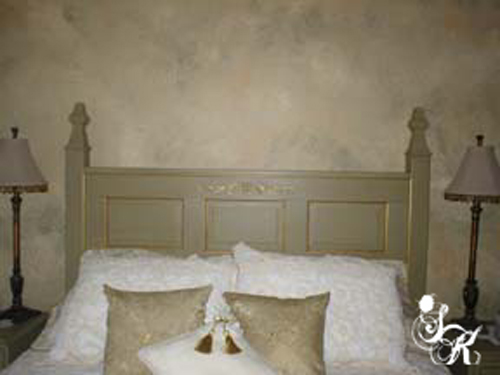
Each bed has it's own personality. I paint all these beds.I then sand edges back and stain with an antiquing glaze.
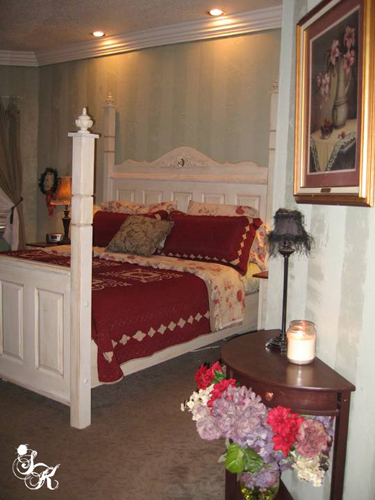
This bed is the tallest. And I was lucky enough to find two antique doors with four equal panels. The curved top is accentuated with a wood medallion and a crystal door knob. The poster finials are curtain finials you can buy at just about any home store. They simply screw into the top of the poster.
We also use small table legs for finials on the posters.
Thanks for visiting. sk
This bed was built with cedar fence posts and cedar finials.
Comments
Join the conversation
5 of 13 comments
-
OUTSTANDING!!!!
- See 1 previous
-
Thank you SO MUCH for this post. Your designs are lovely and right on time... I've had the materials to make a headboard for my son's room but wasn't quite sure how to attach everything. You're a lifesaver!


Frequently asked questions
Have a question about this project?