


DIY Thrifty Kitchen Transformation-Wax On!
On my last post, I shared the progress of the kitchen transformation from builder grade blah to French Country Ooh-la-la! I've cleaned, primed (2 coats) and p ainted (2 coats) and glazed (1 coat) and now its time for the finale! For the final protective coat, I tried satin poly, but it was too shiny, and I have a can of ultra matte, but I knew that would be too flat. So I went with wax to add a protective layer and leave just a touch of a glow. The wax I chose was Americana Crème Wax by DecoArts. I love this stuff! It is non-smelly, non-greasy, brushes on easily and then buffs when dry to a satiny finish. Perfect! To read the entire blog post click link at bottom.
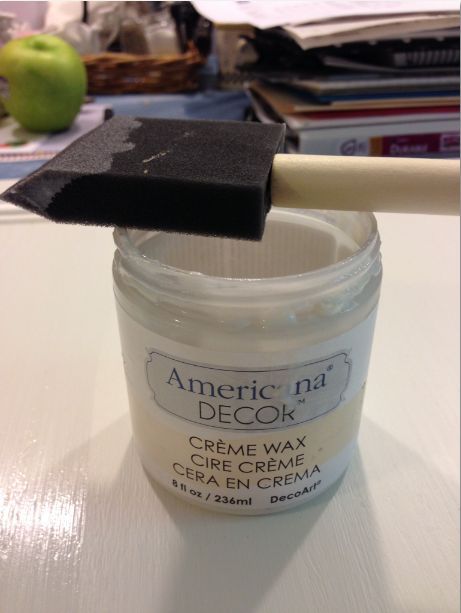
Americana Decor Crème Wax. It is odorless, opaque in color when wet but dries clear. Applies with a brush or soft cloth. Buffs off with a soft cloth. You can find it at Michaels (use the coupon!!) or Home Depot.
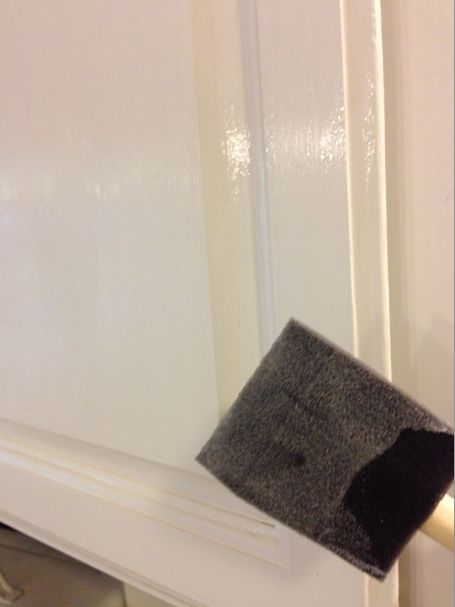
I had already installed several of the cabinet doors, and I was able to leave them in place while I waxed. This crème wax is very non-drippy so it was easy to do. Just brush on...
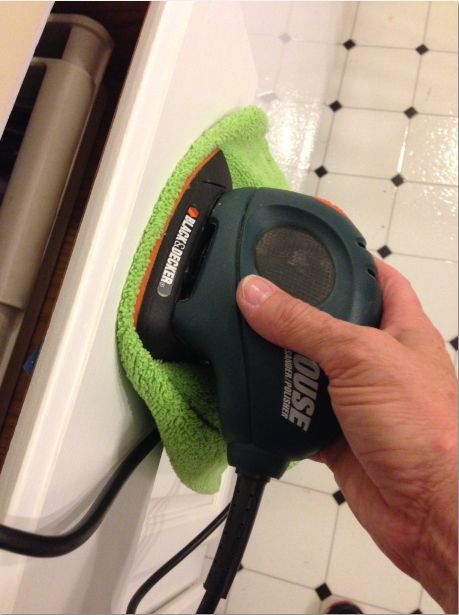
...allow to dry (about 1/2 hour), then buff to shine. DIY tip: I use my mouse sander sans sandpaper and buff with a soft cloth. Saves my elbows and gets a really nice even shine. The more you buff, the more the shine.
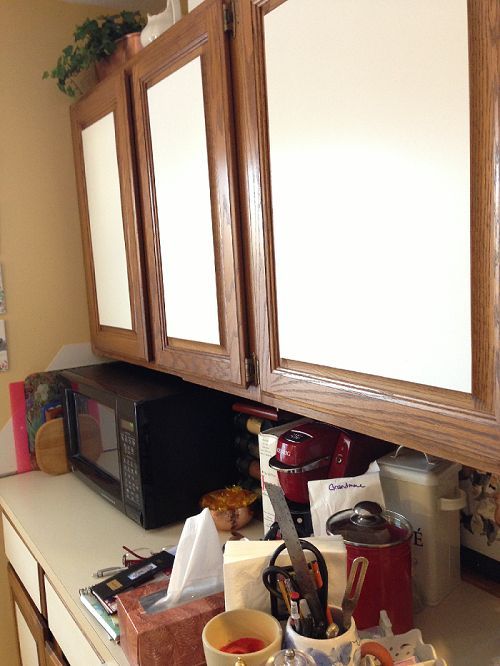
So this is the before photo. Builders grade dark oak cabinets with white laminate panel glued to the fronts.
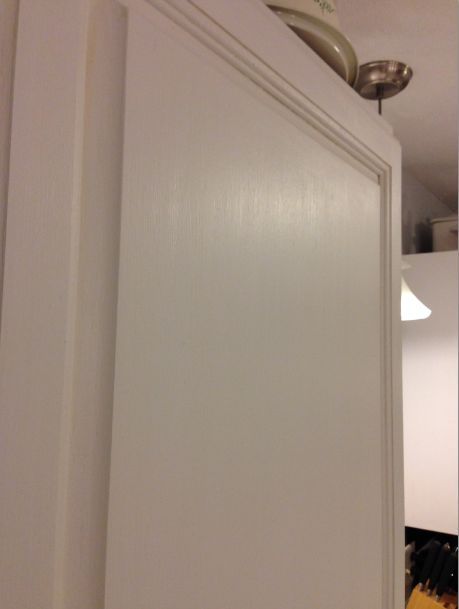
This is the after photo- see how nicely the finish glows in the light? The look we are going for is vintage French country, so we needed to get it just right.


Frequently asked questions
Have a question about this project?