


Furoshiki Gift Wrapping

1 Material
$10
30 Minutes
Easy
Now that Mother's Day is just around the corner, I thought it would be nice to share with you some cute and easy DIY furoshiki gift wrapping ideas - Japanese style.
The art of wrapping gifts with fabric is an old Japanese technique called Furoshiki. It's eco-friendly, easy, and beautiful.
In this post, I will show you how to wrap 3 different types of presents.
What you will need:
– Fabric (For example a neck foulard, preferably light, and square shaped)
– Presents to gift
1. HOW TO WRAP A BOOK
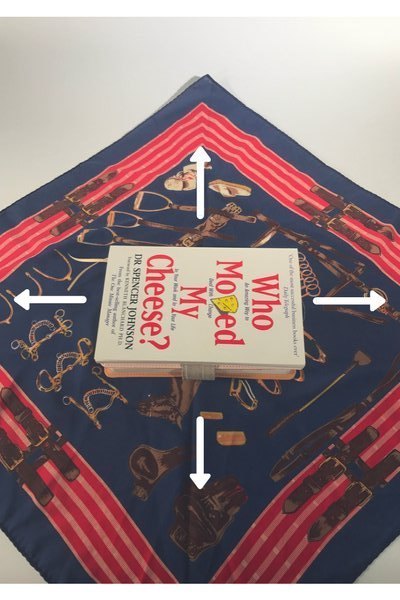
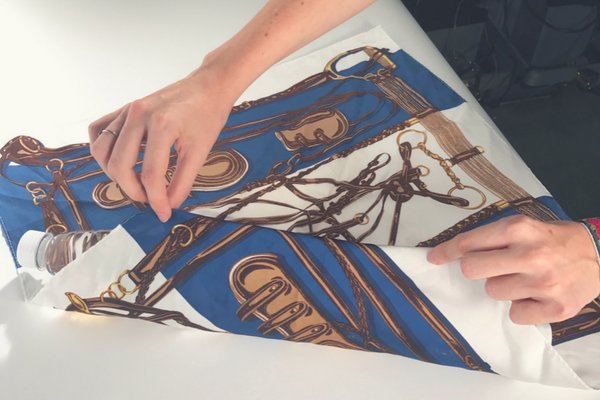
Place your fabric/foulard on a flat surface with the pretty side facing down. Put the book in the middle of the fabric. Each side of the book should be facing the corners of the fabric as shown in the image above.
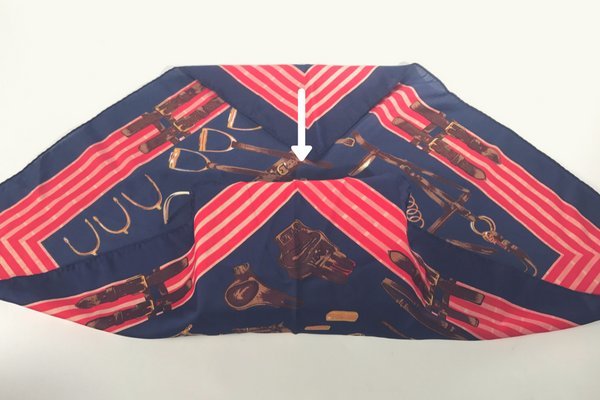
Start wrapping the length of the book. Fold the corner of the fabric over the book and tuck under it. Fold the opposite corner of the fabric over and bring it on top of the book.
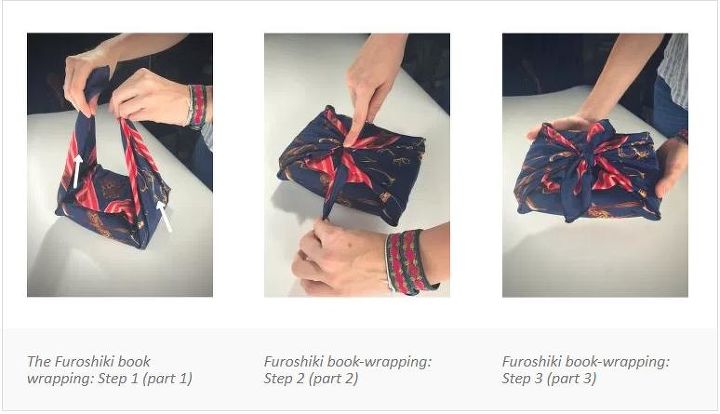
Take the opposite corners and tie a knot over the book. Repeat the process to tie a double knot to make sure the wrapping will remain secured! And voilà! Super easy and fast!
2. HOW TO WRAP 2 BOTTLES TOGETHER
Just like when you're wrapping a book, you need to place the fabric on the table with the pretty side facing down. Then put your 2 bottles side by side in the center of the fabric and lay them sideways towards opposite corners of the fabric.
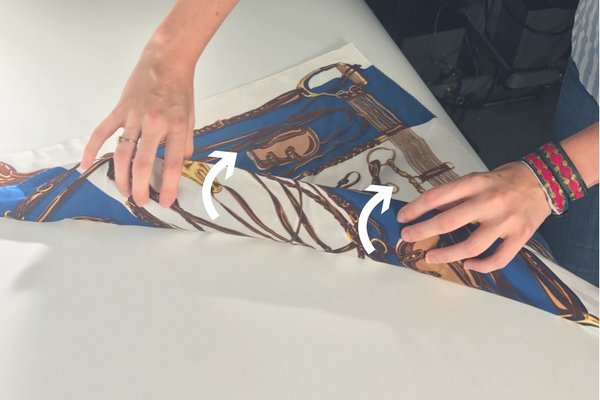
Take one of the corners of the fabric that doesn’t have a bottle of wine pointing towards it, and fold it towards the center, going over the bottles.
Start rolling both bottles simultaneously towards the opposite corner to wrap them with the fabric as you go until you reach the tip of the fabric.
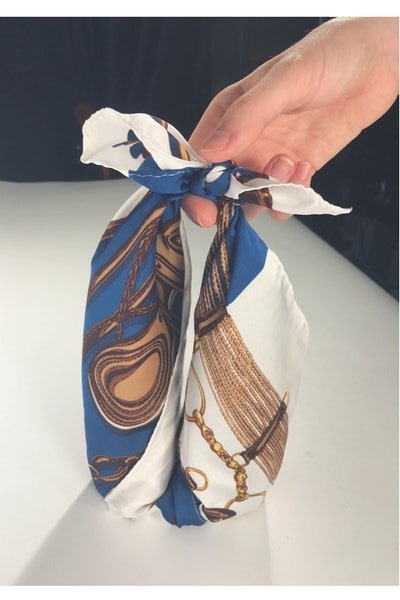
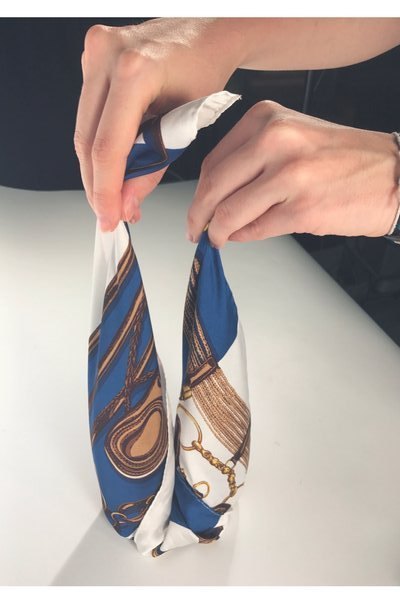
Once you are done wrapping the bottles in the fabric, take both sides of your long cylinder and fold into a U-shape, putting one bottle next to the other one as shown above. Now you are almost done! Finally, tie a double knot to secure the bottles and you are ready to go!
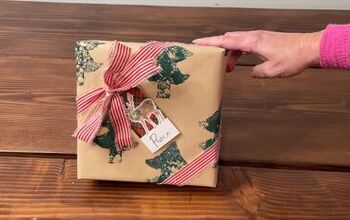
3. HOW TO WRAP A BOX
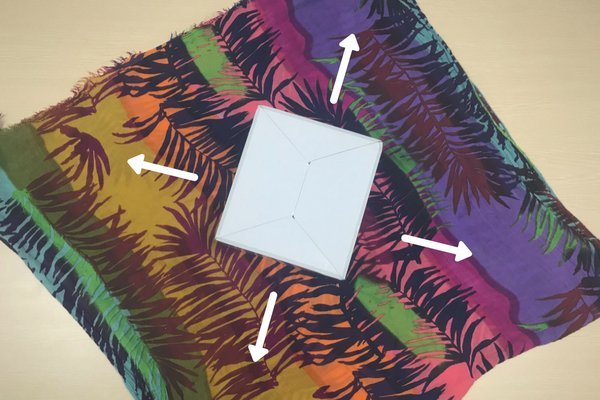
Very similar to the first tutorial to wrap books. First, place your fabric - in this case, I chose a non-silky foulard to show the different effect - on a flat surface. Put the box in the middle of the foulard and again, make sure each of the sides of the box is facing the corners of the foulard as shown in the image above.
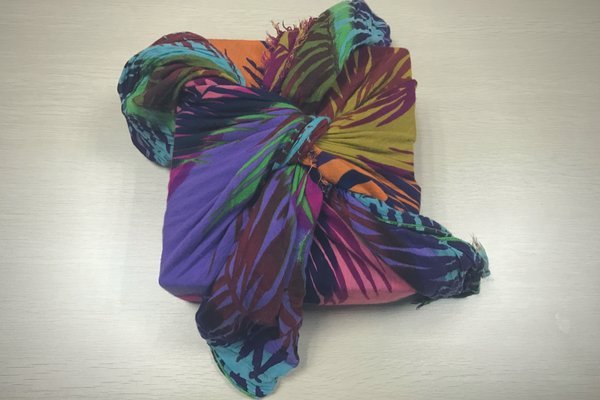
Take 2 opposite tips of the foulard and bring them towards the center of the box. Tie with a simple knot and leave the sides hanging on top of the box. Repeat the same procedure with the other two opposite tips of the fabric.
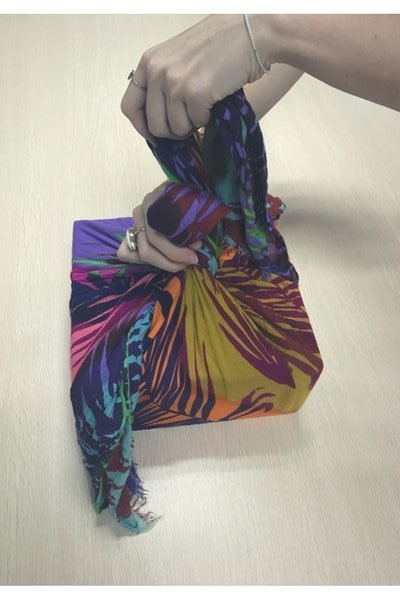
Take the sides of the second knot you just did and make a regular knot bow (if the foulard of fabric is not large enough, you can make a simple knot).
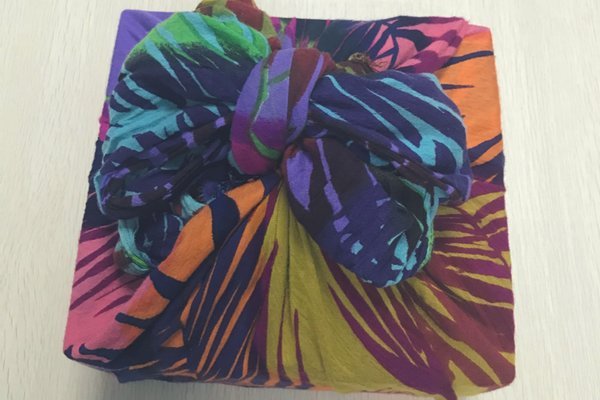
Hide the other two corners of the fabric from the first knot under the bow and you are all settled!
LANGRIA in Style.

Any price and availability information displayed on [relevant Amazon Site(s), as applicable] at the time of purchase will apply to the purchase of this product.
Hometalk may collect a small share of sales from the links on this page.More info
Comments
Join the conversation
3 of 7 comments
-
Super. Thank you. I’ll save this
-
Dos regalos en uno!!!


Frequently asked questions
Have a question about this project?