These Entryway Makeovers Just Flew to the Top of Our to Do List!
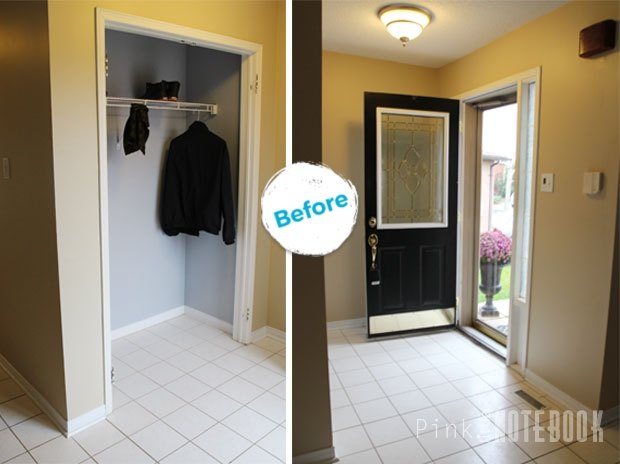
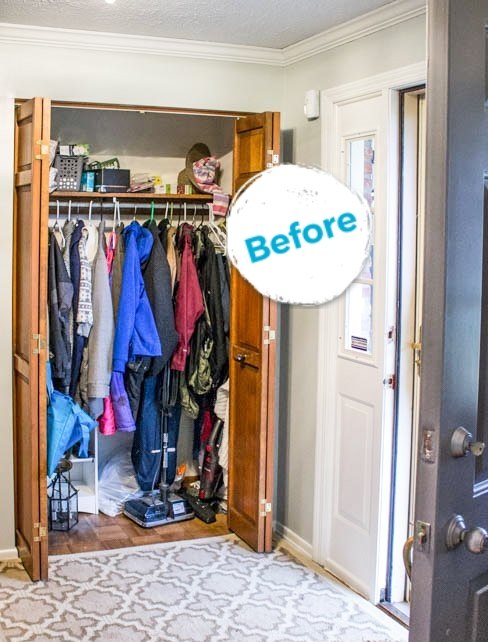
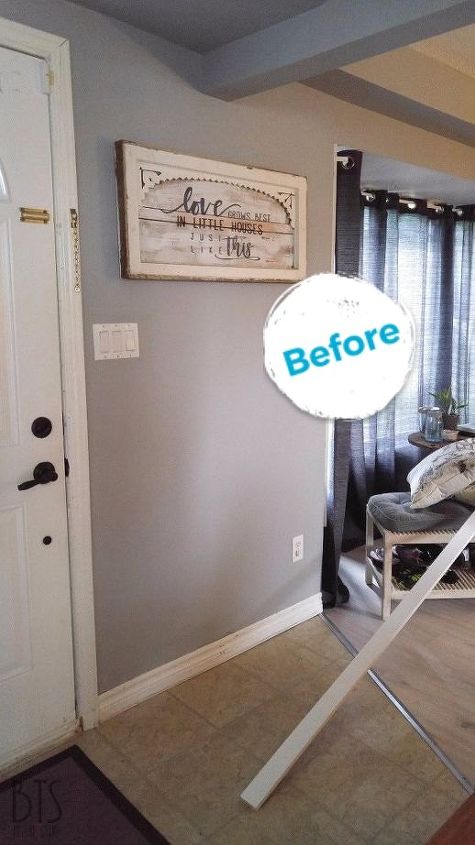
BEFORE
Do you have a space that is just not working for you? For us, it was our mudroom Get tutorial here

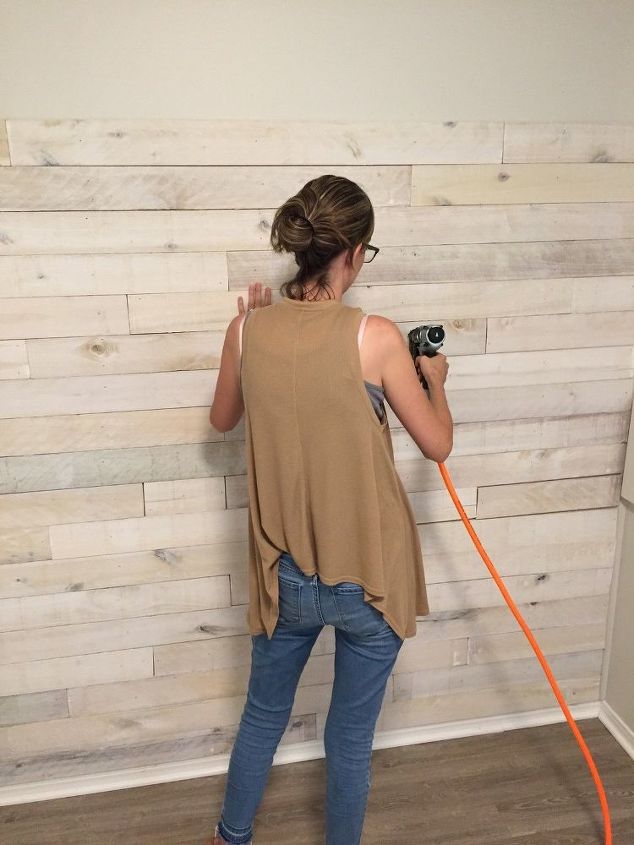
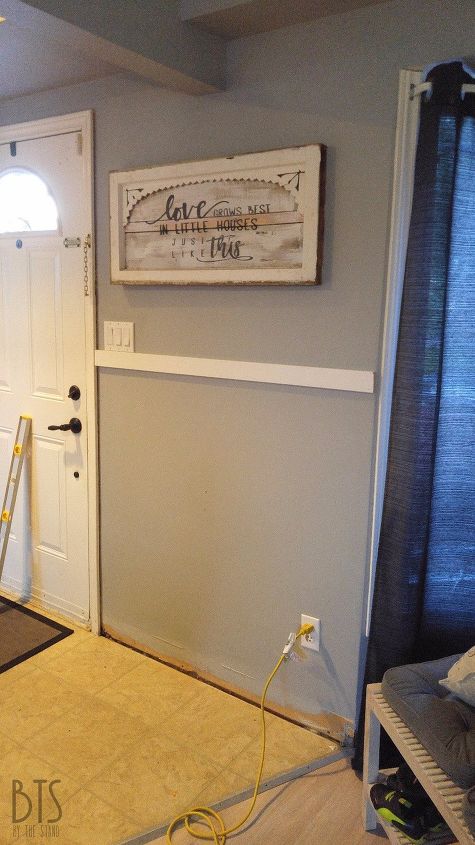
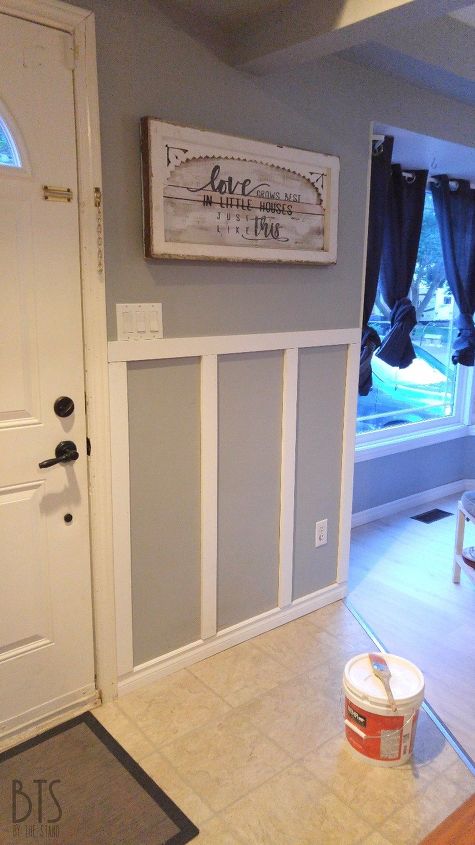
I added some wall boards
These wall boards are white washed hardwood and are from Weber Lumber. Get tutorial here
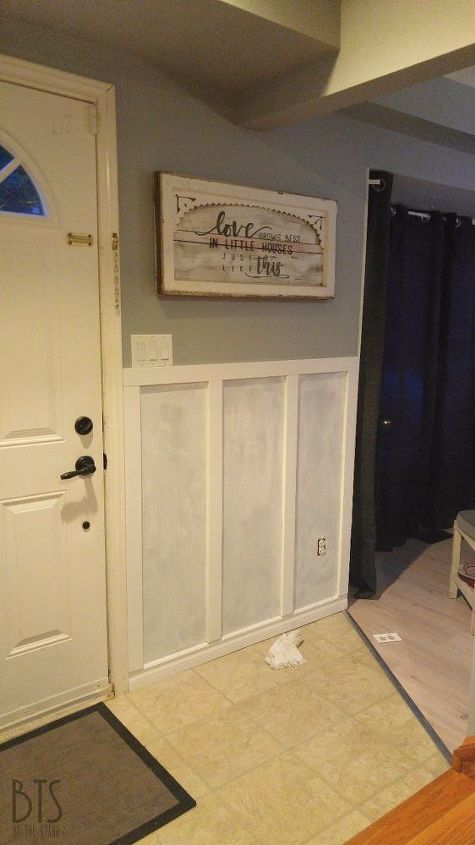
Next up, wallpaper
I love it because it has just enough blue to add color to this space while keeping the “vintage” feel. Get tutorial here

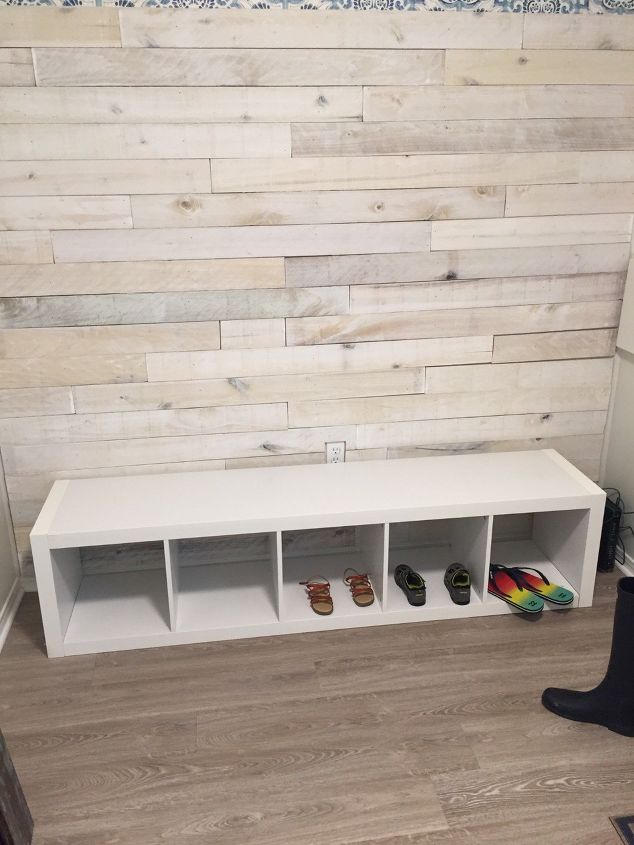
Here's the $59 cabinet that started it all
I loved the functionality of the shelf, but I still felt like it still looked like a “shelf.” Get tutorial here
I added some reclaimed wood
I actually had some wood boards leftover from my headboard, and I added them to finish the bench. Get tutorial here
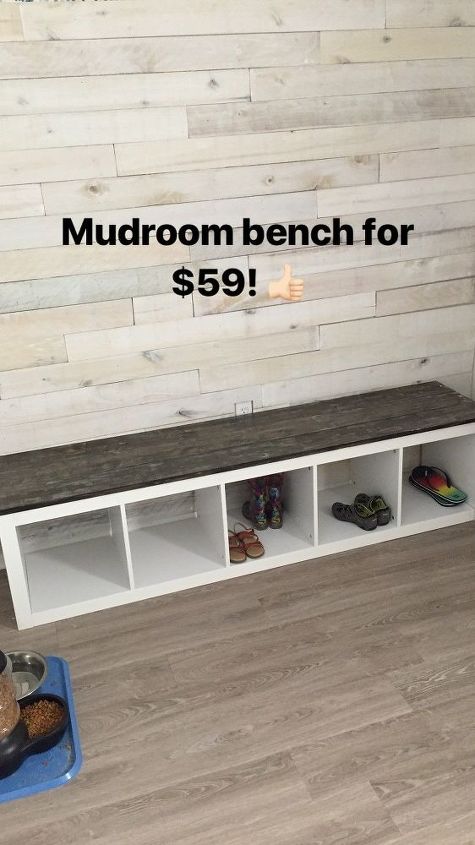
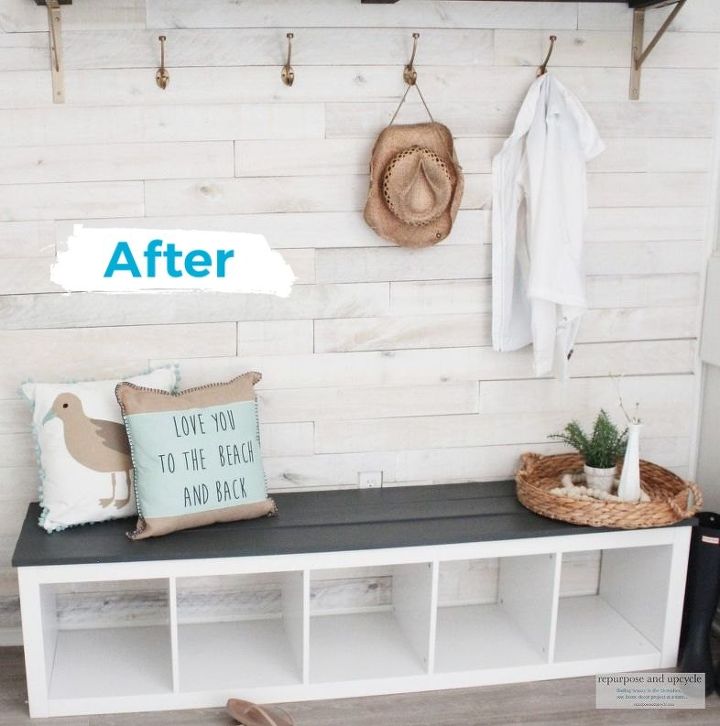
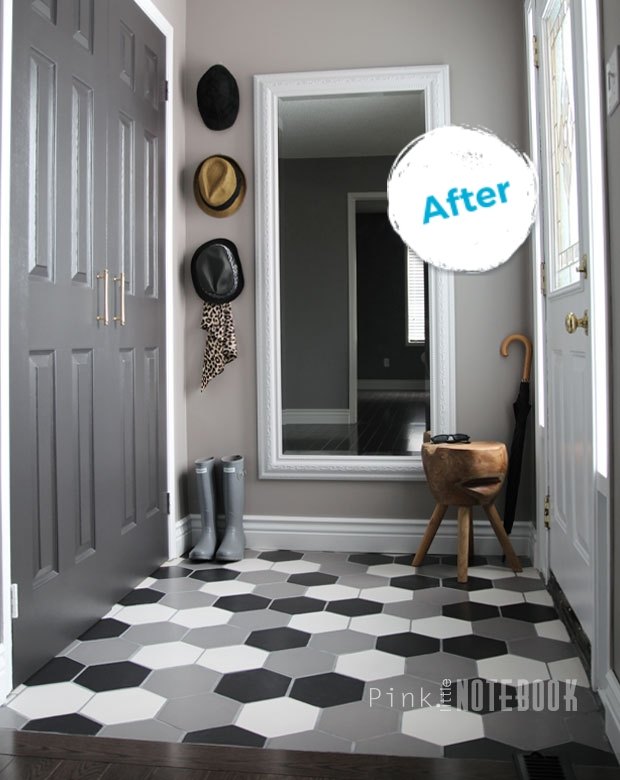
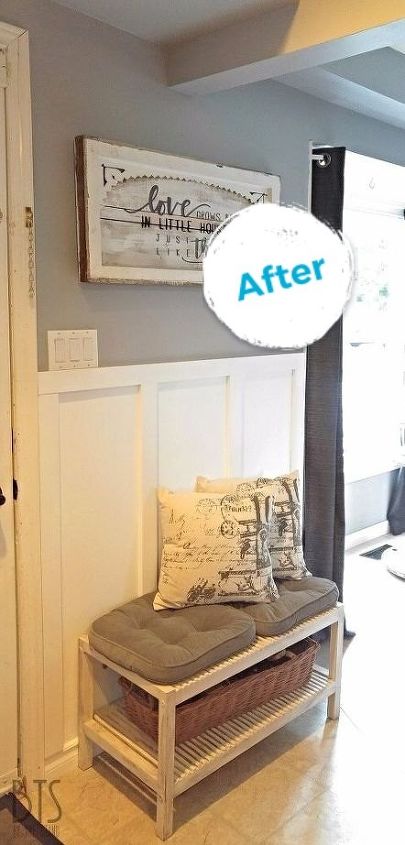
The AFTER
The last thing I did was add a little molding to both sides of the wood boards to make it look finished. Get tutorial here


The shelves
To add the shelving, we started by adding 2x3's (use a level!) and securing to the wall. Get tutorial here
Entryway mudroom makeover - almost there
Before we painted, we made sure the shelves fit between the 2x3s Get tutorial here

Added some paint and the shelves and viola!
The AFTER: So much easier to keep organized! Get tutorial here


Foyer Makeover
This tiny front foyer was the perfect blank canvas to have some fun. Get tutorial here
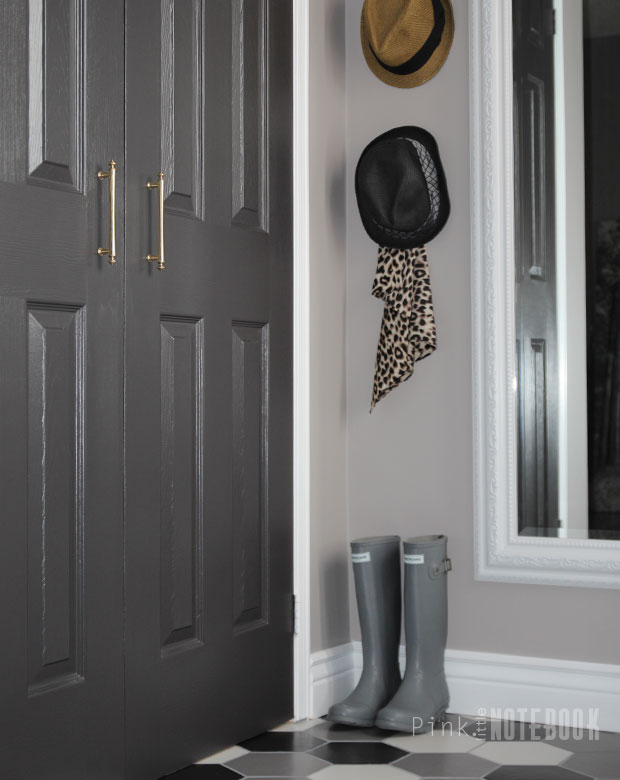
Love our new modern foyer!
In this case, the tile work is my focal point so I wanted to keep everything else simple. Get tutorial here

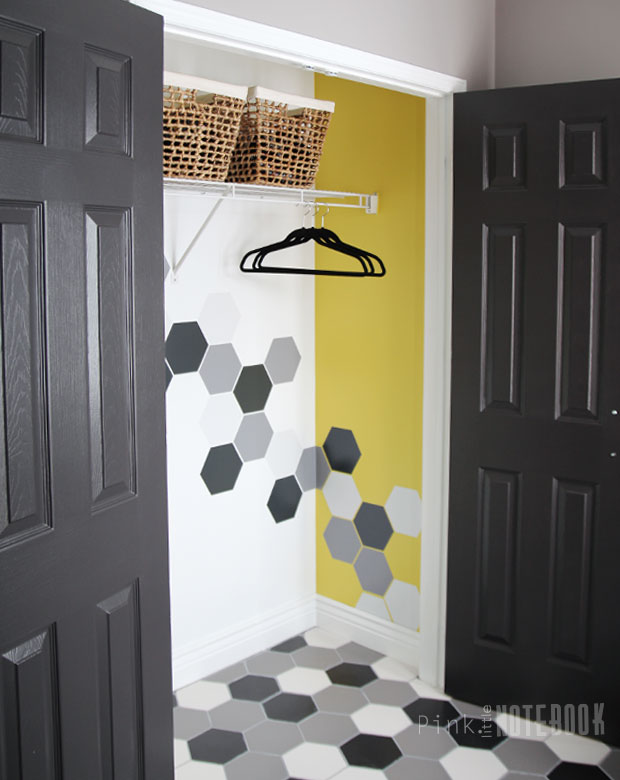
I needed this space to work harder for us!
I was tired of coming home to see piles of boots, shoes, jackets - so I decided to makeover the coat closet. Get tutorial here
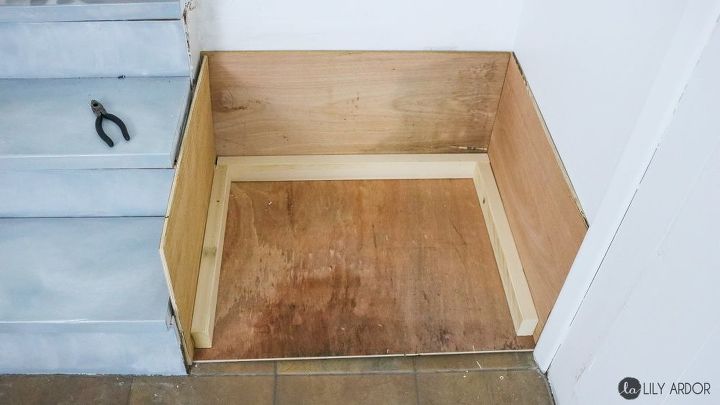
I found and marked the studs
I then cut a 2x4 to size and screwed it to the studs along the back wall and each side of the closet. Get tutorial here
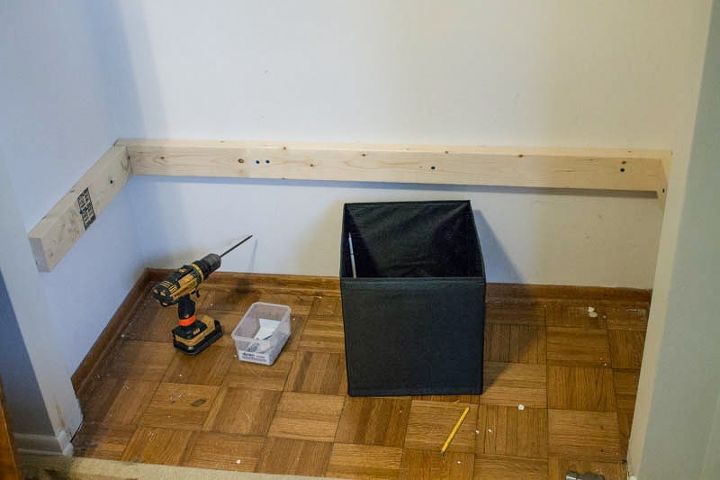
Installing the bench
I placed the planks on the 2x4 cleat I had just installed and then nailed them to the 2x4s underneath. Get tutorial here
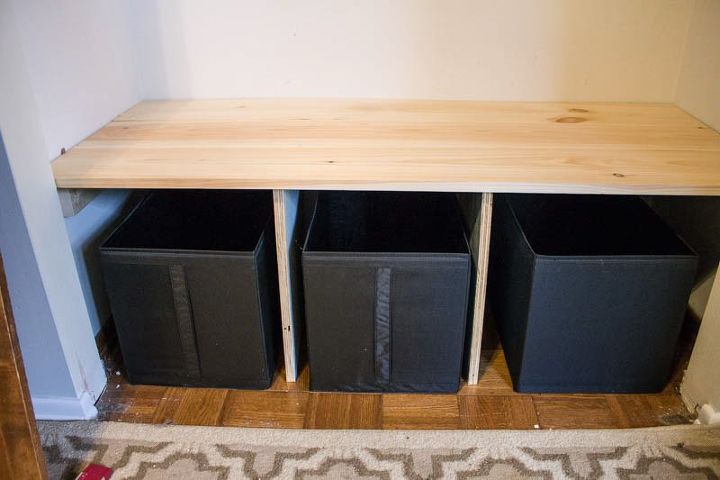
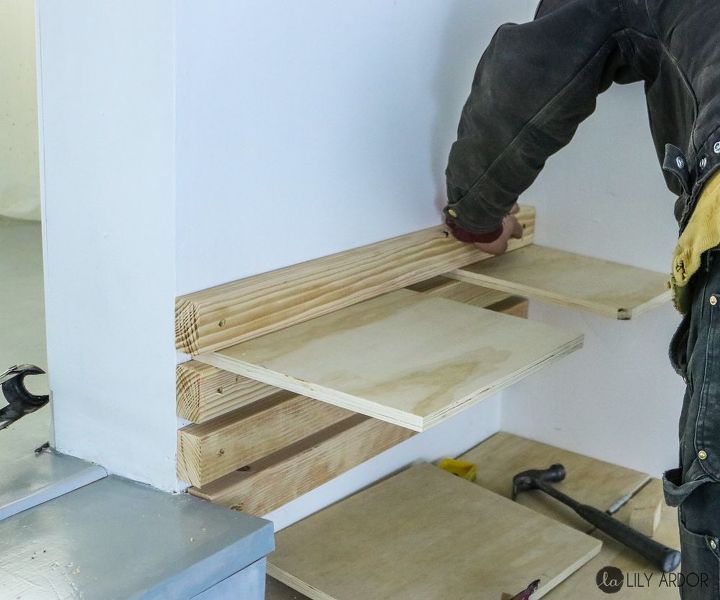
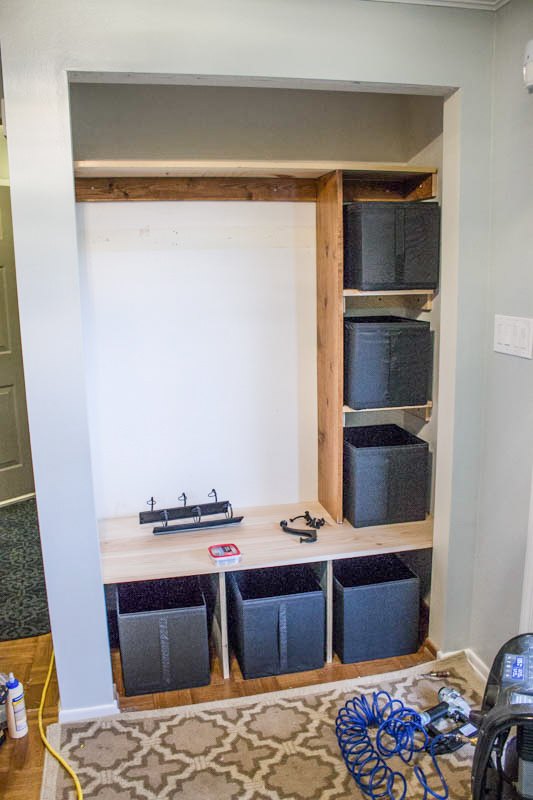
Adding stability and storage
For the side storage, I anchored 1x2 cleats to the studs, then added 1x12 shelves. Baskets are from IKEA Get tutorial here
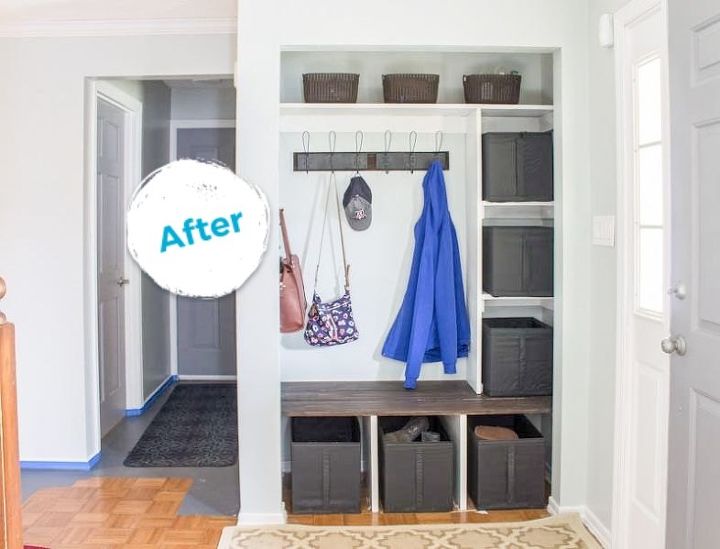
AFTER: Our new entryway closet!
As you can see the entryway is more organized and useful. I'm very pleased with how this turned out. Get tutorial here

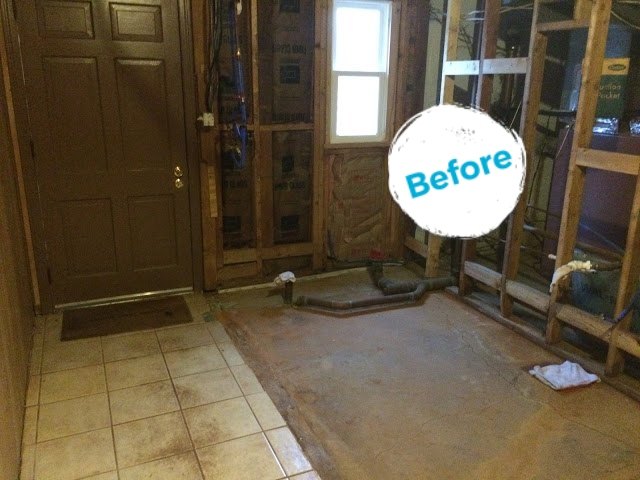
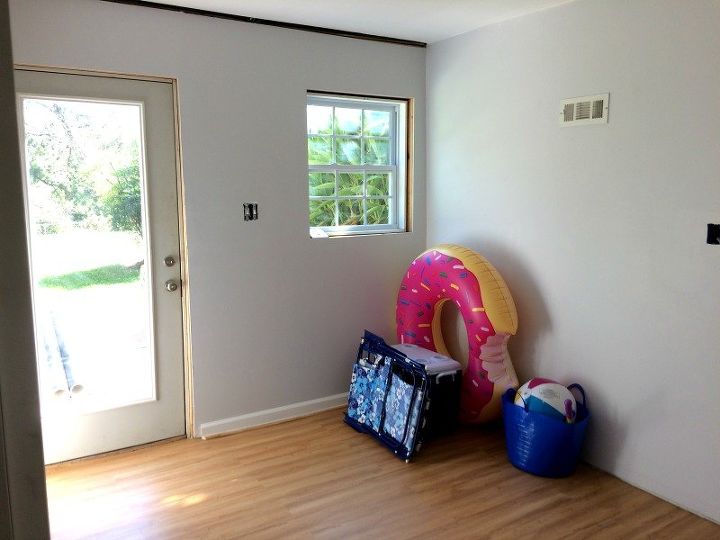
Before: Our basement mudroom
This is how the space started 2 years ago at the beginning of the renovation. Get tutorial here
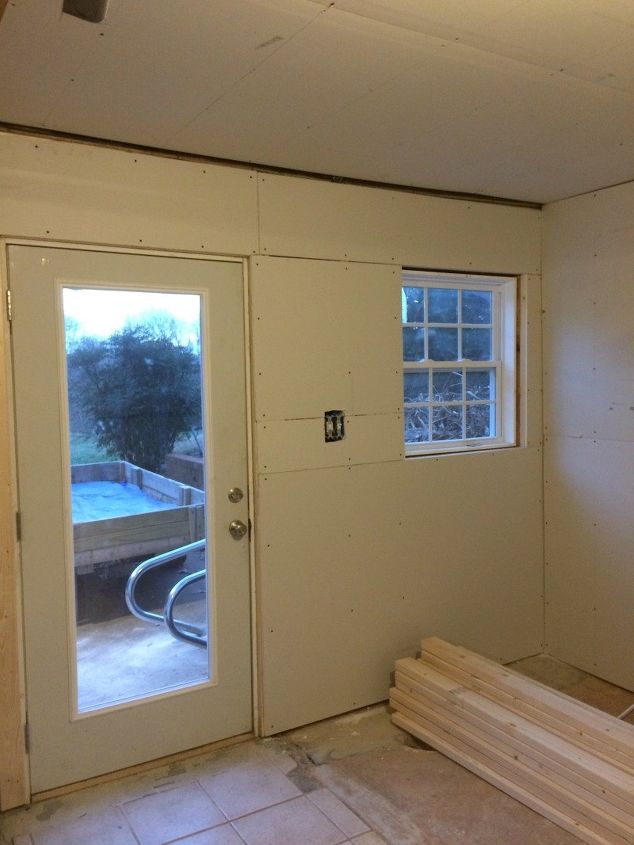
DIY Basement Mudroom Area
We replaced the window with a larger one & the door with a full lite. We also replaced studs and added drywall. Get tutorial here
Painting and flooring: what a difference!
We ripped up the tile, leveled the floor with concrete leveler, and laid luxury vinyl plank flooring. Get tutorial here
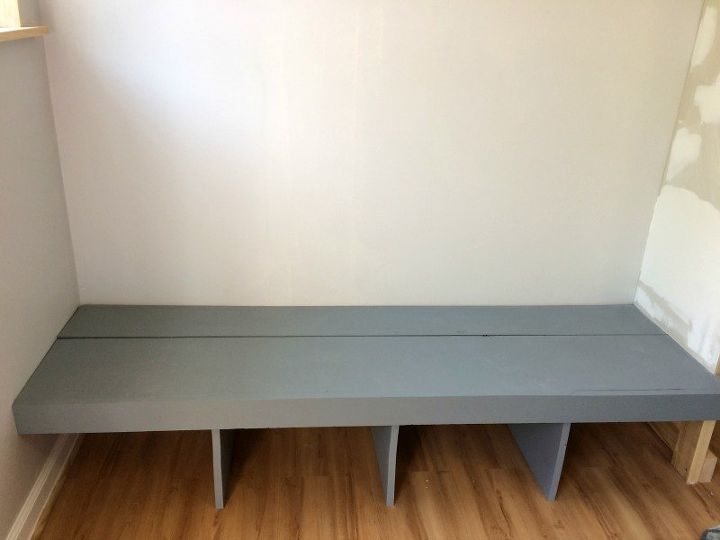
DIY Basement Mudroom Area
We used scrap wood from shelving we tore out of the garage area to build this easy bench with cubbies. Get tutorial here
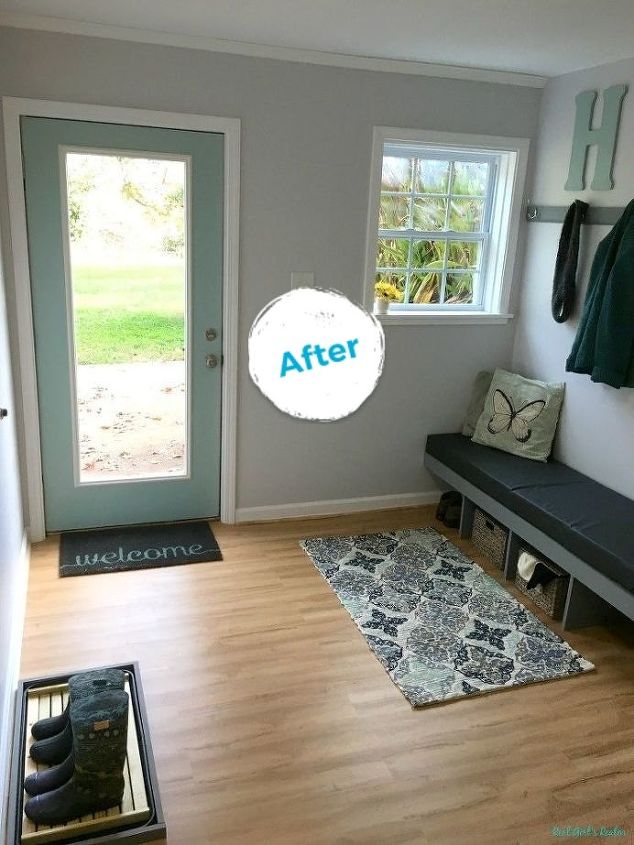
AFTER!
This space went from dark and cramped to bright and airy and serves as a space to drop all of our dirty boots and jackets. Get tutorial here