


This Alternative to Wallpaper is Our New Favorite Thing

by
BrightNest
Wallpapering your home: We can’t think of a worse way to spend a Saturday. While today’s modern prints are much trendier than Grandma’s paisley, rolls of paper and jars of paste still make a serious mess. Not to mention that removing wallpaper is what nightmares are made of.
Luckily, we have an awesome alternative: NotWallpaper paint rollers. Not only will these rollers save you from a serious redecorating woes, it can save you some serious cash, too! One roller is about $30 – a lot less than the average cost of wallpaper, which is $400-$1,000 for one room.
Luckily, we have an awesome alternative: NotWallpaper paint rollers. Not only will these rollers save you from a serious redecorating woes, it can save you some serious cash, too! One roller is about $30 – a lot less than the average cost of wallpaper, which is $400-$1,000 for one room.
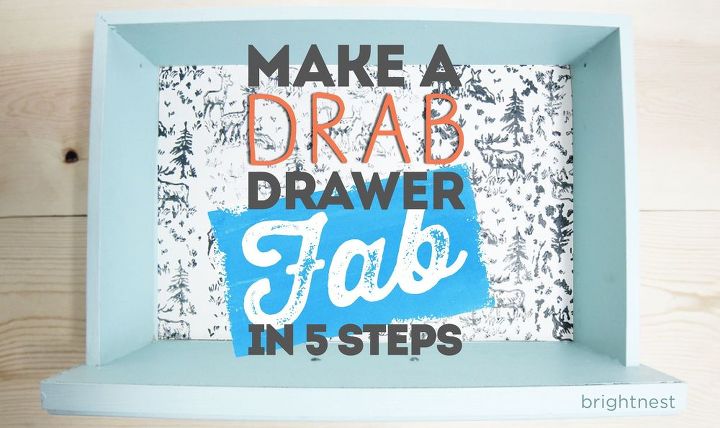
You can use these rollers on just about anything, from upholstery to ceilings, furniture and even floors. We decided to turn a regular drawer from drab to fab with the Aspen Frost pattern roller.
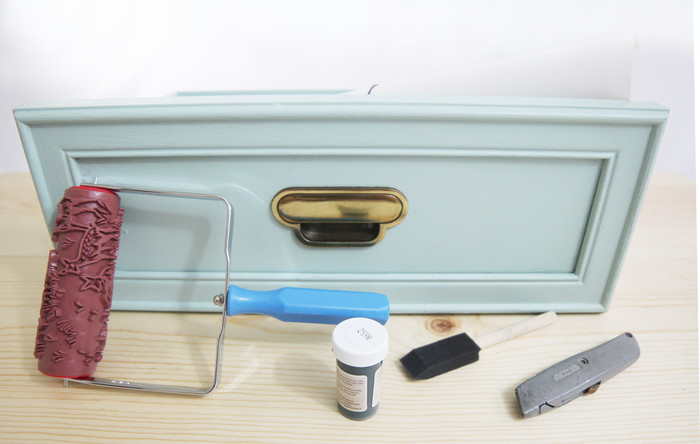
For this project, you’ll need:
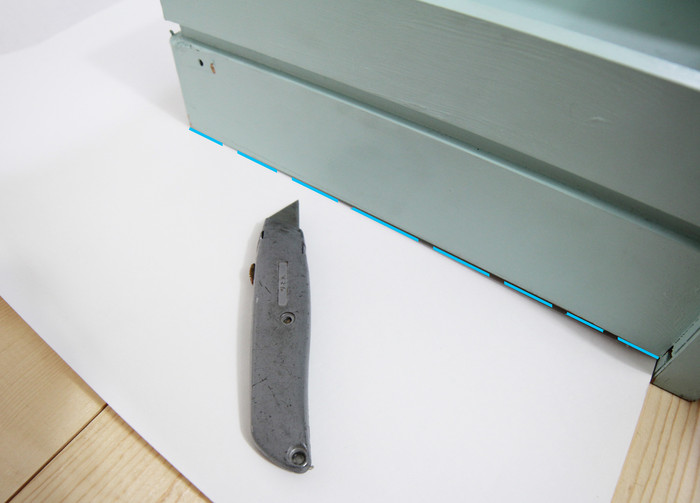
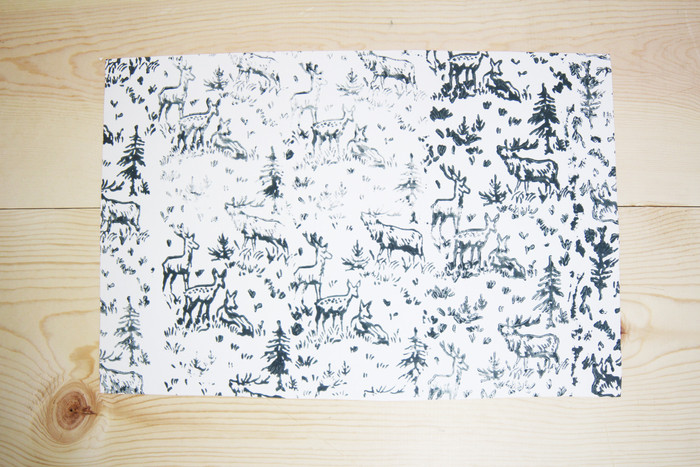
1. Cut Your Paper to Size
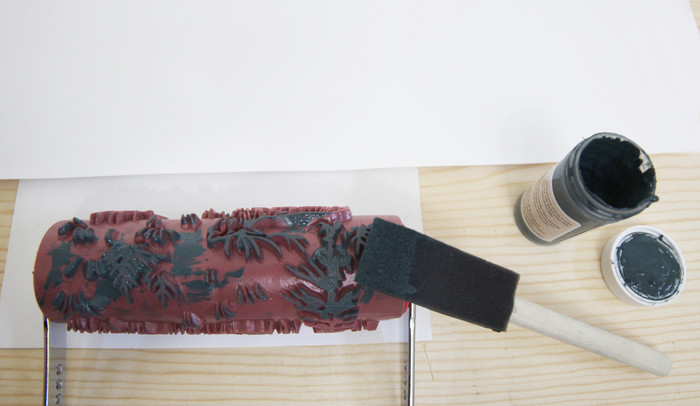
2. Add Paint to Your Roller with the Paintbrush
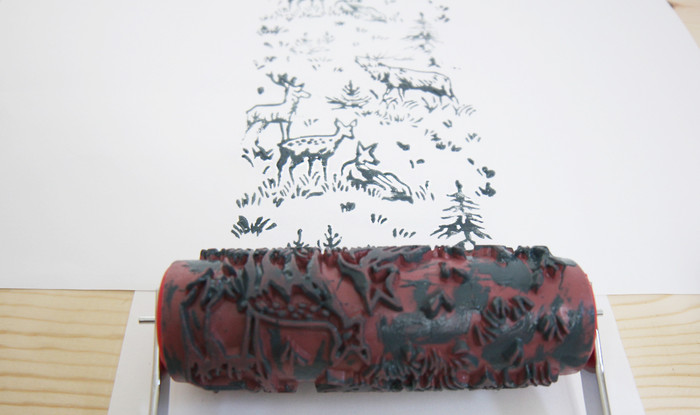
3. Paint Your Paper
4. Let It Dry for 1 Full Hour
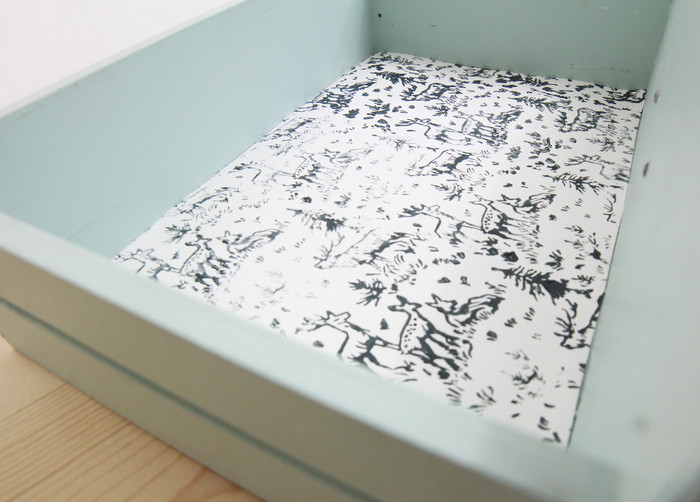
5. Place the Paper in the Drawer
Want more details about this and other DIY projects? Check out my blog post!
Comments
Join the conversation
2 comments
-
Omg SO doing this!
-
I have never heard of a notwallpaper roller. Where can I find it? I assume they have different designs, right? This looks like it could be a lot of fun and not a huge investment in time for such a cute idea!


Frequently asked questions
Have a question about this project?