


Kid-Sized Adirondack Chair for Charity
$10
4 Hours
Medium
A co-worker of mine is putting together a benefit for her friend's sick child. As part of the benefit, they are going to auction off some items. She had asked for any kind of donation for the auction.
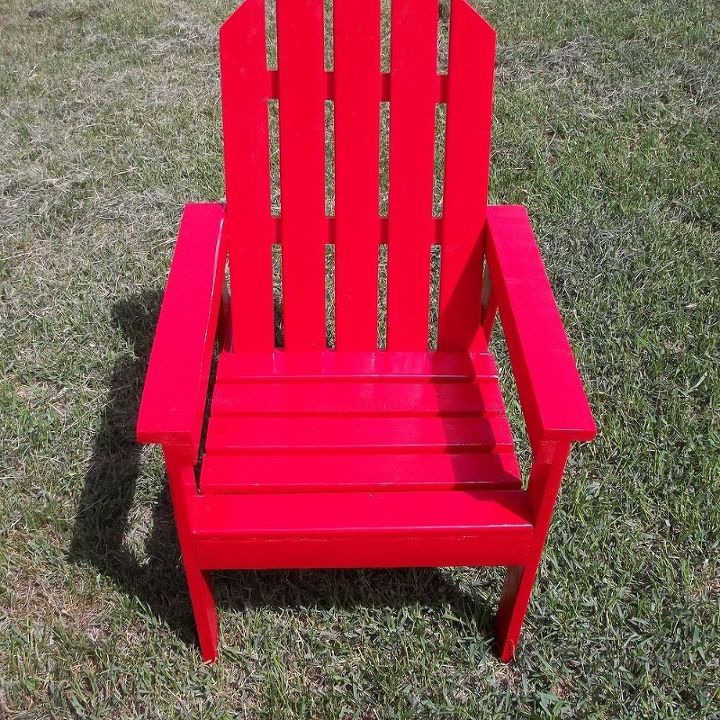
Since this is a benefit for a child, I wanted it to be something kid-orientated. I also wanted something that was gender neutral, so I decided to build this cute Adirondack chair.
The plans I used for this chair can be found in Ana White's book The Handbuilt Home. Here are the steps I took to make the chair. For more details, visit my blog below.
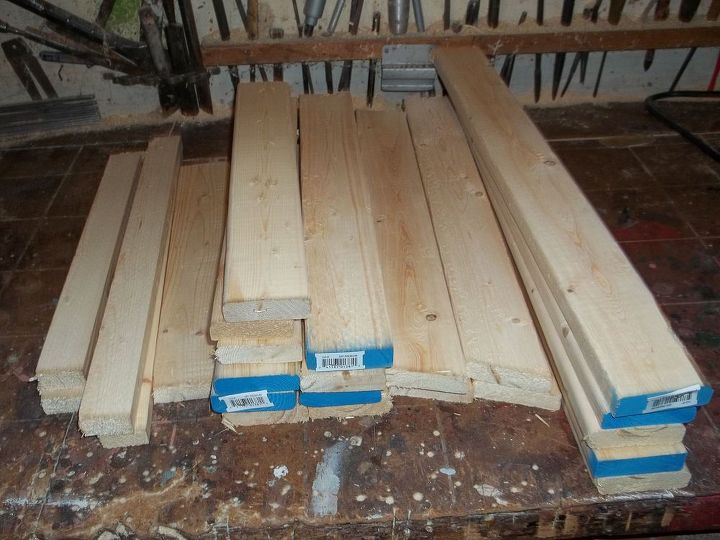
Step 1: Cut your wood to the measurements in the book.
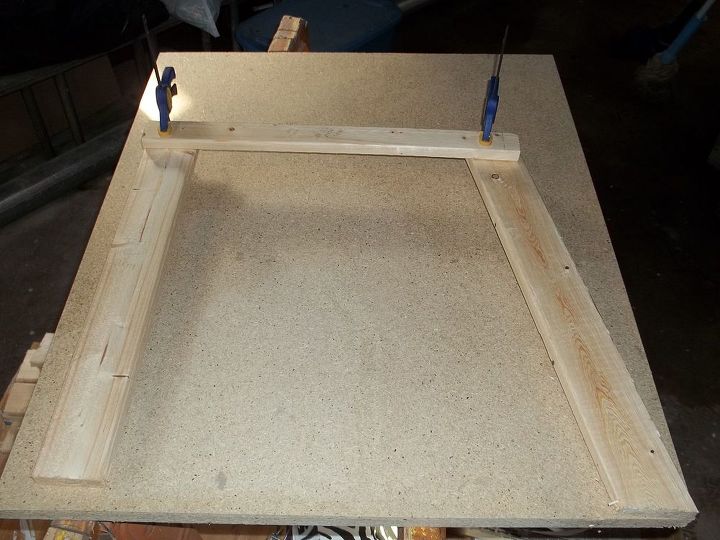
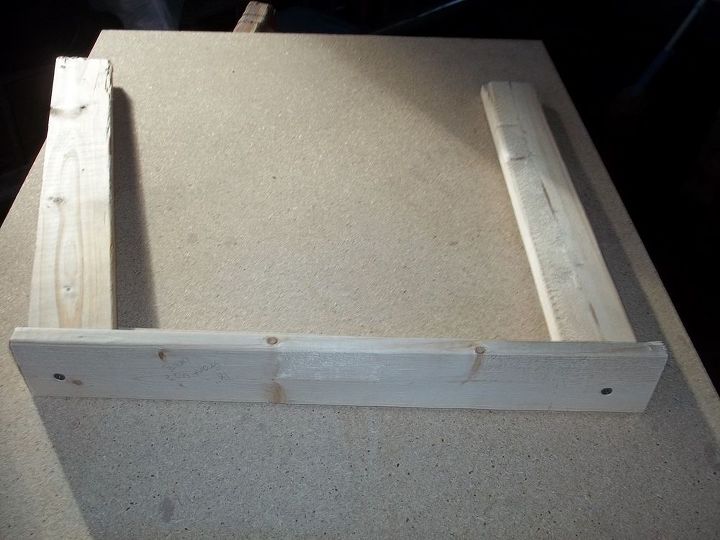
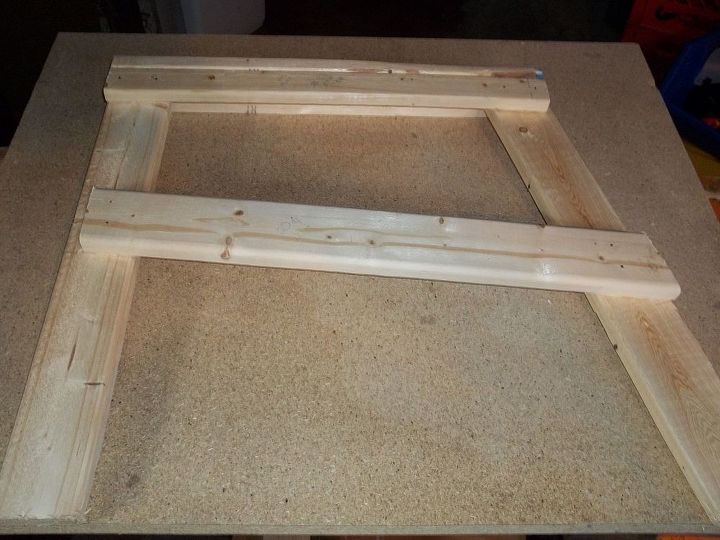
Step 2: Attach the armrest support to the front and back legs. Make two of these side pieces.
Step 3: Attach the armrests to each side.
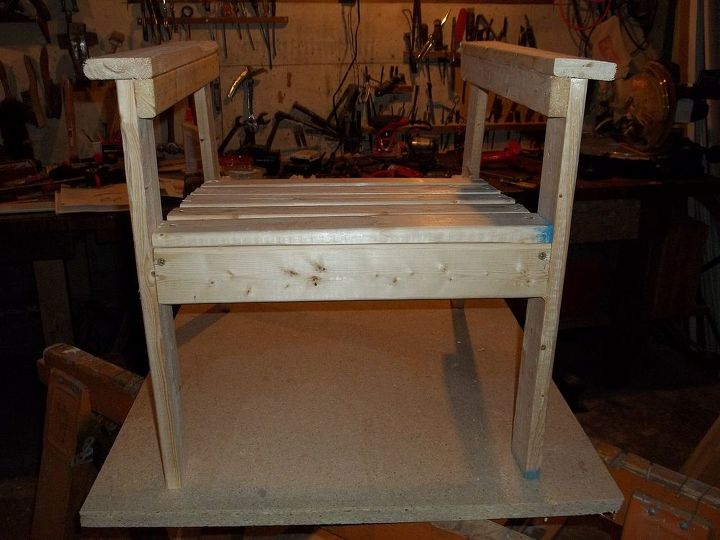
Step 4: Attach the stringers.
Step 5: Attach the front apron and the seat boards.
Step 7: Lay out the back pieces. Make sure to evenly space the boards. Attach the back supports.
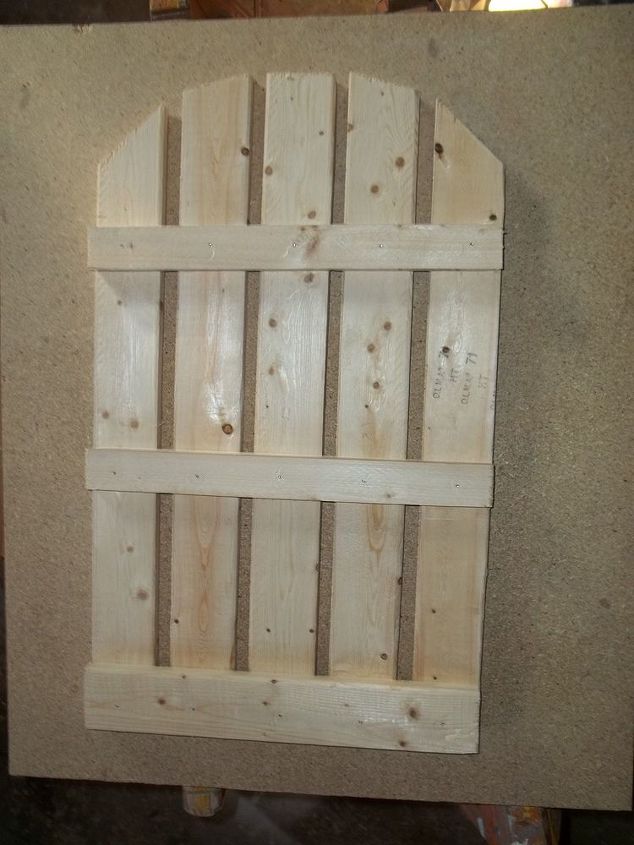
Step 8: Attach the back to the chair.
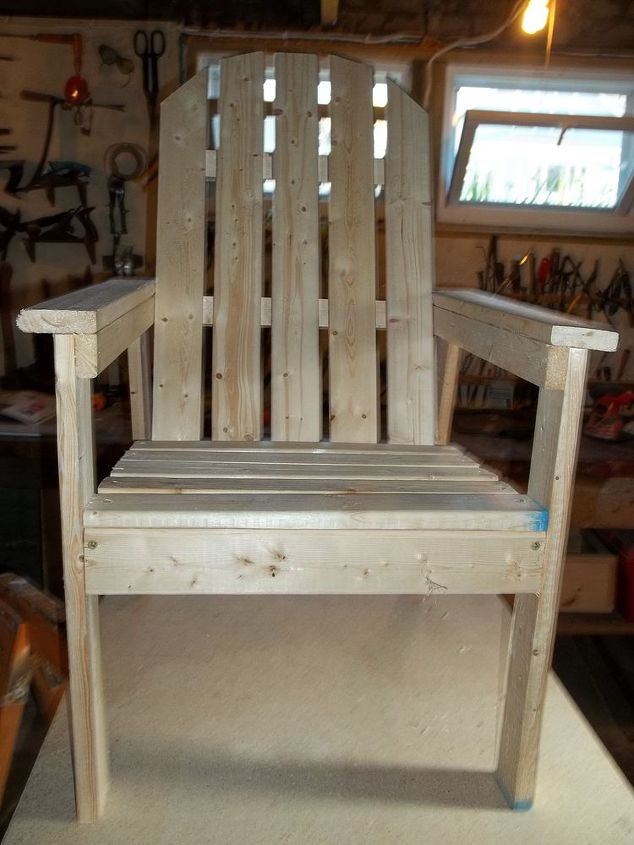
Step 9: Fill any holes with putty, sand everything, and paint or stain to your liking.
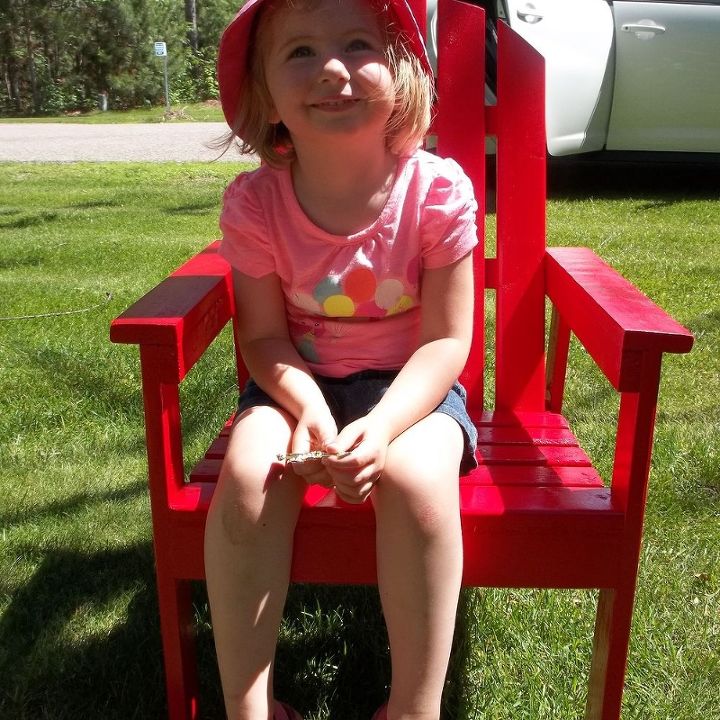
This is my three-year old niece giving the chair a try before I gave it to my co-worker to auction off. Hopefully, the benefit is a success and some little boy or girl will enjoy it!

Want more details about this and other DIY projects? Check out my blog post!
Comments
Join the conversation
2 comments
-
Great project, and so nice of you to donate it!
-
@Hannah V Thank you! I hope it makes a little bit of money for the benefit.


Frequently asked questions
Have a question about this project?