


DIY - Updating a Bamboo/Rattan Blinds in the Living Room
I have 5 rattan/bamboo blinds in my LR taht are 8 years old. Two years ago the largest one (56" wide) finally broke and is beyond repair. After ordering 30 samples and still not finding an exact match (the colors are way off, the strings don't match, I can go on and on) I kept the closest match and decided to try painting it and doing a stencil pattern on it. In the hopes that if it looks good enough, I'll do the treatment on the older blinds, thereby saving my budget hundreds of dollars ordering new blinds.
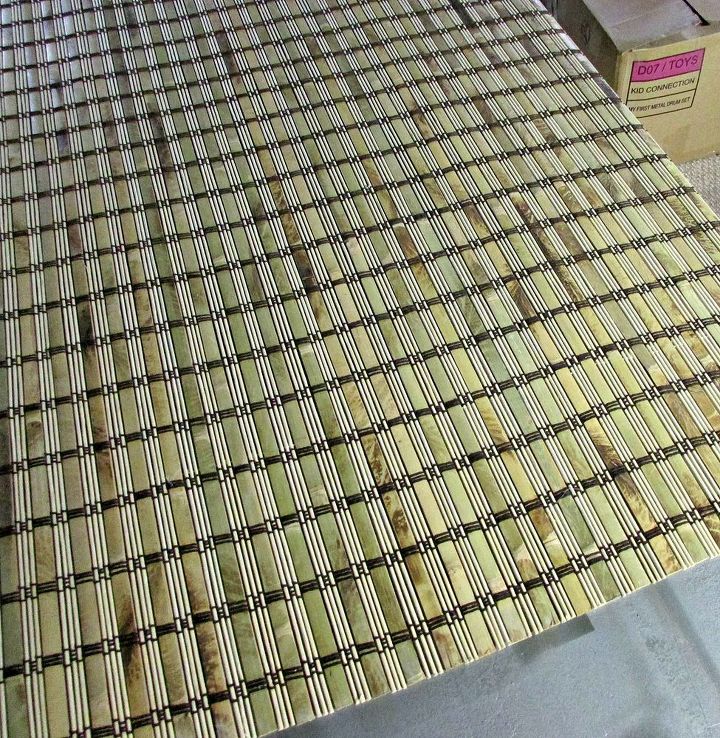
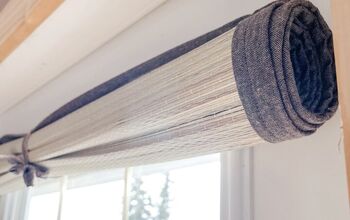
A before shot.
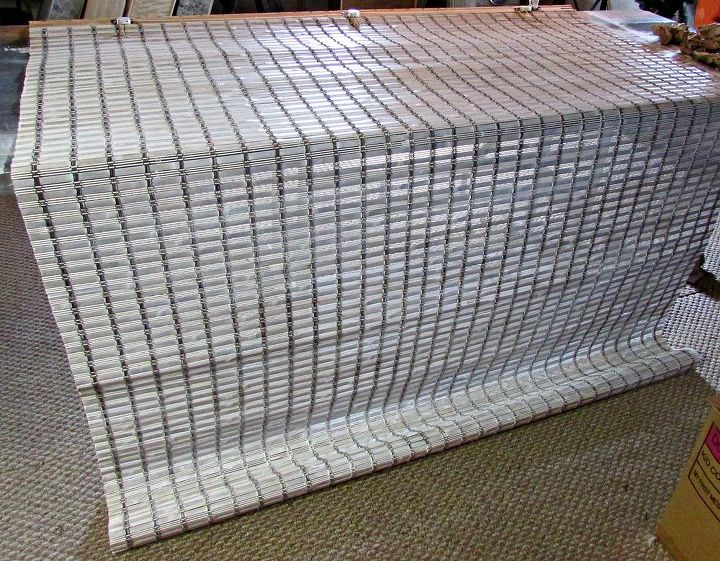
Using a dry brush technique and a large 3" wide brush I applied white satin paint with a primer already in it. The trick is not to load a ton of paint on and do not go back over what you have already painted. Also, for the backside I'd recommend taping the strings and/or staying away from the strings in the back that pull up the blind. Getting them all gummed up with paint will hamper being able to raise your blinds up and down easily.
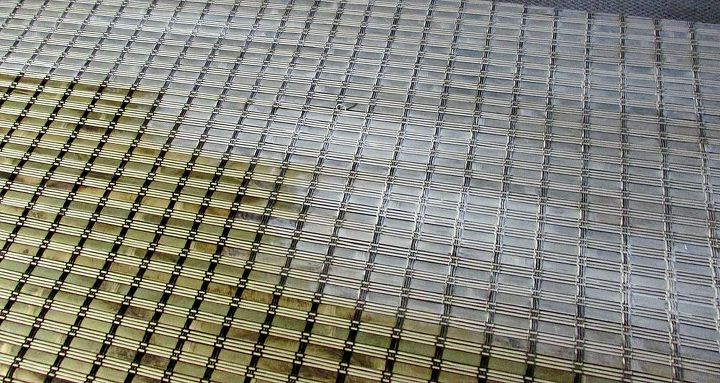
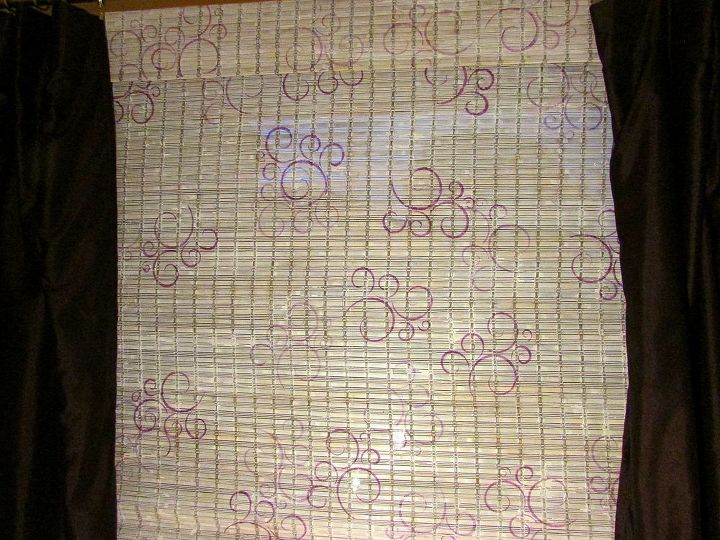
I don't know if the colors are really coming through, after being painted the slats really look like driftwood or white washed. So far I am loving this test!
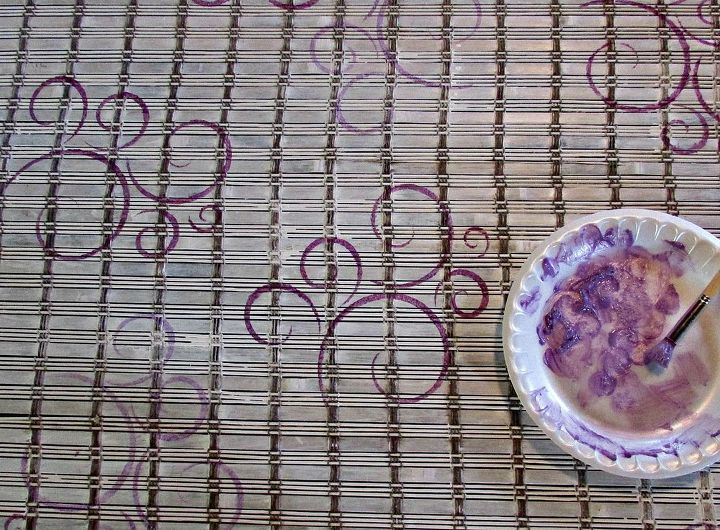
I used one stencil with 2 different colors of paint and a stencil brush. This shot below is one color; drying on a large table.
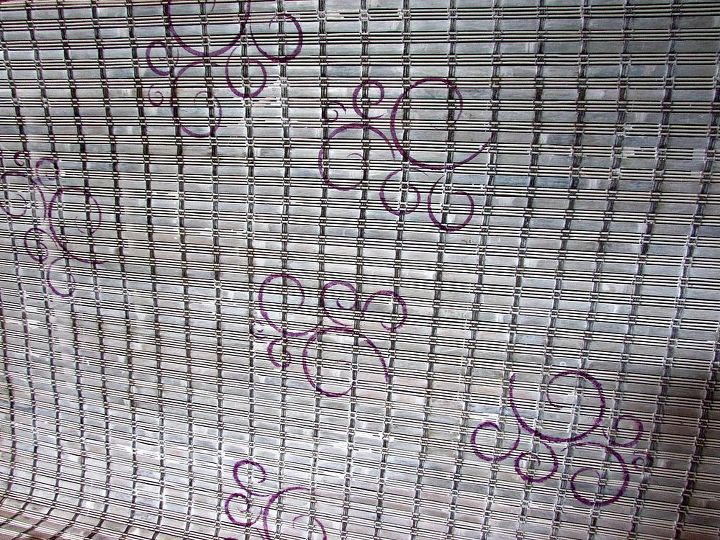
The second color purple-a much lighter one. The darker shade of purple is a cheap Tempera paint from michaels and the lighter shade of purple is a Martha Stewart brand.
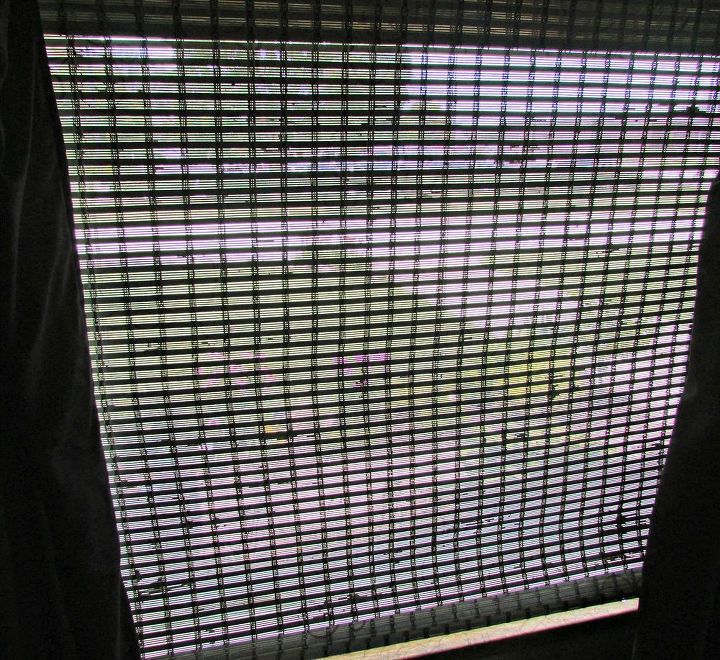
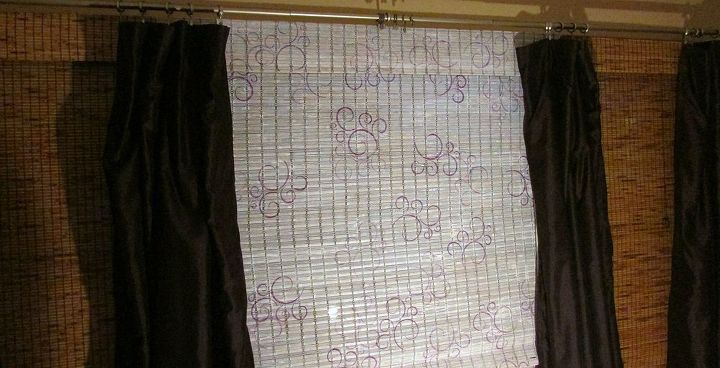
Here is a shot of the blinds hanging in the daylight. Sorry about the shot but I get a ot of light coming through the blinds.
Shot of the painted blinds next to the ones who are going to get this treatment next if after a few days of contemplation I like the painted version.

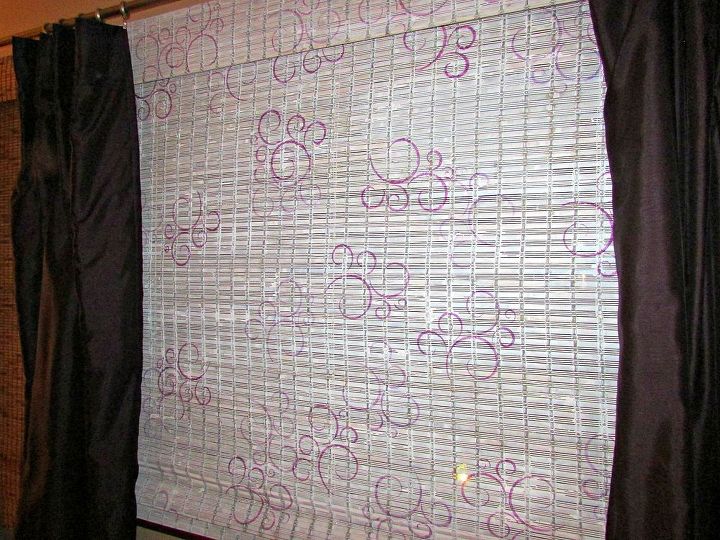
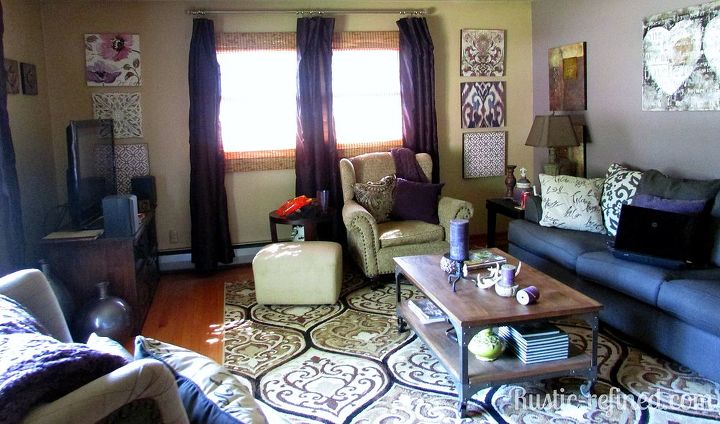
Night time shot with egg plant colored drapes. (which after seeing this shot I made hubby a cheesecake to entice him to raise the curtain rods up 4 inches. Which worked like a charm!) All the LR rods are now much higher.
Below is a full LR shot so you can see the full decor and get the full picture (no laughing I did NOT stage this room, nor did any vacuuming, or dusting occur before I took these pics lol).

You can't see the painted blind here, sorry. It's on the left side.

Want more details about this and other DIY projects? Check out my blog post!
Comments
Join the conversation
1 comment
-
Months later....I still love it. One of my favorite projects!


Frequently asked questions
Have a question about this project?