


Over the Mantel Chalkboard
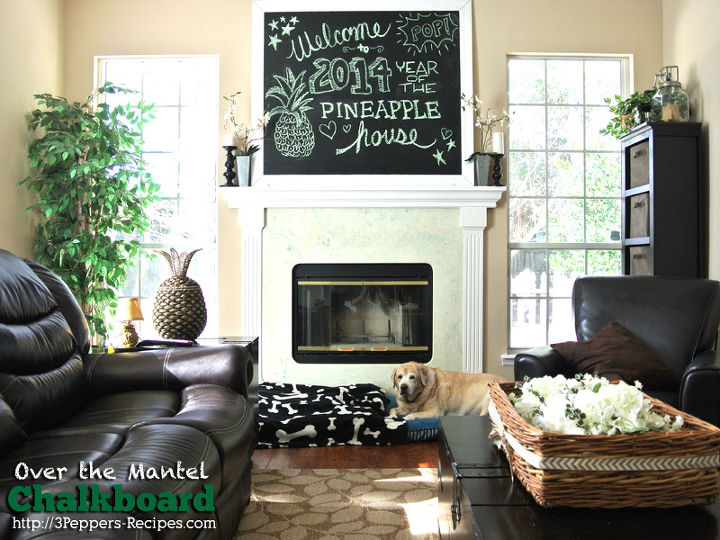
In designing our living room I wanted a HUGE statement piece above the mantel. I kept looking though fine art pieces. I also considered a large mirror, a big wood sign, or even a window frame. The fireplace is a very big focal point of the whole house, and it deserved something great above it, but everything i came up with I felt I would tire of sooner then later.
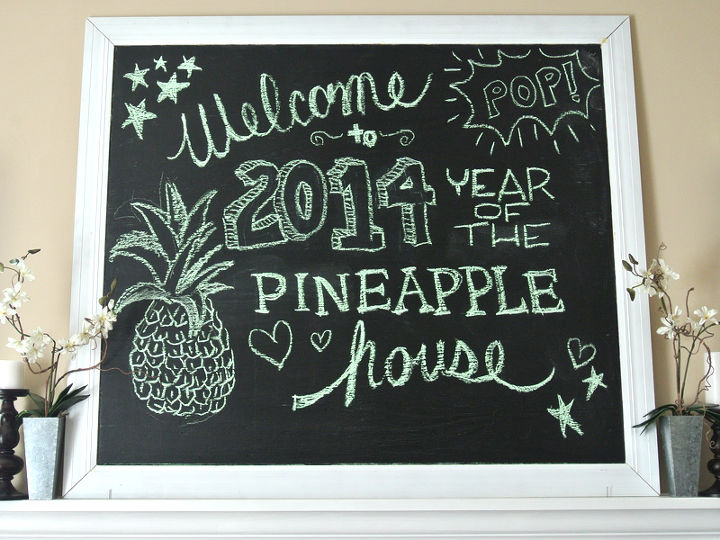
After weeks of thinking about this, finally decided on a 5′x4′ chalk board. The idea is that I can constantly change it… and it’s HUGE. It fills the whole space completely! I love the way it fills the space with blocky black and white. I also want to use it over the years to mark our memories and collect photos of our “chalkboard” over time. A consistent piece as we change through the years. I might even incorporate it into our black and white wedding.
When I was building it outside I started to question myself about the size… It was mammoth to work with. Being a little over 5 foot myself, putting it together and moving it around at first was quite awkward. But once I saw how it filled the space, I knew there was no way I was shrinking it down.
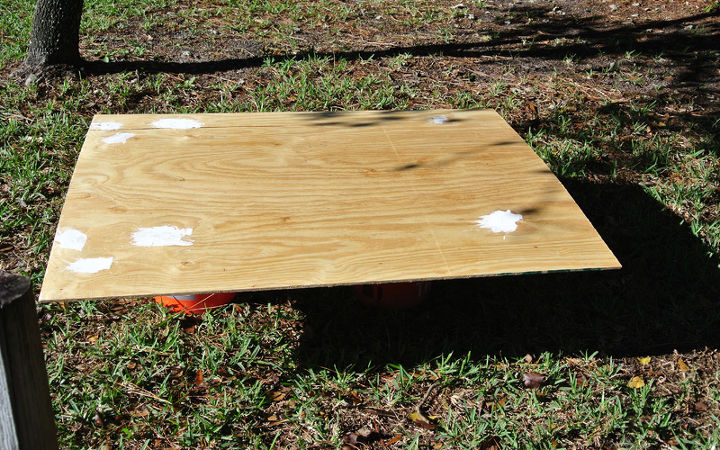
Building the chalkboard.
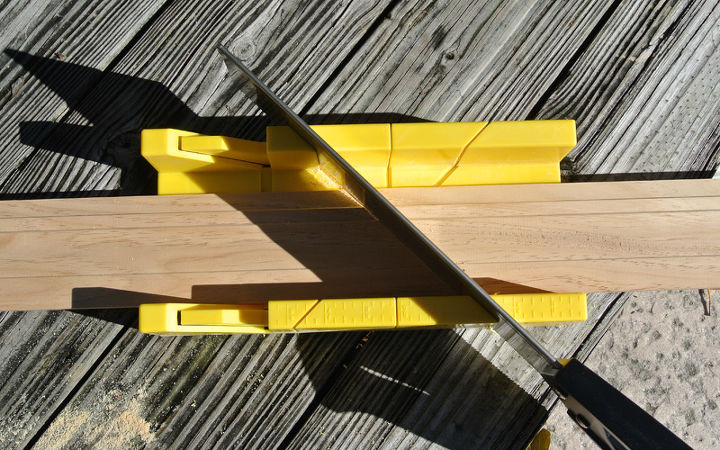
Once the paint dried, I stapled the frame pieces together. Next I used gorilla glue to attach the frame to the board. There was a 1.5 inch overhang of the molding on the board, where you can attach it with glue. Be careful the glue does not ooze out of the sides. Gorilla glue increases with size as it drys so it will squeeze out the edges.
To see more photos of our livingroom, check out the post below.

Want more details about this and other DIY projects? Check out my blog post!


Frequently asked questions
Have a question about this project?