


Painting a Gingham Pattern
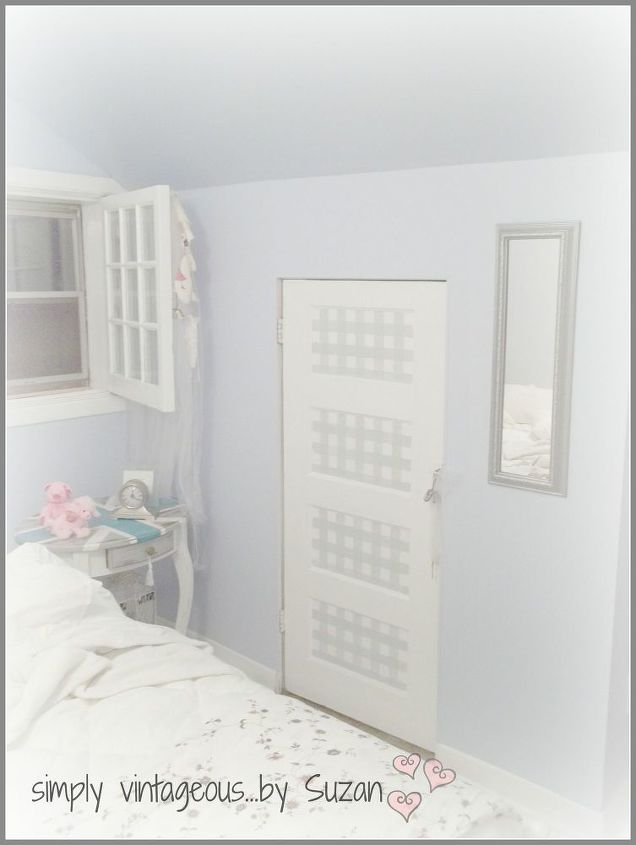
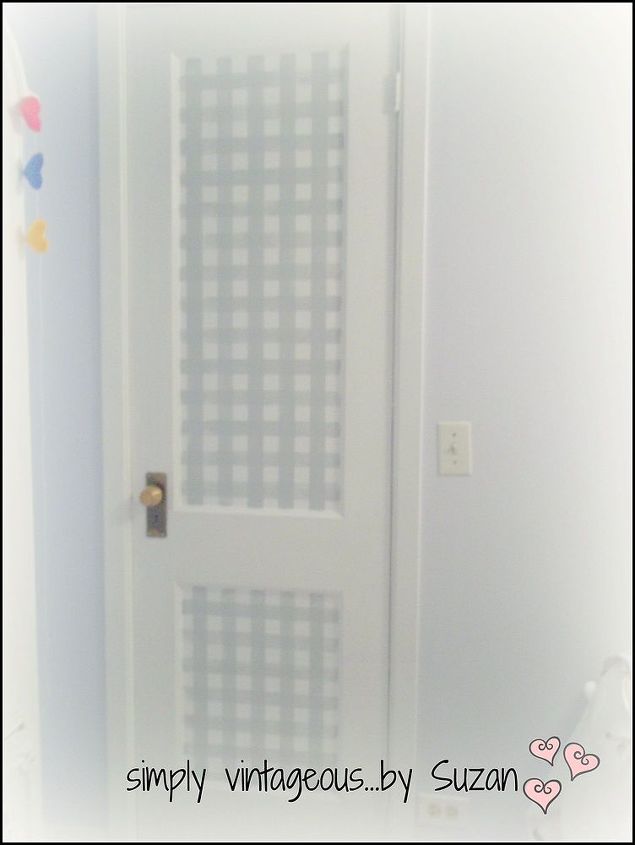
When I started renovating and decorating the tiny upstairs guest room (tucked under the rafters) I searched high and low for some Gingham wallpaper. To no avail, it was either too large or too small. So I decided to paint a gingham pattern on the door insets (of this tiny little Alice in Wonderland closet door).
Here's how I did it:
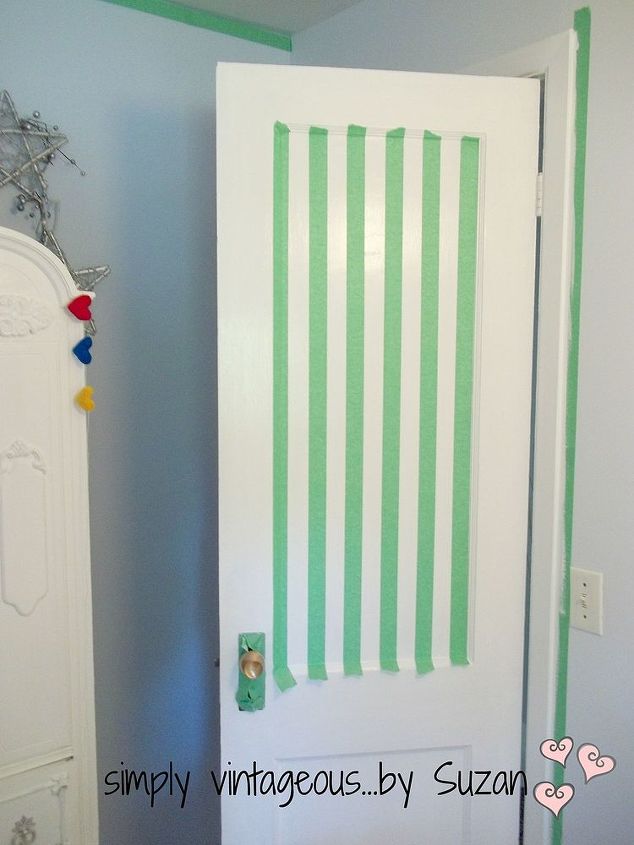
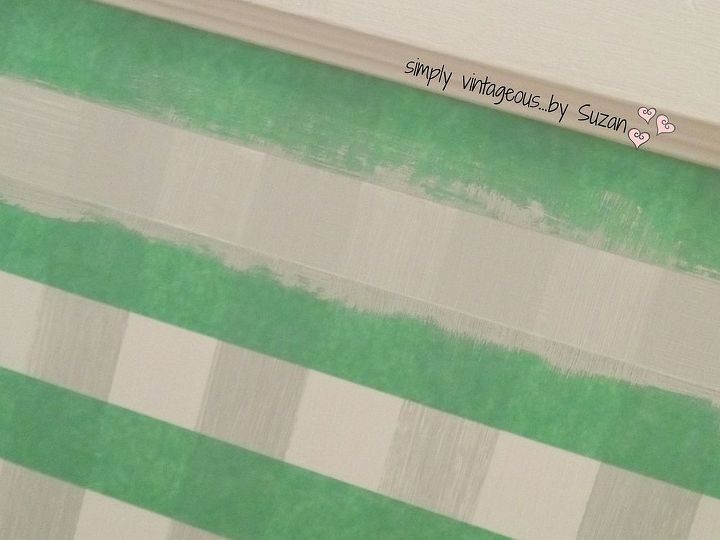
I started with vertical stripes of painters tape and painted in between.
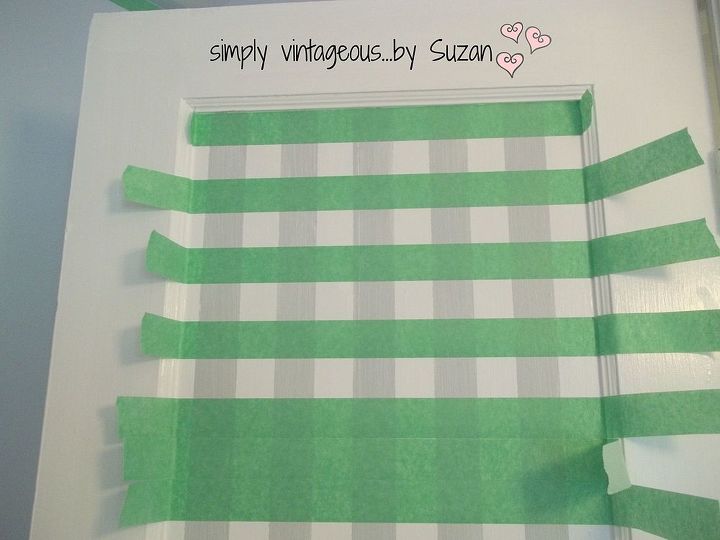
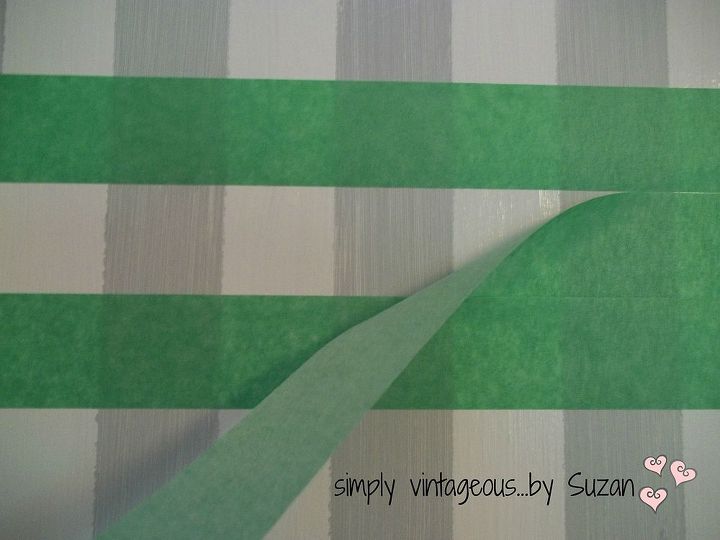
Once that was dry I went with my horizontal lines. The reason you see three pieces of tape together in the above photo is because the middle one is the one I use to gage my space. I stick it under the top line, add the bottom line and then remove the middle one. Leaving a perfectly measured space in between, like the below photo shows.
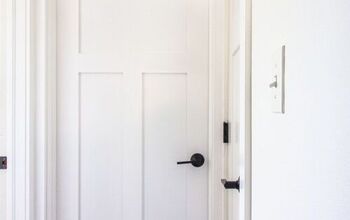
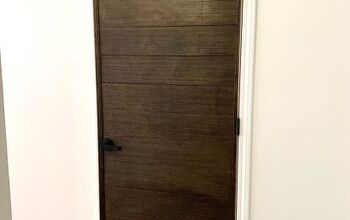
I also painted the inside of the bedroom door for some interest when it was closed. It ties everything together in this and gives the bedroom a "country" cottage feel. This project took very little time (and paint for that matter). What I like most about it is that it turned the doors into canvas where I could create a little one of a kind "art work."
Then I painted between the tape again and voila - a gingham pattern was born
(additional photos on the blog post )

Want more details about this and other DIY projects? Check out my blog post!


Frequently asked questions
Have a question about this project?