


Laundry - Craft Door Table

by
Deb O
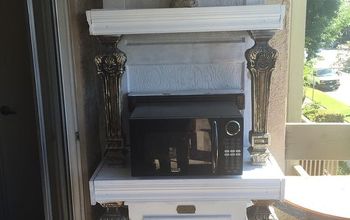
I am revamping my nursery into my craft/laundry room. I seen pictures of doors mounted to walls, but nothing more than a picture. I had an old door that was warped, window, and sheets of metal to use. This was the perfect solution as the door can be closed when I need the floor space. I love how this turned out!
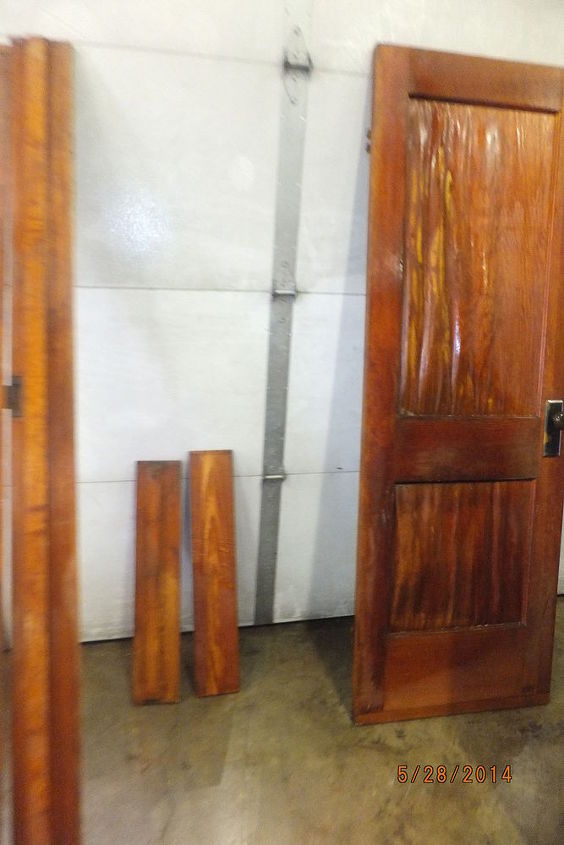
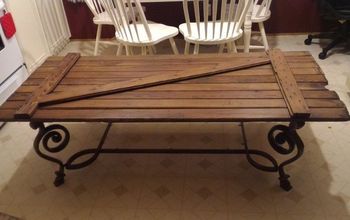
Washed up an old door that was weathered and dirty.
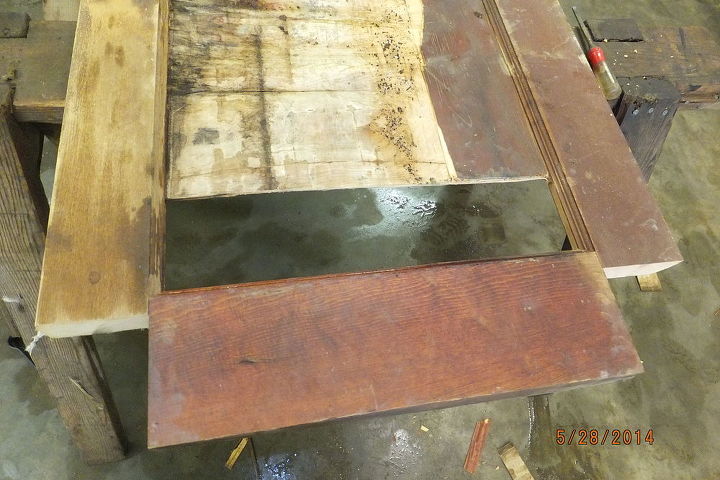
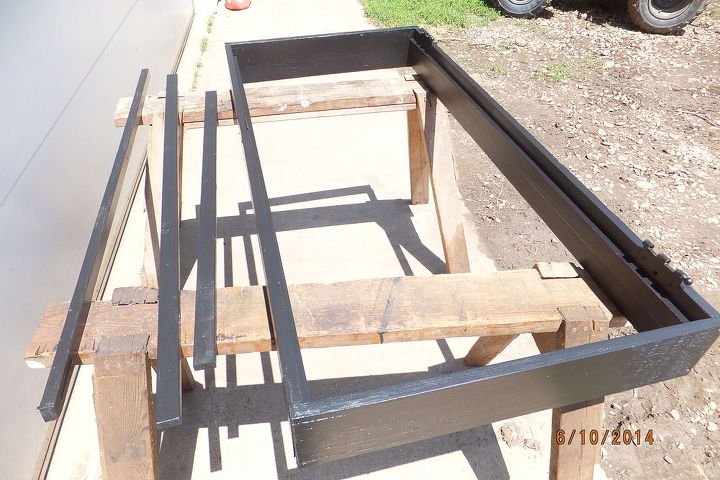
Removed the end took a bit. Door was constructed well! I cut it down to the wall size I wanted.
I then could just slide in a piece of paneling and sheet metal on both sides.
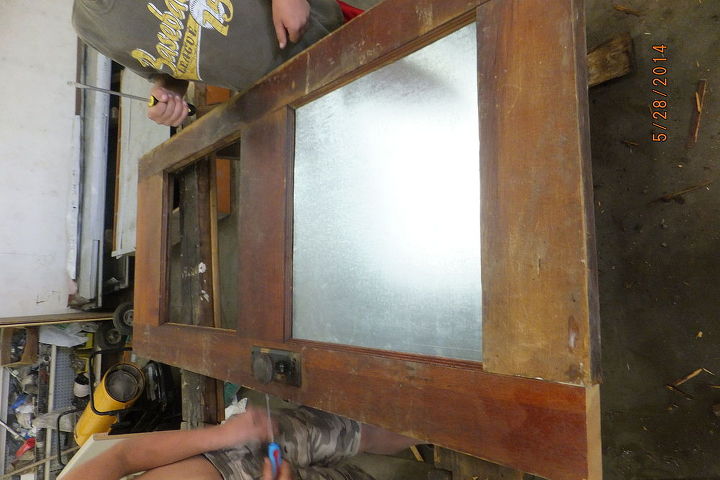
I did not remove the top therefore I had to piece in some paneling to hold the metal from the other side. I figured I would cover it in some way later.
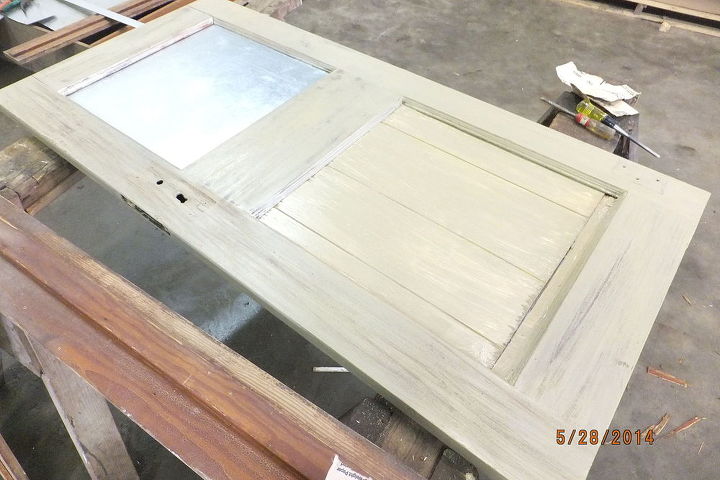
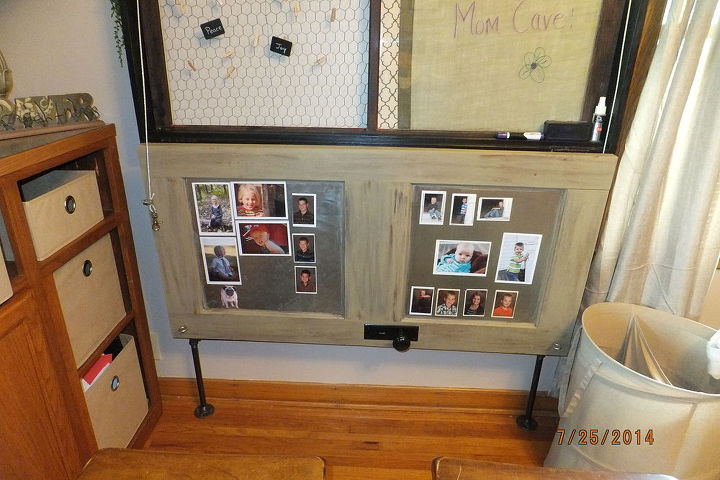
I was excited to find an old window that fit almost perfectly in the back of the frame. One side of the glass was broke, but I stapled in chicken wire. The other side I inserted burlap and ribbon on foam board for a back drop.

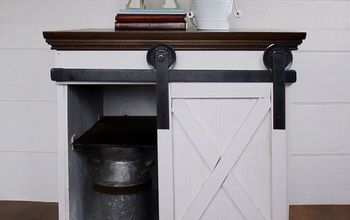
Mounted the ledger board to the wall and then the frame sat on that. I screwed down from the top to attach. I also put a mounting board tight up underneath the frame to hold it tight. Once that was up we hung the door to the hinges.
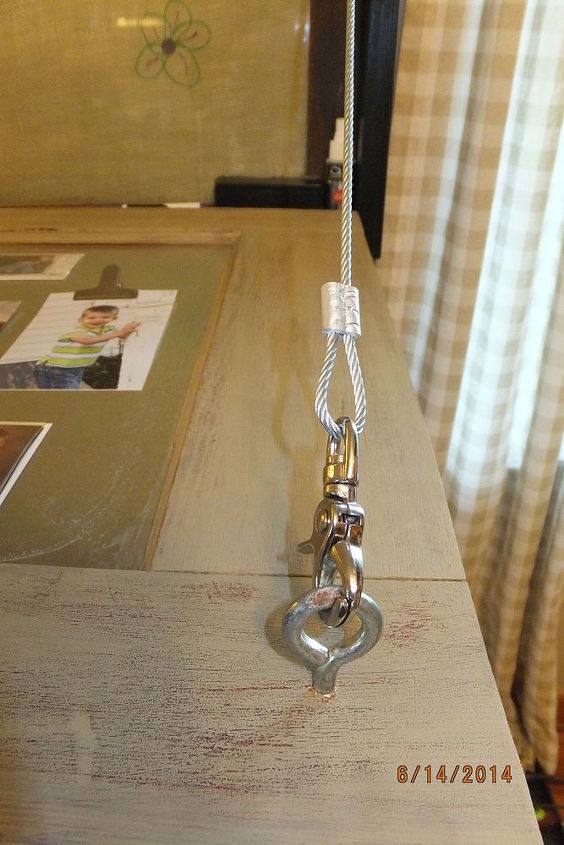
I used a stainless cable and hardware to attach from the frame to the corner of the door. I wanted to be able to unhook it so it could hang down.
This way I can display more. (You could also entertain little ones with the magnets.)
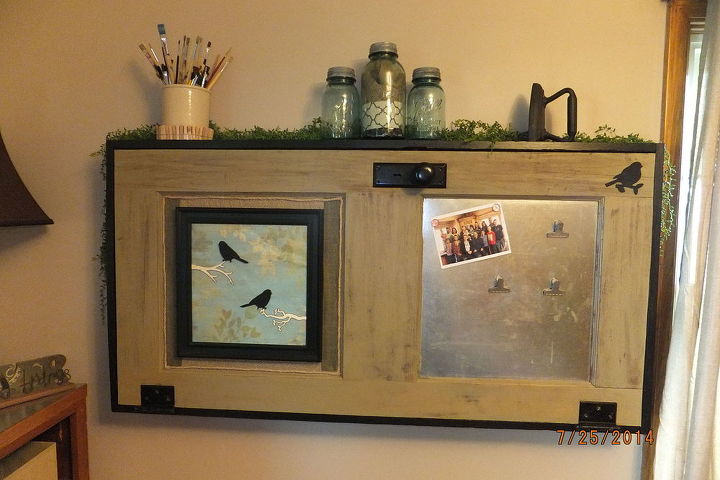
I hot glued ribbon to hide the paneling. I also added a frame from Goodwill with wood cutouts.
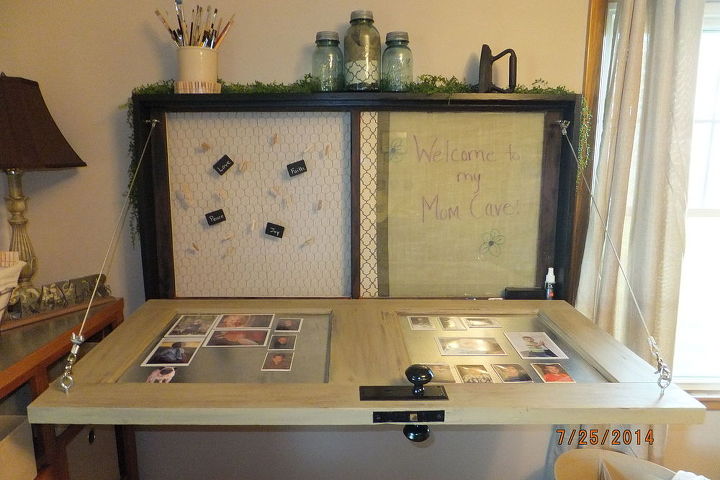
I purchased all magnetic flat photo sleeves to adhere to the sheet metal. They lay flat and are protected when I set my laundry on top.
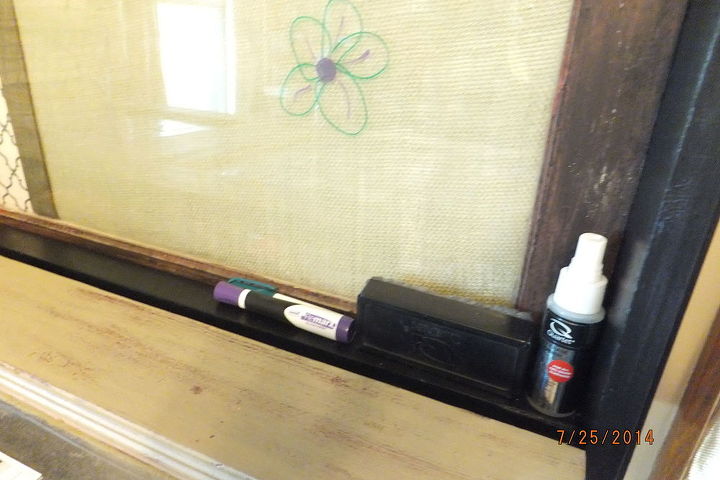
The marker board/window is perfect and the supplies fit right in the door frame.
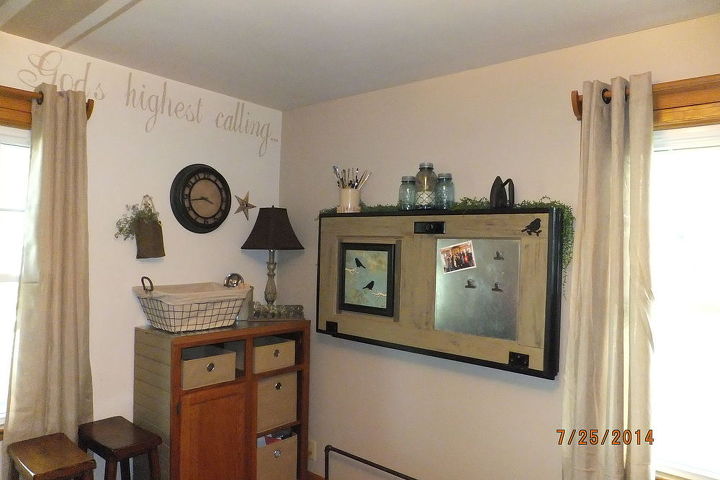
Not only is this useful, but also adds décor to a boring wall.
Comments
Join the conversation
2 of 3 comments
-
Wow - aren't you clever?!
-
this is great!!! I want one


Frequently asked questions
Have a question about this project?