


Project Mason Jar Pendant Lights
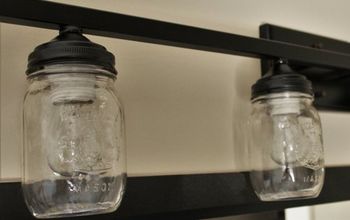
The former owner of our house installed 3 pendant lights kits above the kitchen island. The kits are pretty nice because instead of having to be hard wired in, they screw in just like a light bulb. So instant transformation! The only thing we didn't like about the pendant lights were the existing pendants. We looked at most of our home improvement stores in the area, but didn't find the look we wanted. So we opted to make our own. Jacque decided she wanted to convert ball jars into pendants...And gave me the responsibility of making that happen.
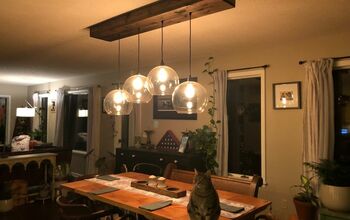
Before! Not bad, just not our taste!
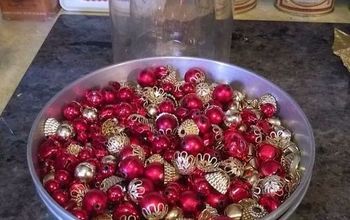
Aren't these pretty?
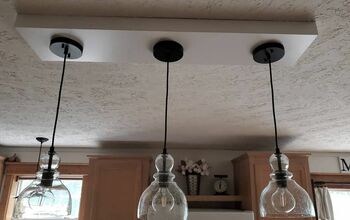
Air holes!
Before! Not bad, just not our taste!
Aren't these pretty?
Air holes!


Want more details about this and other DIY projects? Check out my blog post!
Comments
Join the conversation
2 of 47 comments
-
I have seen so many light projects on here that were not vented and I often wonder if they eventually exploded
-
Cute project!! LED bulbs are the answer very little heat. Never incandescent or halogen too much heat!


Frequently asked questions
Have a question about this project?