


Common Painting Mistakes to Avoid

When it comes time to redecorate your home, there are many common mistakes that you risk falling afoul of, and this is especially true with regards to painting. Although the majority of homeowners assume that painting a room is a hassle-free no-brainer, you'd be surprised by how many of the following pesky pitfalls a humble decorator can succumb to. To achieve a professional-looking, polished paint job, try to steer clear of these five popular errors.
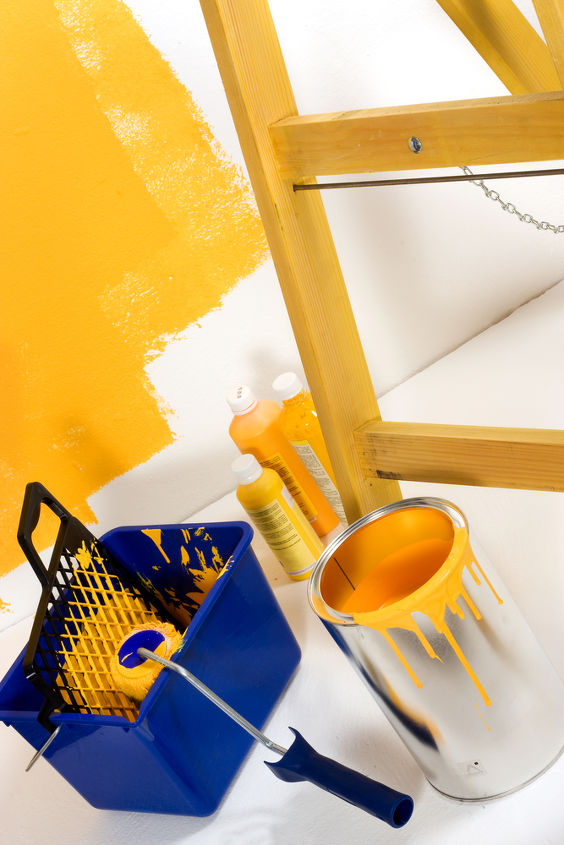
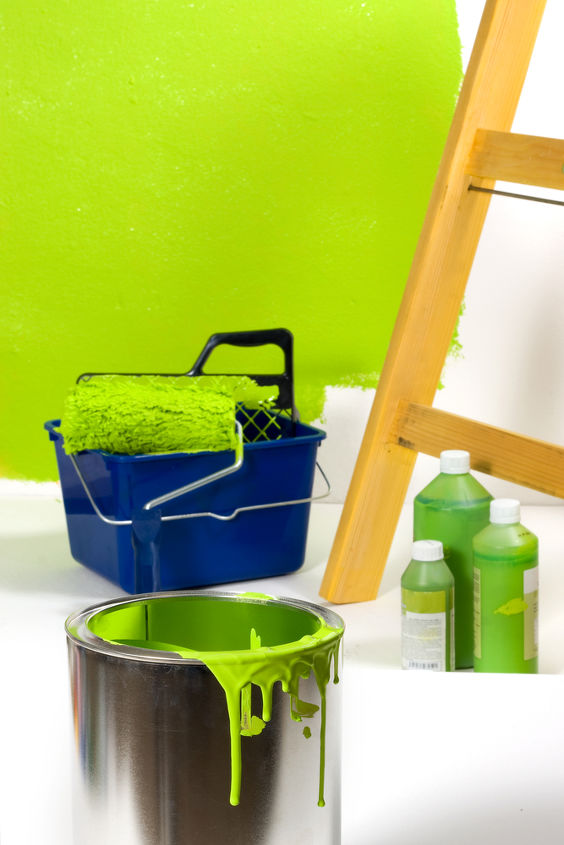
1. Using Cheap Equipment - For an aesthetically appealing paint job, never choose inexpensive tools. Although this advice can obviously apply to different redecorating-related jobs, it is essential that you use high-quality painting tools that will not break halfway through the project. To put it into perspective, if you are perfectly content to pay somewhere in the region of $30 for a gallon of premium paint, don't cheap out and buy a $3 paint roller. Consequently, you should invest in superior quality brushes and rollers instead of simply attempting to save a few bucks, especially since the money you save might eventually have to be spent on repainting the job you've just completed with your cheaper tools.
2. Underestimating Your Paint Supply - When it comes to purchasing paint, inexperienced decorators frequently miscalculate the amount of paint they need for certain tasks since they don't want to buy too much paint. For example, when it comes to a standard-sized room wall, one gallon of paint usually covers 400 square feet, so adjust your estimates accordingly given the dimensions of the area you are painting. The general consensus is to buy one more can of paint than you need, in case you misjudge and need a little extra leftover touch-up paint for further applications at a later date.
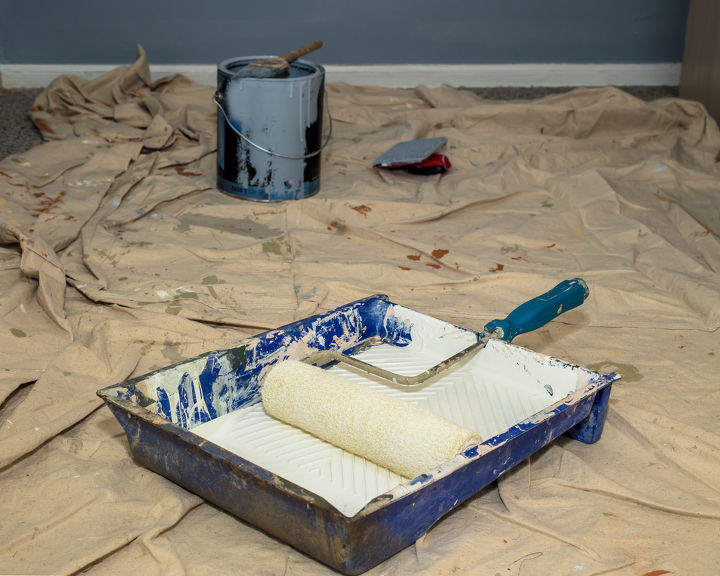
3. Improper Prep - In many cases, a decorating newbie will assume a wall doesn't need any kind of preparation work done. However, you should always take the time to clean the walls you want to paint with a simple concoction made from one part mild detergent and four parts water. Also sand down flakes of peeling paint, remove random pet hairs, and smooth out any small bumps or dents you find across the wall. If the wall has not been properly prepped, or it hasn't been given time to dry before applying another coat, the paint will fail to stick. Additionally, remember to cover the floor and any nearby furniture with plastic protective sheeting, unless you want your carpet and couch to look like a Jackson Pollock!
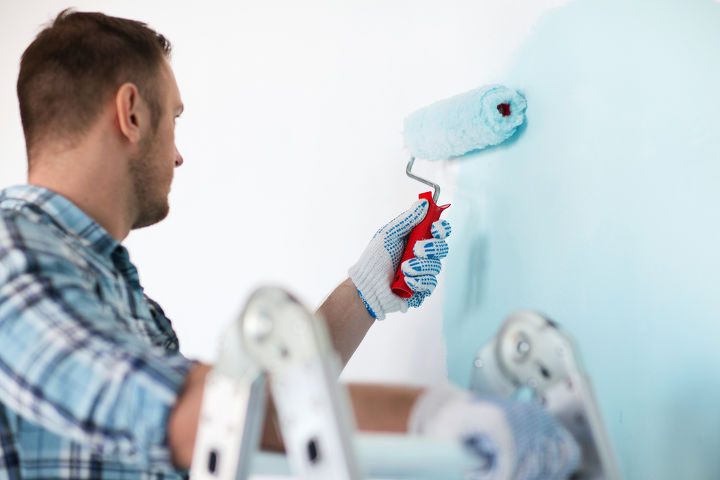
4. Too Much Paint At Once - If you have seen gloopily lump-ridden painted walls in the past, where the paint has obviously dripped and left behind thick bubbled trails as it dries, you'll already be aware of why you should not apply too much paint at once. Making each coat of paint too thick will create these unattractive gloopy streaks, so instead utilize "the W roll" with your paint roller: dip your roller into the paint slowly (so you don't add too much), and roll out a large "W" shape on the wall. This reduces excess paint as you go back over the area with overlapping up and down strokes that will help spread the paint around the wall.
5. Impatience - If you are excited about how the job will look once it's completed, you might be tempted to cut corners because you are eager to see the finished result. However, if you get too keyed up by your progress and fail to wait for the initial coat of paint to dry before adding an extra layer, your enthusiasm could end up completely ruining the job. Even though it might be frustrating to be unable to simply rush that all-important second coat, don't skip ahead because you run the risk of seeing visible brush strokes or paint peeling away after you finish the job. Instead, hold off from painting further layers by 24 hours and let the paint naturally dry before you spring into action once more.


Frequently asked questions
Have a question about this project?