


Seaside Kitchen Remodel

by
Rita J
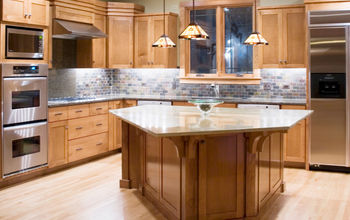
We were longing for a more functional kitchen that was more our style ~ but our budget was basically non-existent! Can you identify? Don't despair.
Through sheer determination and careful purchases, we discovered that by re purposing items we already had with a few well placed building supplies, we could totally transform the room (for under $200)!
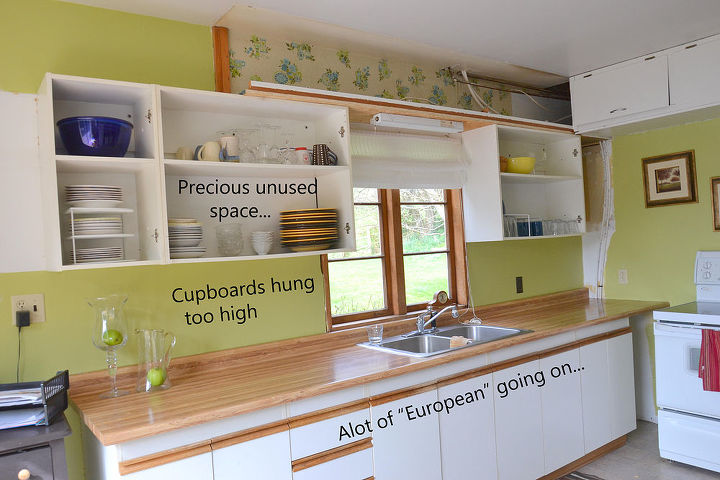
The kitchen was a series of odd additions and unused spaces. We started the project by ripping out an oddly placed upper cupboard unit (and the wallpaper underneath!).
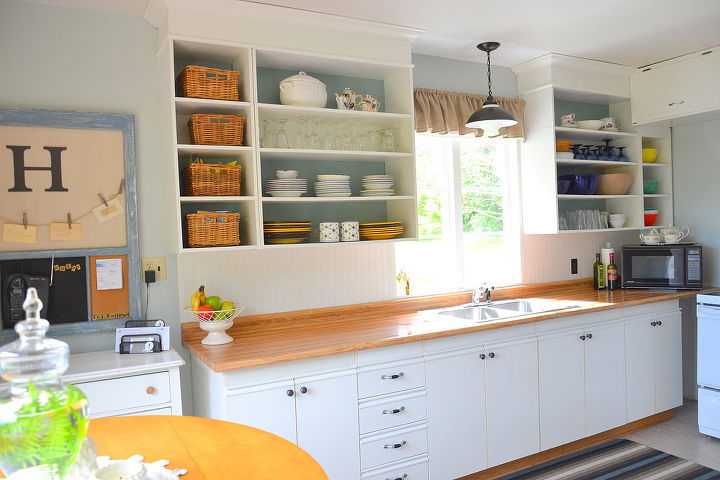
The remaining cupboards were lowered slightly, and through strategic placement of trim and molding, the new and improved cupboards went all the way to the ceiling.
Rather than ripping out the dated European cupboards, they got a whole new look with paint and new handles (found at a garage sale).
Small projects ~ like a spray painted pendant light and an old window turned message center ~ had big impact on the space.
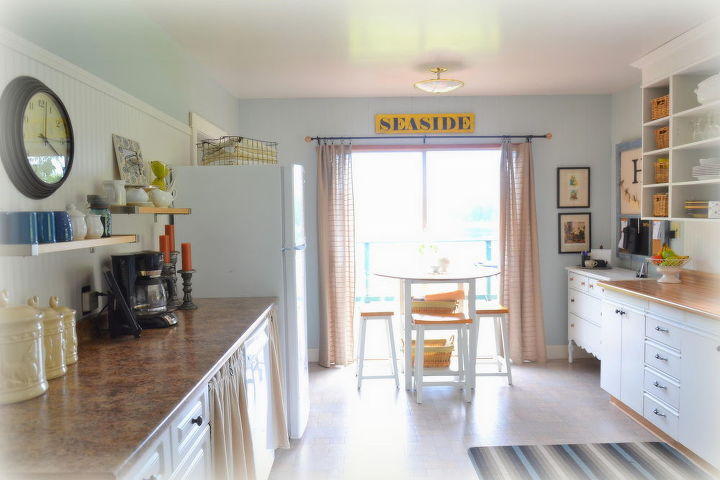
Utilizing cupboards we discovered at the local Restore, the previously unused side of the kitchen became a long run of counter top and storage ~a perfect place for a baking center.
For complete details of the whole renovation (including a tutorial for the "Seaside" sign, click on the blog link below.
Want more details about this and other DIY projects? Check out my blog post!
Comments
Join the conversation
2 of 22 comments
-
Love what you did......our kitchen is next (currently gutted). Love the open cabinets, especially the shelf spacing.....also enjoy your blog..just subscribed
-
pretty but can see some bright colored Fiesta dishes on shelves also...well done.


Frequently asked questions
Have a question about this project?