Create Cute DIY Paper Hot Air Balloons in 3 Easy Steps

Craftsy
by Craftsy
Easy
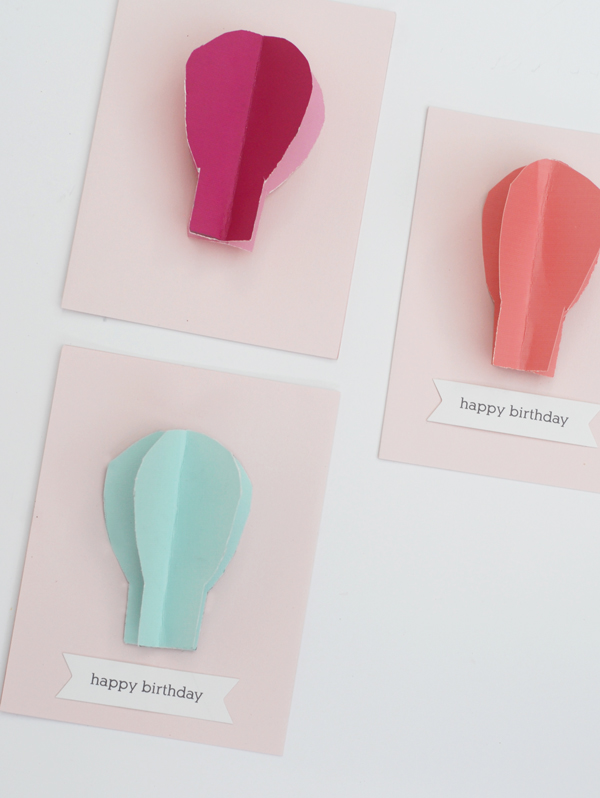
Each year my family attends hot air balloon races. Seeing hundreds of balloons take off in unison is such a spectacular sight. Today I’m going to share a simple DIY paper hot air balloon project inspired by those hot air balloon races. These make a fun, unexpected embellishment when making cards, and also could be strung together to make pretty garland for colorful DIY party decor.
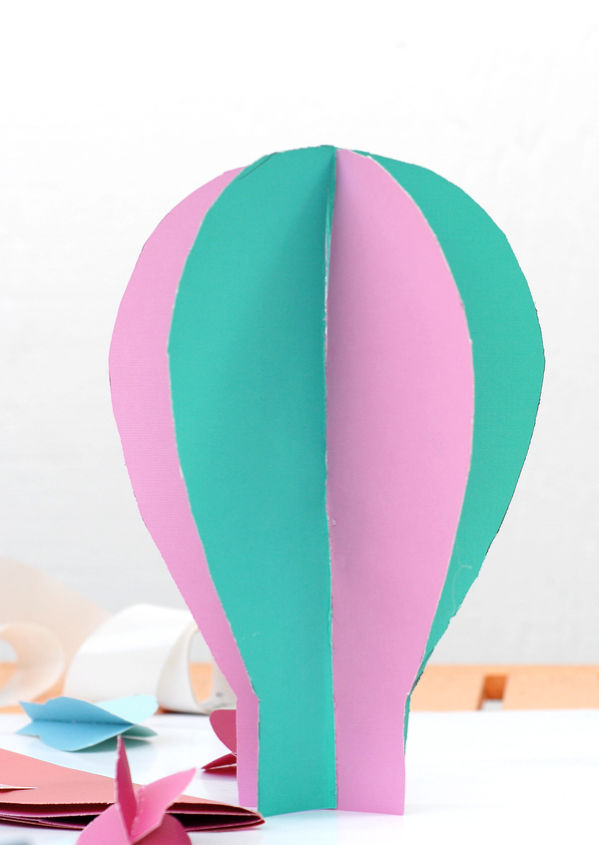
How to make paper hot air balloons
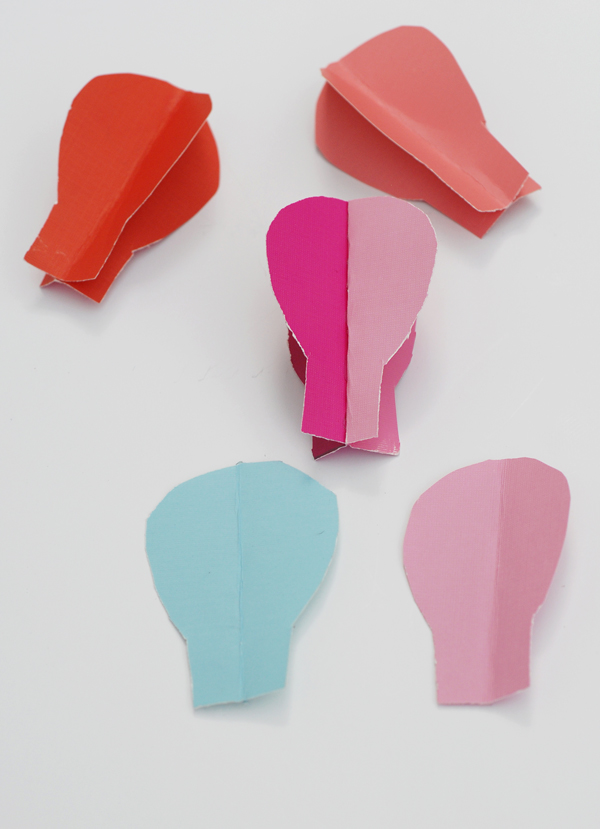

Materials you will need:


Colorful card stock


Scissors


Glue


FREE hot air balloon printable template (http://www.craftsy.com/pattern/paper-crafts/hot-air-balloon-template/108636)


Step 1:


Cut out the air balloon template, or draw your own by hand.


Step 2:


Trace the template onto the card stock and cut out two balloons for each die cut you’d like to make. You can mix the colors of the balloons or design an entire monotone row. Be careful about the color difference with two-sided paper, if you are looking for a one-color style.
Step 3:


Glue two of the die cuts together to create the 3-D hot air balloon.
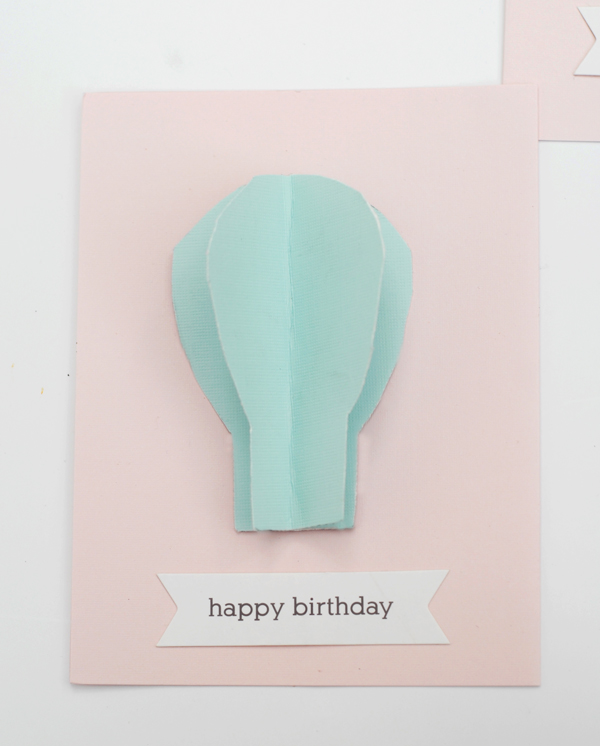
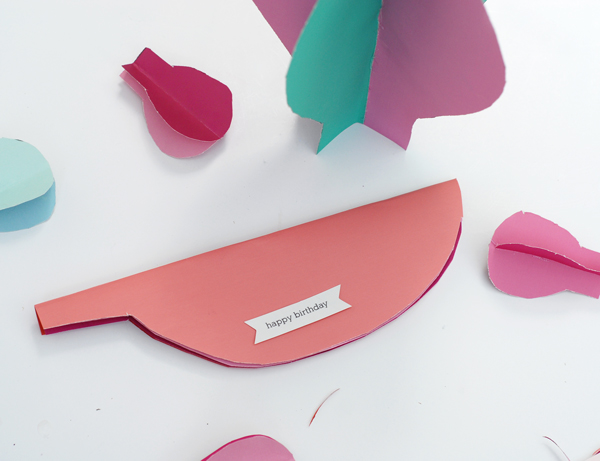
To use these DIY paper hot air balloons to make fun greeting cards, simply glue the bottom two balloons to your card to create a hot air balloon that lifts right off the page!
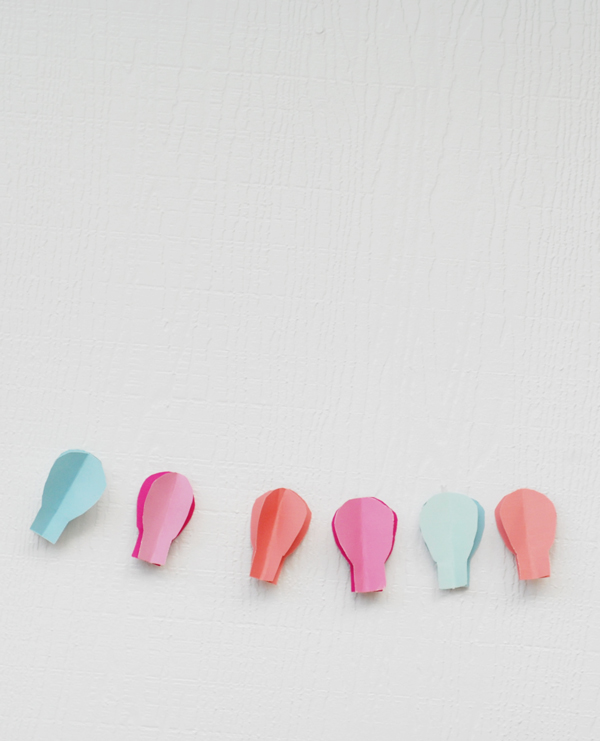
To make fun and festive festive party garland, hang the hot air balloons by stringing above the balloons and gluing to hold into place. This is an adorable detail for a kid’s birthday party or a baby shower.
To create a paper hot air balloon to send in the mail, print out our template at 300%, which will fill an 8″ x 10″ piece of paper. Follow the same directions as above for cutting and gluing. Be sure to make the basket equally as large.


Once the card is put together, write your note on the inside, fold in the basket and tape to secure. Address one of the bottom balloons, just like it was an envelope (be sure to add a bit of extra postage) and send away! These would make such creative birthday party invitations.


You can also use these hot air balloons for scrapbooking by pasting them directly onto your scrapbook page in a similar fashion as the greeting card cover. You may need to tape down the sides, depending on your scrapbook texture and size. To maintain the 3-D look, simply use a piece of tape rolled (not double-sided tape) and it will still allow the two front sides of the balloon to float up a bit.


Anyway you make the balloons, they will brighten the space and add a bit of fun and whimsy to your paper crafts.


By Victoria Hudgins and Craftsy
Craftsy
Want more details about this and other DIY projects? Check out my blog post!
Go
Frequently asked questions
Have a question about this project?
Comments
Join the conversation
Next