


Embossed Metal Heart Art on a Rustic "Pallet"
I love mixing and matching contrasting textures and looks...that is why I love the combination of the shiny metal with the rustic worn wood. I was asked to create some art for the mantel at my local coffee sop and this is what I did. It is a really simple project with a lot of impact. You can also paint the pallet or you can paint the hearts to suit your decor.
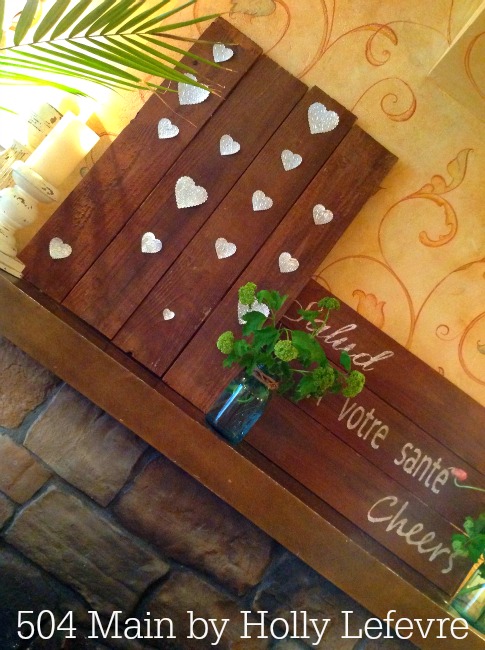
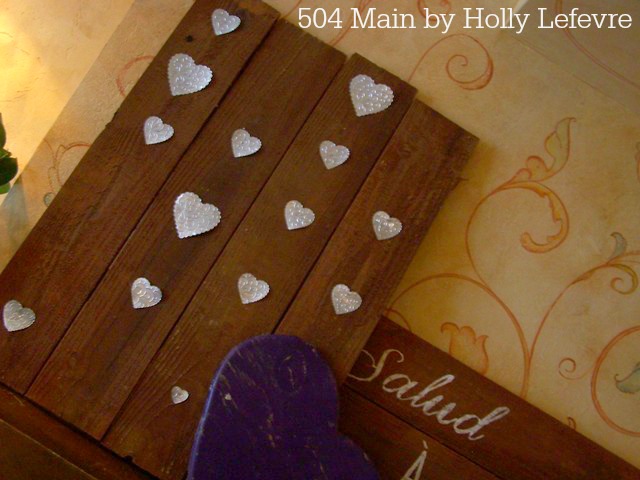
This art piece sits on a mantel at my favorite coffee shop! And now I need to make another for myself.
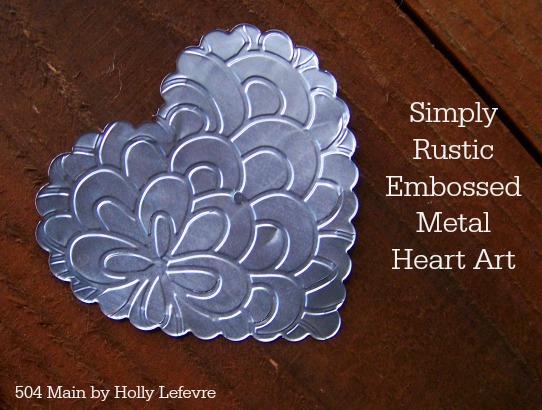
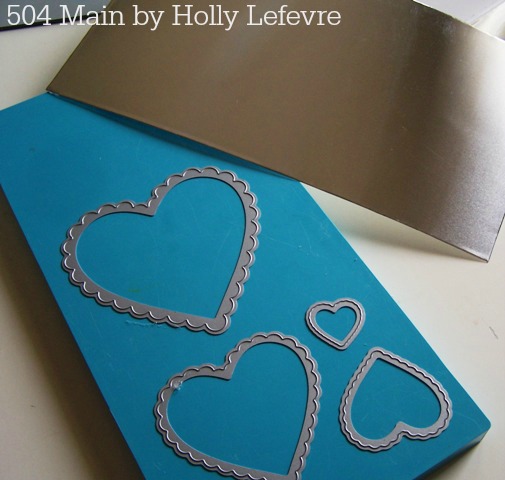
I adore these hearts in all their sizes! I cut a variety of sizes for this project and then placed them on the pallet.
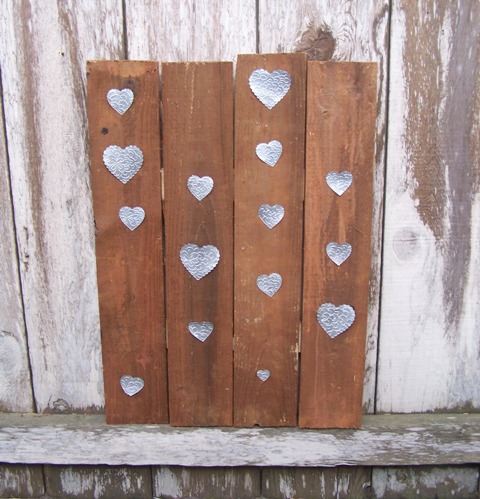
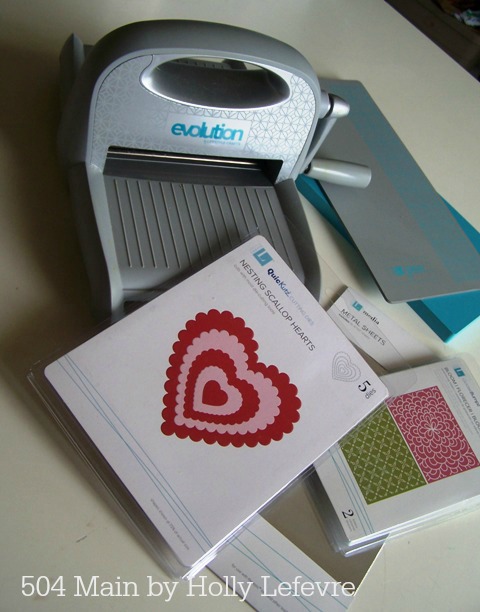
The final result is a piece of art that I just adore - some beautiful embossed metal mixed with the rustic charm of the aged, stained wood. You need the following Supplies:

Step 1:
Step 2:
Step 3:
Step 3A:
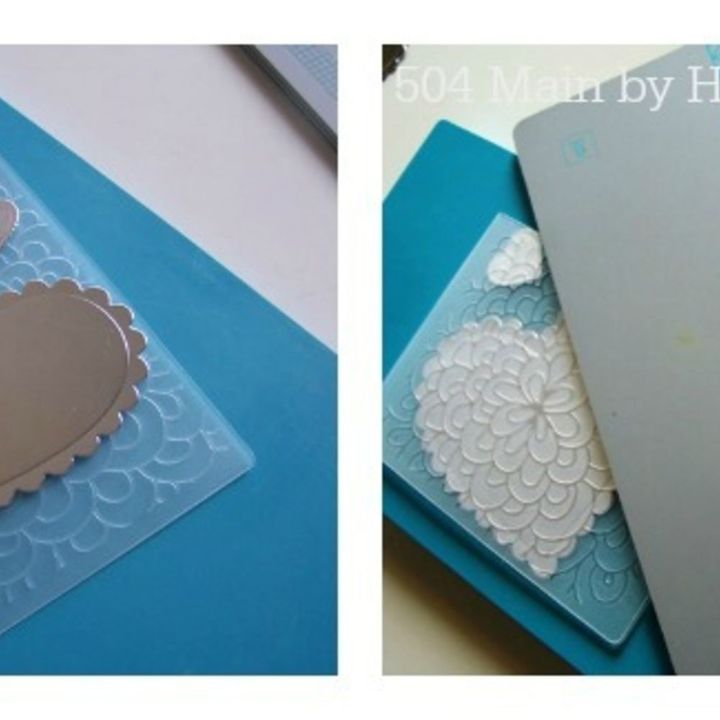
Step 3B:
Step 4:

Want more details about this and other DIY projects? Check out my blog post!


Frequently asked questions
Have a question about this project?