Damaged walls

by
Carroll B
+7
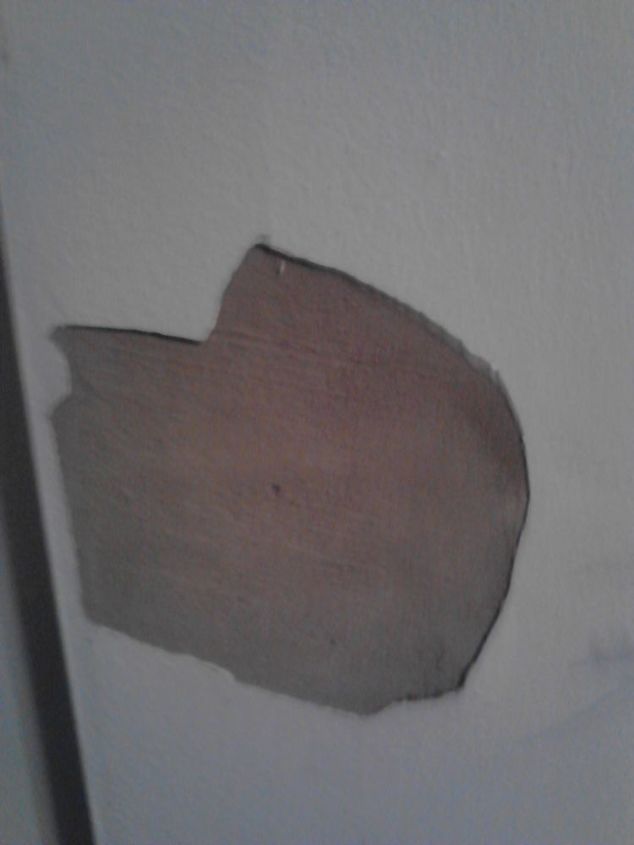
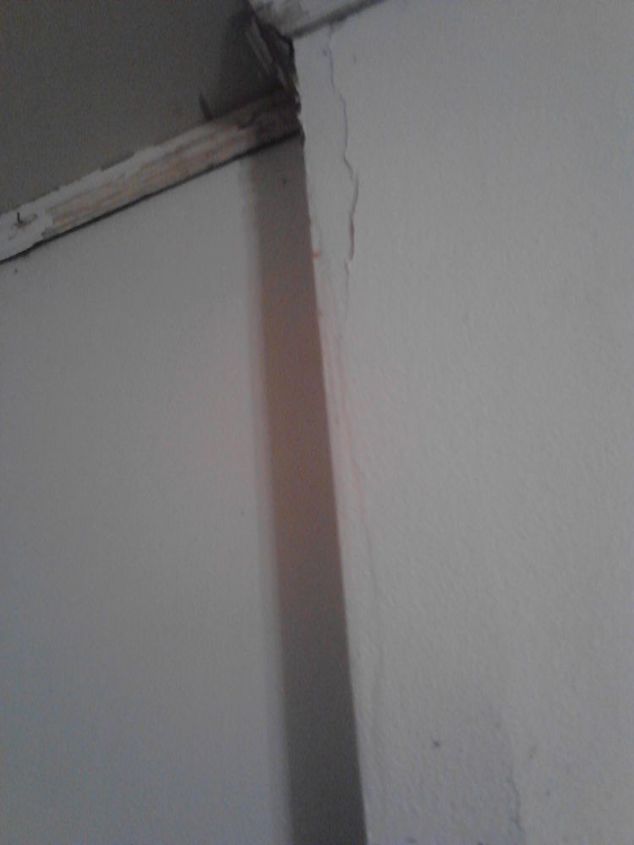
How do I repair this area of my walls after the roof leaked and caused this? I believe it's plaster or cement. The house was built in 1950. Any suggestions would be helpful. I ready to finish redoing my dining room.
5 answers
-
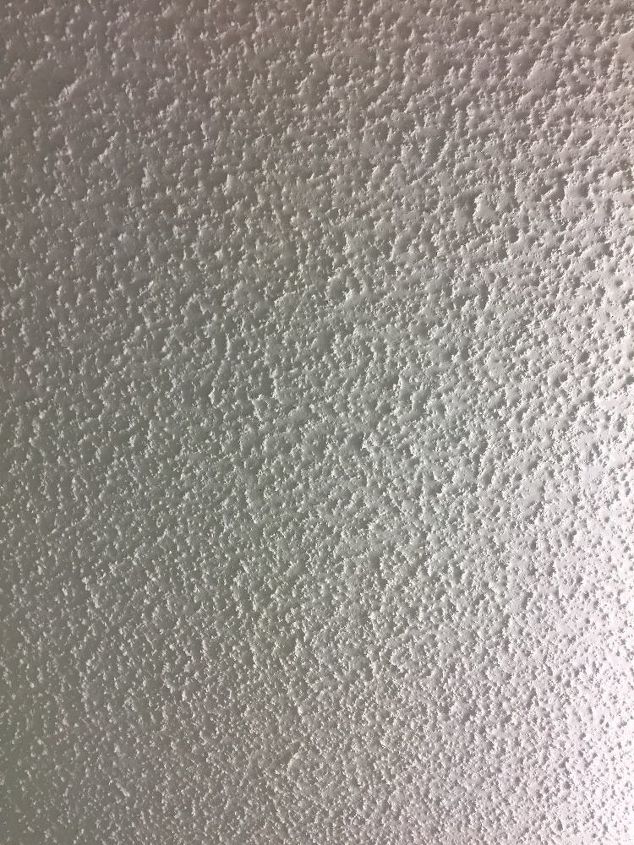
Your correct the old plaster has failed. The exposed material is the brown coat or scratch coat and the part that failed of course is the finish coat. The fix is not all that hard, but will take a bit of time doing it for the first time. First off you will need to make sure the surrounding finish coat is binding to the brown coat Gently try to lift the top coat off until it appears to be holding well. Then make sure the brown coat is fastened to the lath, If its flaky and falling apart you will need to gently using a stiff brush remove the really soft material so you have a better bond. This may or may not expose some of the lath behind. But its critical to make sure you have a good base, or all the work later will simply fail short order. Go to the big box store. They sell quick drying spackle in bags. The number on the outside tells you its setting time, not drying time. For a smaller area choose the 45 min set time. Using cold water mix this in a clean bucket. Use a paint mixer with the paddles not the cork screw type. Just faster and easier to clean. Mix the material according to the directions. The mix should end up being just a bit softer then peanut butter. Let it set for about two min then mix again. This will stiffen it to the peanut butter stage. Once you mix the 2nd time, using another clean bucket of water, run the mixer in that reversing the drill back and fourth to help clean the paddles. Unplug the drill and using a brush clean the paddles before the spackle hardens. Only takes a few seconds to do this, otherwise you will spend a lot of time removing the plaster once it sets. Then using a wide four inch knife and a wider trowel spread the spackle on the patch area and smooth it out carefully using the wider trowel. Try to fill the entire patch area at one time. If at all try not to over fill it, its better using a few coats until you get the hang of it. Do not keep going over and over it trying to make it perfect. Just try not to make it stand proud of the finished surface if you can. Just makes it harder to sand down later on. Clean and remove the rest of the plaster in the bucket and tools as soon as you can after filling the cracks and hole. Not doing so makes it difficult once it dries. This stuff will dry really hard. But before it completely dries but after it sets mix another batch and do another coat filling in the voids left from the first attempt. Once the holes and cracks have been filled to almost perfect. Let it dry overnight completely. Then carefully sand and then follow up with another final finish coat. Its here you can use regular spackle that comes in a bucket if you want, but once you use the powdered stuff. You will be hooked. AS it dries fast so the job can get done faster. Once the finish is smooth and feathered out around the edges a good quality prime coat, ideally two with each coat covering a bit more of the wall or ceiling at a time so it builds up. Let dry and finish using color paint of choice.
 Woodbridge Environmental Tiptophouse.com
on Sep 15, 2014
Woodbridge Environmental Tiptophouse.com
on Sep 15, 2014
- See 2 previous
-
@it'sa lot of work-plaster or spachtel then sanding smooth and FEATHERING so it will be the same thickness & level with the rest of the wall, then primer & paint-u might ea`nt to consider professional help
 Louis Lieberman
on Sep 15, 2014
Louis Lieberman
on Sep 15, 2014
-
Bead board is my go to for almost all wall issues. It's easy to put up and not very expensive.
 Becca
on Sep 15, 2014
Becca
on Sep 15, 2014
-
There is also Bead board wallpaper. I have seen images of it; I've never shopped for it, however, so I don't know if it is expen$ive or not.
 Pinkinklingz
on Sep 15, 2014
Pinkinklingz
on Sep 15, 2014
-
From what I can see, the large dark area, I would be tempted to paint a 'garden' effect, have the flowers around the 'circle' of the dark part, and add 'bushes' and/or paint your chairs around the other end so it looks like you are sitting in the garden
 MARY FISHER
on Mar 17, 2015
MARY FISHER
on Mar 17, 2015
Sign Up to Answer