


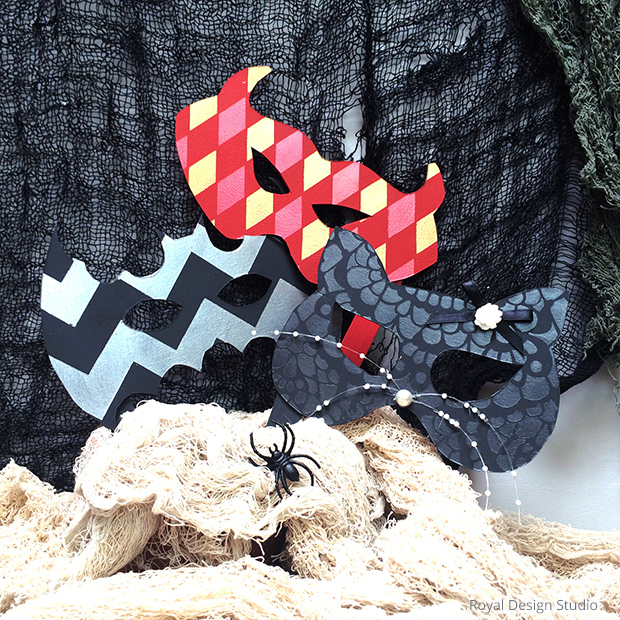
Halloween DIY: Stenciled Masks for a Masquerade

Have a wickedly good time all dressed up with your own stenciled mask! Here are the supplies you will need to create your own stenciled mask:
Thin Plastic or cardboard
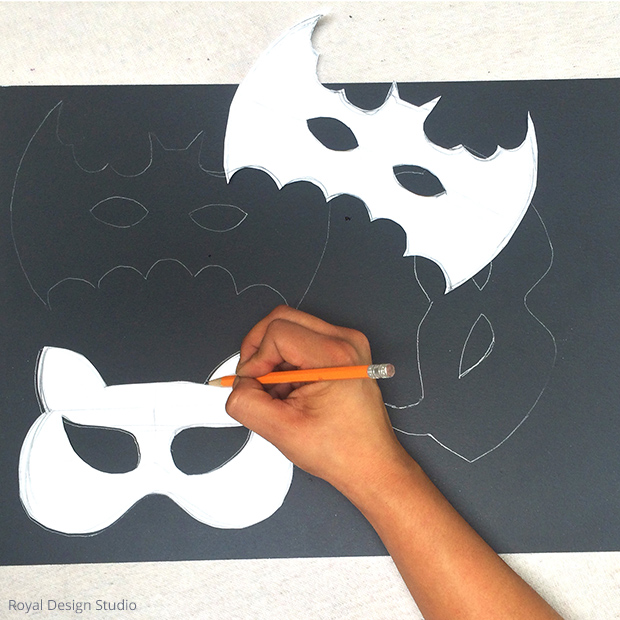
Step 1: Look online for several different Halloween mask printouts, or create your own you can choose from different animals, cats, bats, devils or stick to the more traditional shapes.
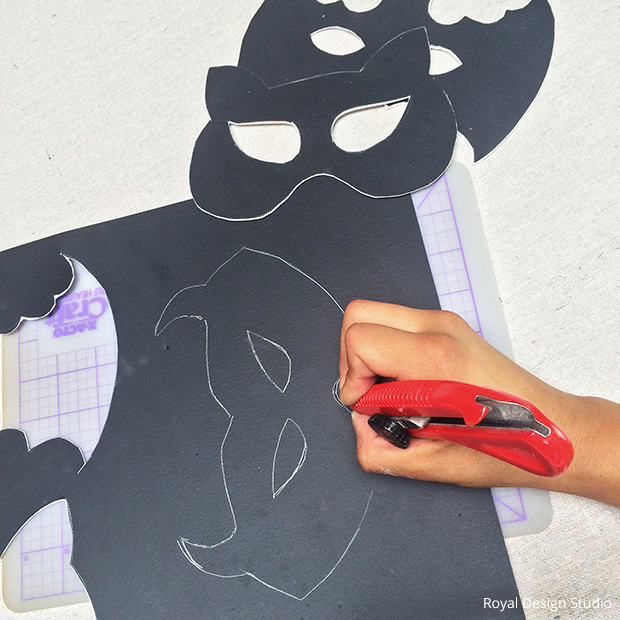
Step 2: Trace them in to the piece of cardboard or thin plastic, and cut them using a pair of scissors or a X-acto knife.
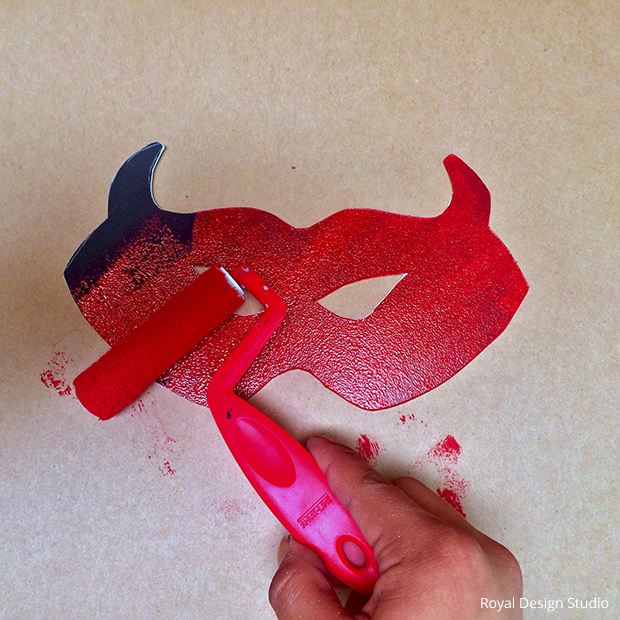
Step 3: Paint your masks with a base color we chose red and black for our masks.
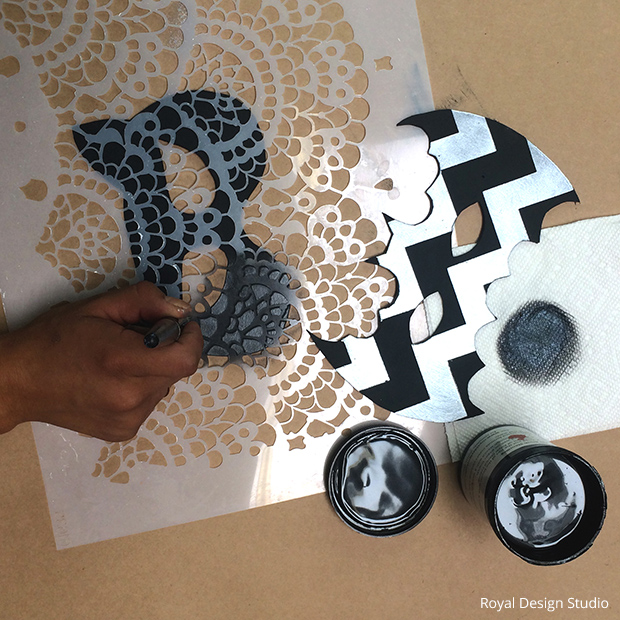
Step 4: Pick a Halloween Craft or Furniture Stencil and and stencil on the masks using a 1 inch stencil brush and Metallic Stencil Cremes.


Frequently asked questions
Have a question about this project?