


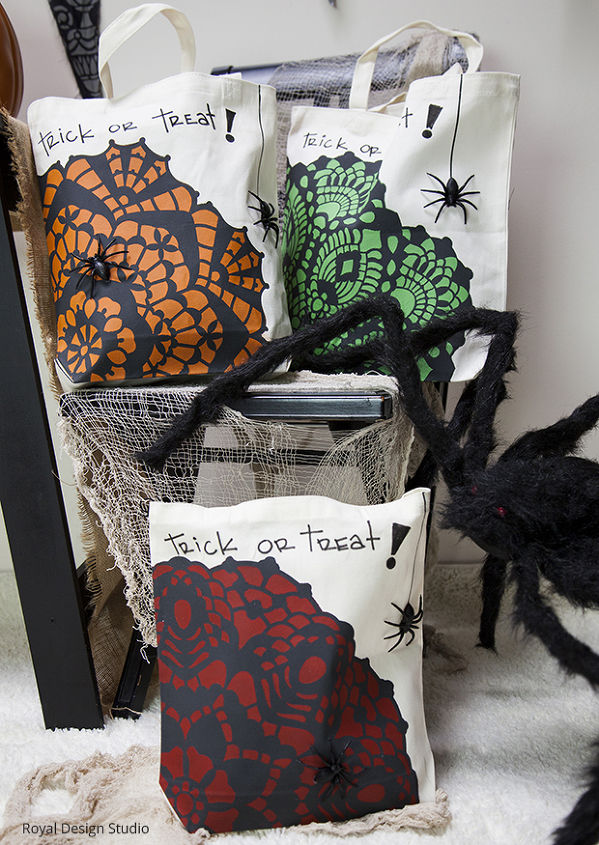
Halloween DIY: Stencil Trick-or-Treat Bags

Get more boo for your budget by stenciling your own Trick-or-Treat bags! You can customize them to match your kid's costumes or personalize them with their names! One thing for sure is these stenciled bags are all treat - no trick! This project illustrates how you can make three bags. Here are the supplies you'll need:
3 Canvas tote bags
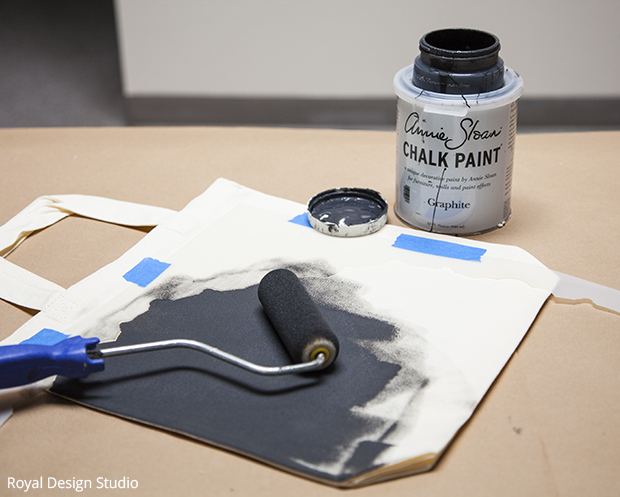
Step 1: Doilies are a 2 layer stencil that includes the silhouette and the detail. First stencil the silhouette using a foam roller and Graphite Chalk Paint. This will later become the lines for the spider web. Allow to dry.
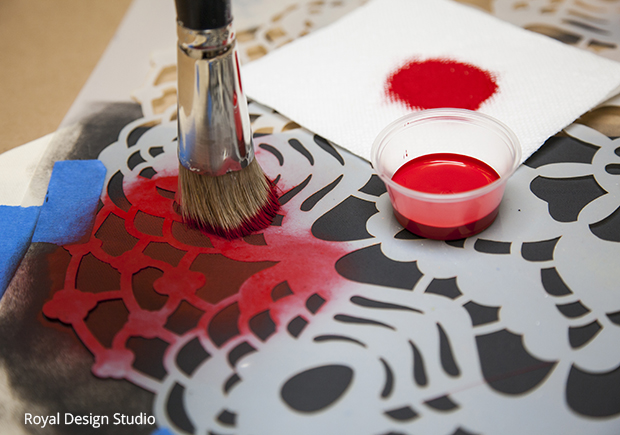
Step 2: Leave the silhouette in place and lay the second layer of the stencil inside. Using a stencil brush with a contrasting color, for this project we used Barcelona Orange Chalk Paint, Antibes Green Chalk Paint and Emperor's Silk Chalk Paint. Stencil the details of the doily.
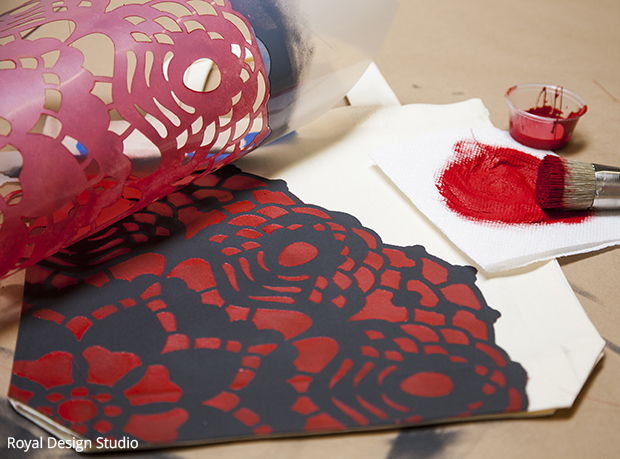
Step 3: Remove the stencil and allow to dry.
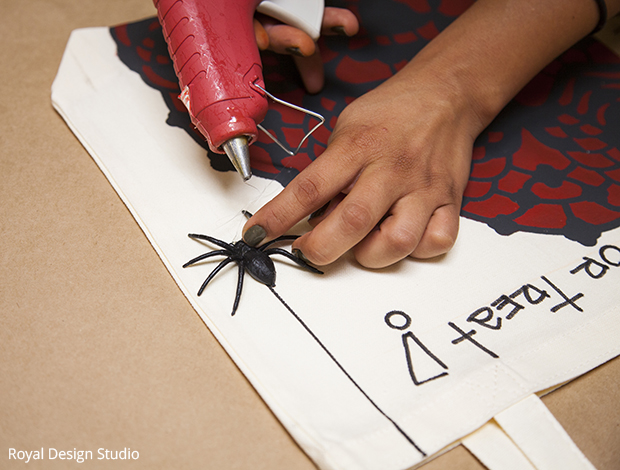
Step 4: Using a tee Juice pen or a Sharpie, write "Trick or Treat" across the top of your bag. Another idea would be to put your kids' names to personalize the bags!


Frequently asked questions
Have a question about this project?