


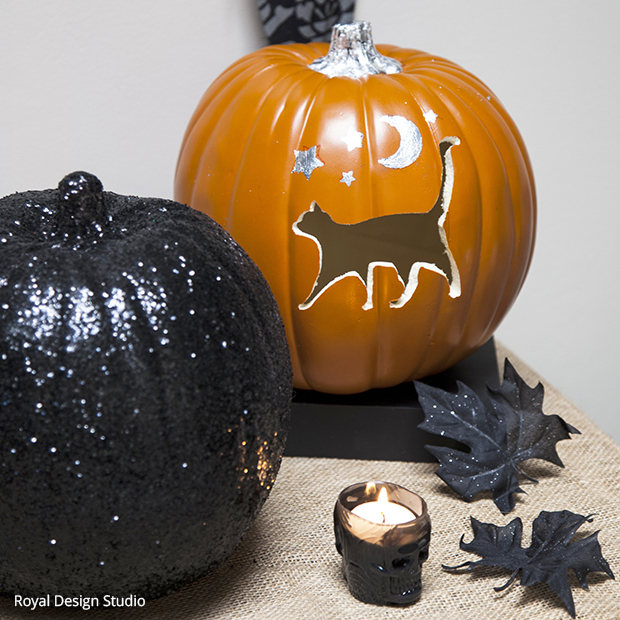
Halloween Stencils to Carve a Faux Pumpkin

Stencil some spooky spirit into your home with a carved faux pumpkin! Try any of our bendable mylar Halloween Stencils that are available in multiple sizes and can fit a variety of pumpkins! Below are the supplies you will need for this project:
Faux carving pumpkin
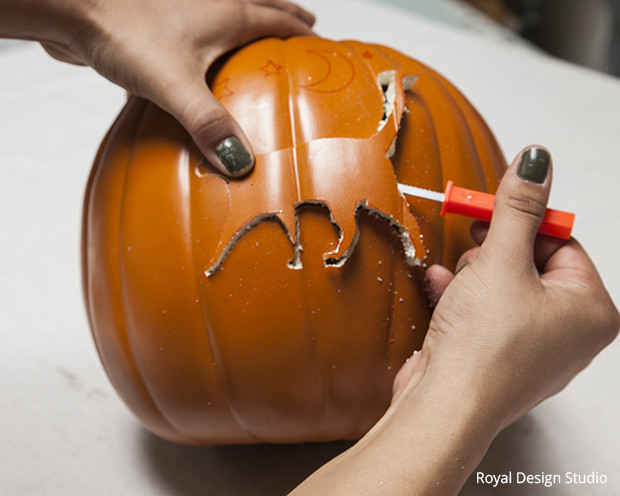
Step 1: Place your stencil on top of your pumpkin and trace with a sharpie. Following the sharpie lines start cutting with a carving knife.
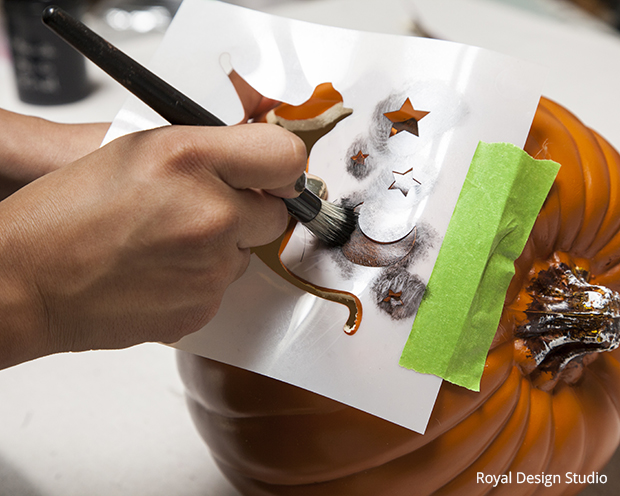
Step 3: Replace the stencil. Apply black stencil size to the design elements of your stencil that were not carved. We also applied the size to the stem. Two coats will be needed and allow 10 min between coats.
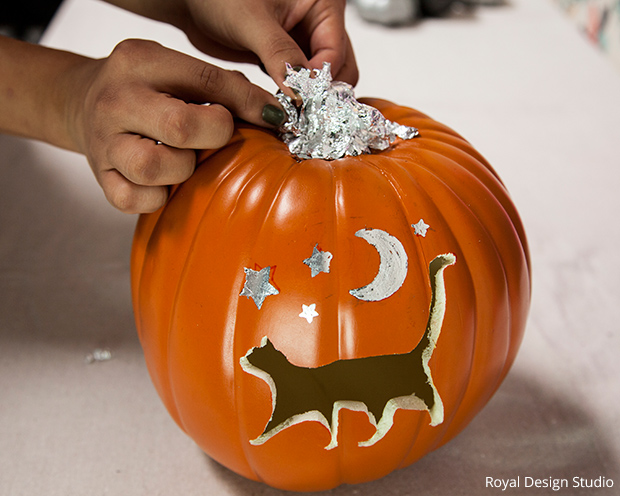
Step 4: When size becomes tacky, approx. 10 minutes later, apply silver leaf to the stem, stars and moon.
Comments
Join the conversation
3 of 4 comments
-
Thank you, @Hannah V Are you planning (or already doing!) any Halloween crafts this year?
-
Where did you find the black glitter leaves? I must have these...


Frequently asked questions
Have a question about this project?