


How to Re-furbish a Tired Wreath
Maybe you don't have to toss a tired wreath. See how I revamped, restored and renewed my tired fall wreath. Simple...simple...simple!
Follow the steps below and create your own masterpiece.
Follow the steps below and create your own masterpiece.

This poor wreath had seen better days, but I couldn't bear to toss it because it's been on a journey with me. Here's what you do.

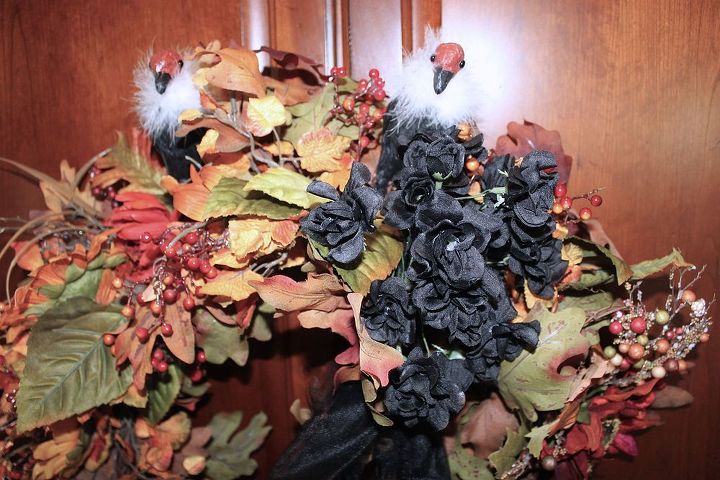
2. Once you've decided on a color scheme, head to your local craft store and select the fall picks (flowers and adornment on a wire, wrapped pick). I used 6 to fill in.

4. Begin at the bottom of the wreath and gently weave the pick through the grapevine until it is placed where you want it and nestled in place.

6. I wanted to add some Halloween decor to it. I added two vultures to the top and secured them with wire so that they're peering over the top.
This wreath will take me through Halloween and then I'll add a merlot-colored silk wire bow for Thanksgiving. This took me from start to finish...all of 20 minutes.

HAPPY FALL TO ALL!

Want more details about this and other DIY projects? Check out my blog post!
Comments
Join the conversation
1 comment
-
Good Job Cindy! You definitely gave this awesome wreath another 10 years. I have a couple that I need to re-do. Now that I've seen how easy it is I think I'll make plans to start mine. Thank you for sharing!


Frequently asked questions
Have a question about this project?