


DIY Quick and Easy Fall Centerpiece
$3.50
1 Hour
Easy
I wanted a simple centerpiece that I could use for more than just the fall season. Looking at Pinterest, there are a ton of wood boxes out there. I knew that I could make one with things that I already had at home and that it could be used for multiple seasons.
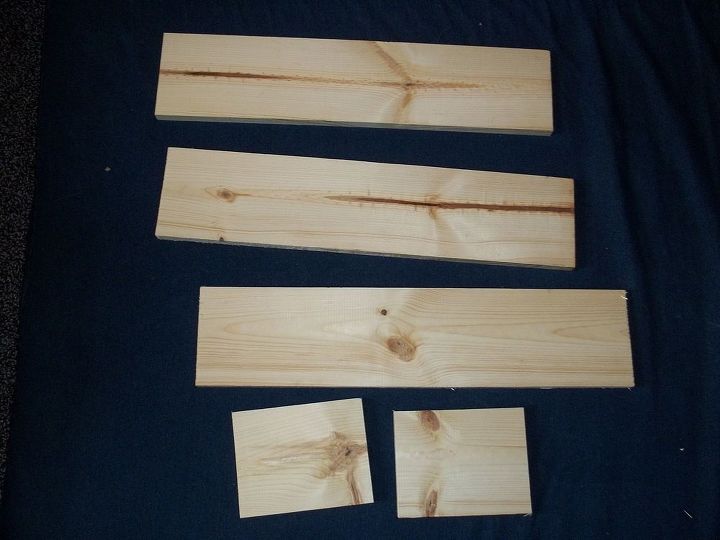
If you don't have wood laying around, it only takes one board to build. You can buy one for under $3.50 and it took me less than an hour to build! For more details, please visit my blog at http://jaimeofalltrades.blogspot.com/2014/09/diy-quick-and-easy-fall-centerpiece.html
If you don't have wood laying around, it only takes one board to build. You can buy one for under $3.50 and it took me less than an hour to build! For more details, please visit my blog at http://jaimeofalltrades.blogspot.com/2014/09/diy-quick-and-easy-fall-centerpiece.html
Here are the directions to make your own.
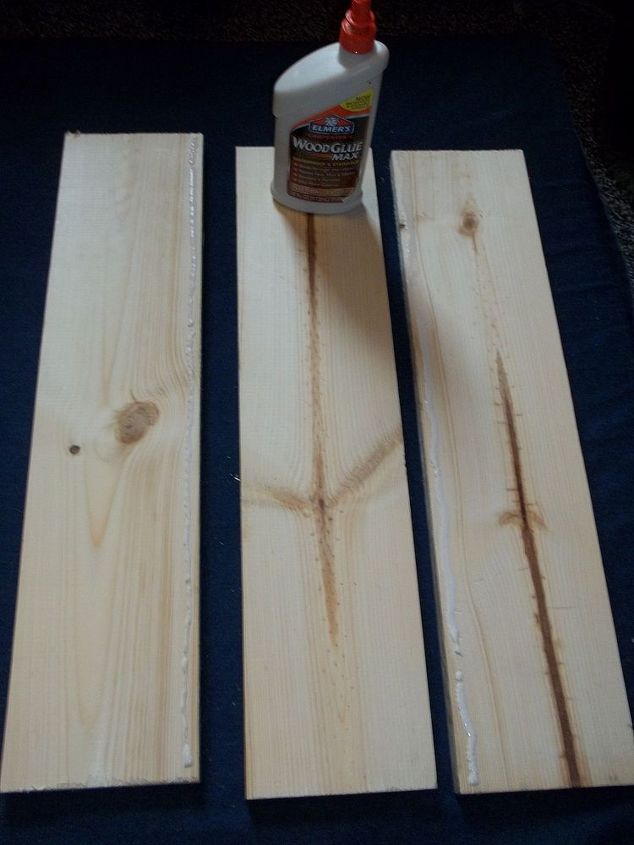
Step 2: Using wood glue, attach the two sides to the base.
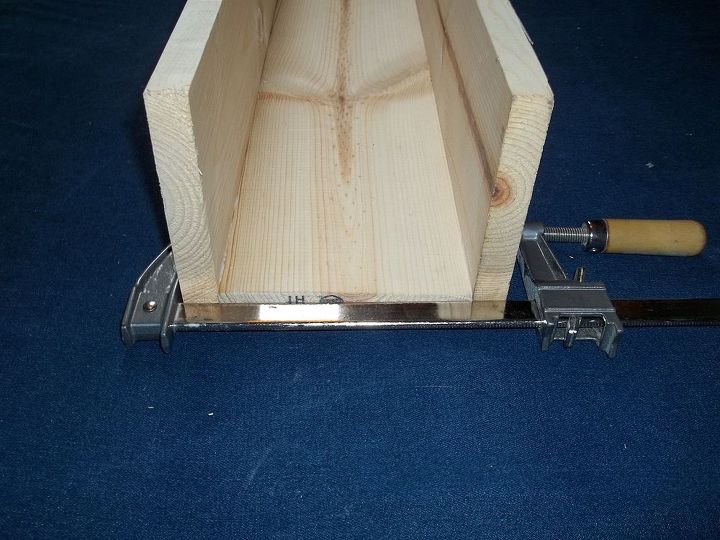
Step 3: Clamp the sides to the base until the glue has dried.
Step 4: Glue on the ends of the boxes.

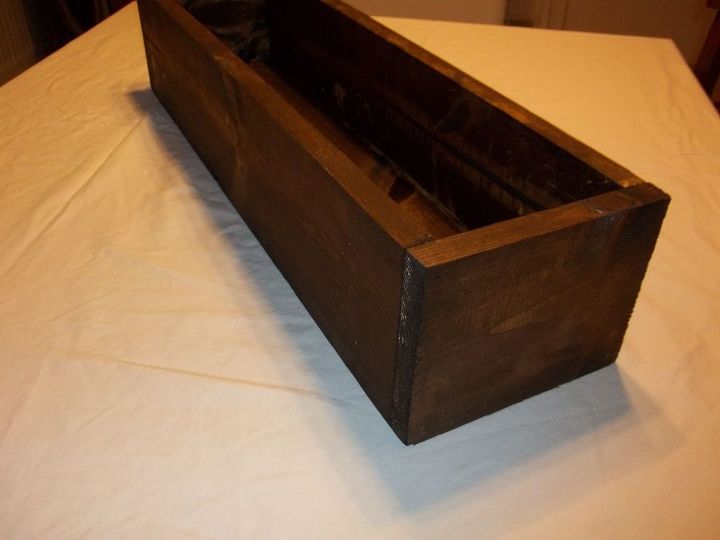
Step 5: Stain or paint your box. I used Minwax Dark Walnut stain that I had leftover from another project. I'm not the greatest sander, so ignore the weird spots. :-)
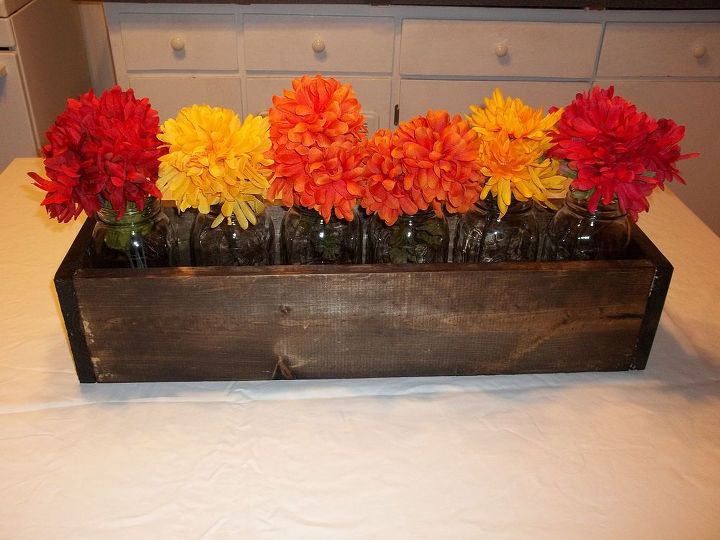
Step 6: Add any decor that you like. I added some Mason jars and artificial Mums for the Fall season. Other options for fall could be small pumpkins and gourds, candles, autumn leaves, the list can go on and on.
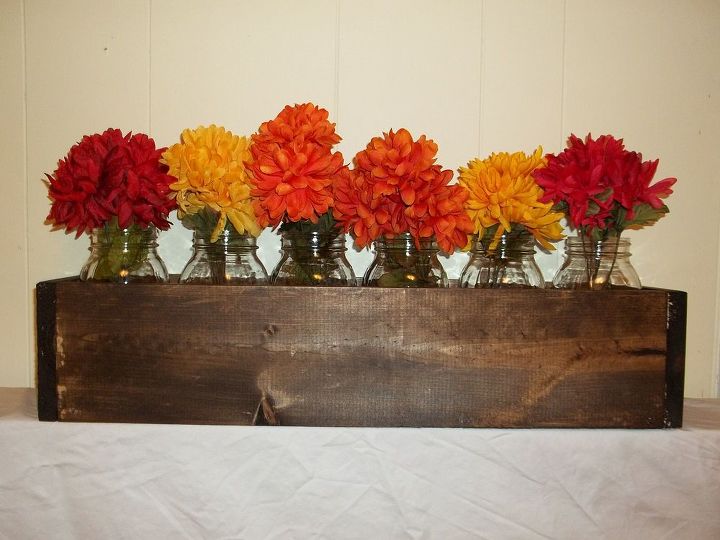
Step 7: Enjoy your customizable centerpiece wood box. This simple box can be used for any season or holiday by simply changing the contents of the box.

Want more details about this and other DIY projects? Check out my blog post!
Comments
Join the conversation
2 comments
-
Fabulous! I've not been brave enough to build anything as yet, however, your photos and instructions have inspired me to attempt to make the box as my first ever project. I have a bunch of scrap pallet wood that I can use and am so excited to 'have a go'!


Frequently asked questions
Have a question about this project?