


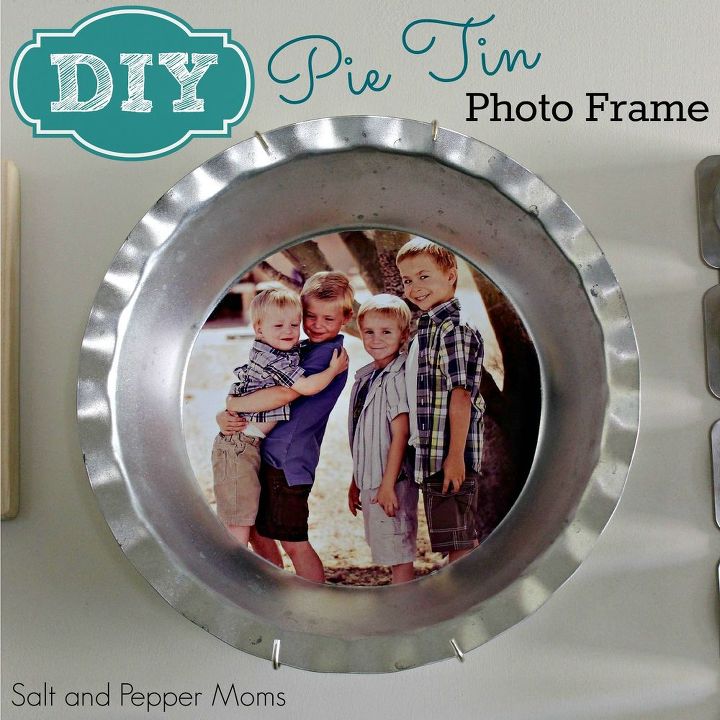
DIY Pie Tin Photo Frame
$8
5 Minutes
Easy
Awhile back I saw the cutest idea on Pinterest to use pie tins as photo frames. I clicked on the link, but it was simply an inspiration picture in a European home magazine. No tutorial was given. Atleast... I don't think one was. It's kind of hard to tell when everything is written in German, lol! But I still loved the idea, so I decided to set out to make my own! Here's what I did:
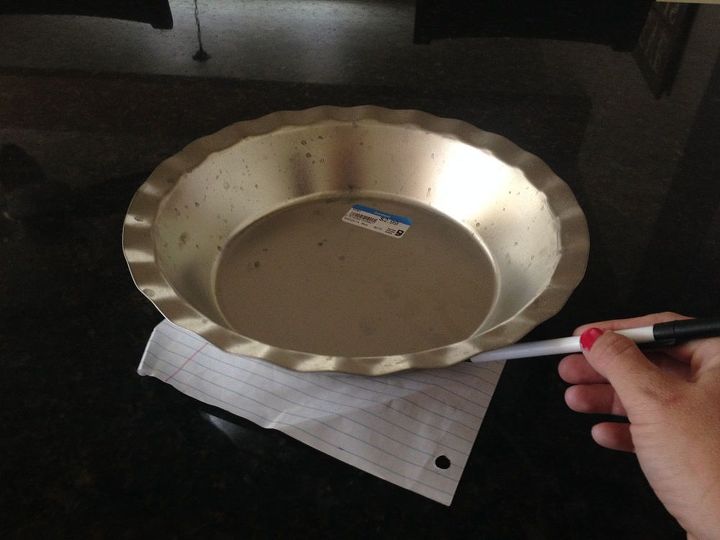
Step 1 - Set your pie tin right side up on a scrap piece of paper (pay no attention to the scribbles all over my scrap paper) and use a pen or pencil to trace the center of the tin. Cut out the circle and place it inside the pie tin to make sure the size looks about right. You may need to trim the circle down a bit to get it just right.
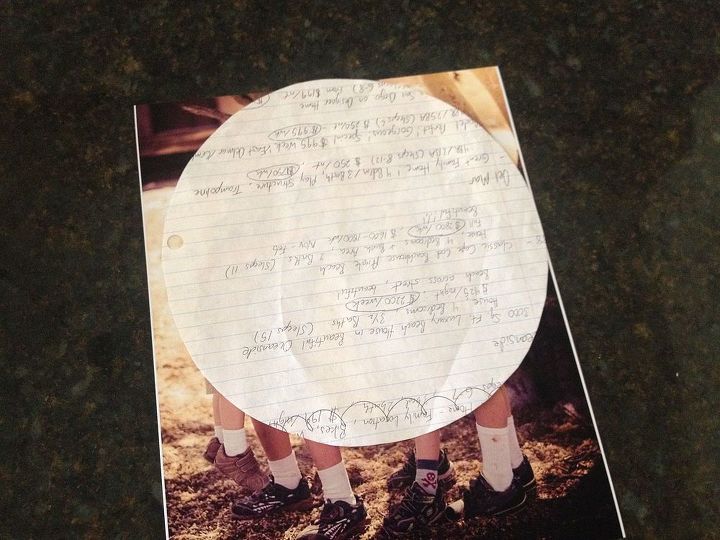
Step 2 - Once your paper circle is the right size, place it on the front of your photo you want to use to line it up and determine where you would like to trim it. At this point you can simply trace around the circle on the front of the photo or turn the photo over to trace the circle on the back of the photo, lining it up as closely as possible to the area you wanted trimmed on the front. I chose to trace my circle on the back of the photo to prevent any unwanted pen lines from showing up. Cut out the traced area.
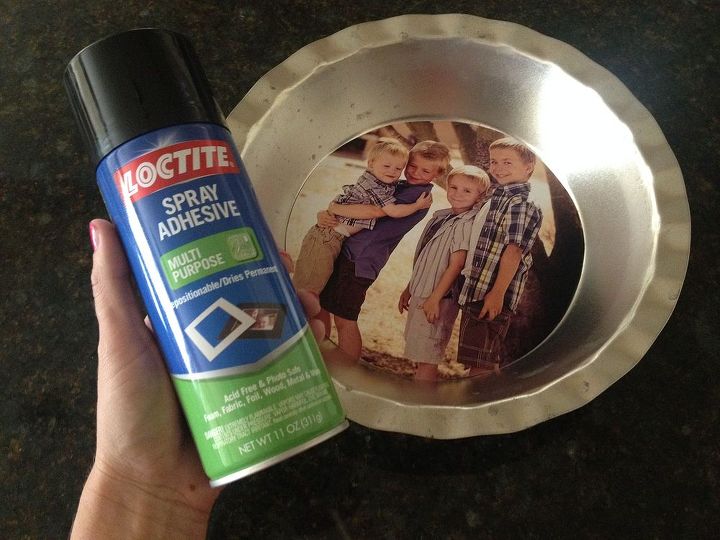
Step 3 - Spray the back of your cut out photo with spray adhesive. Lay it right side up in your pie tin and use a soft rag or paper towel to gently press the photo into place, making sure to iron out any wrinkles as you go.
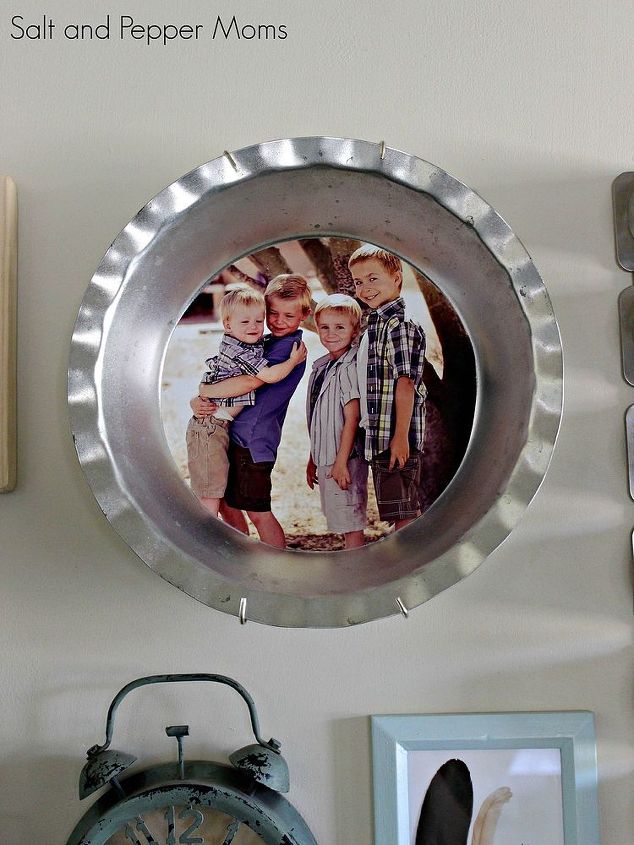
Voila! You're done! A super cute, slightly quirky, and definitely out-of-the box way to display a favorite photo! I love the personality it adds to my Family Command Center in my kitchen!

Want more details about this and other DIY projects? Check out my blog post!
Comments
Join the conversation
2 of 61 comments
-
who cares its cute and creative
-
This reminds me of Revenge of the Nerds with the cream pies! :)


Frequently asked questions
Have a question about this project?