


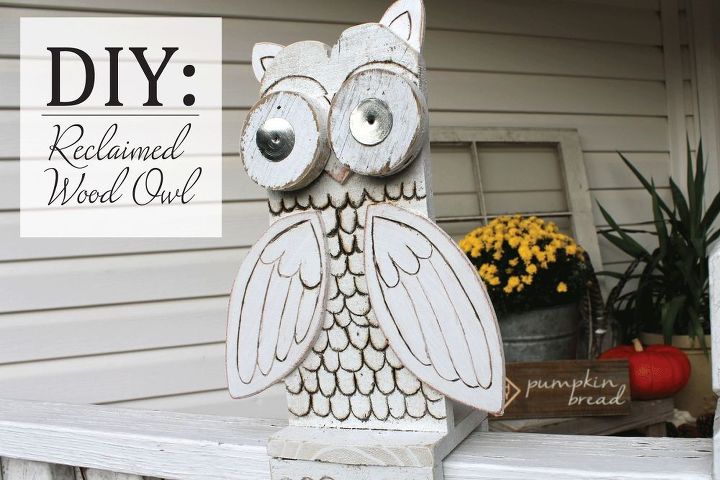
Reclaimed Wood Owl
Happy Fall Ya'll! :) Today's project comes brought to you by pieces of random scrap wood, and two itty-bitty mason jar lid "innards". Isn't it amazing how many crazy and creative projects you can make with just stuff you find around the house, or from leftover projects?
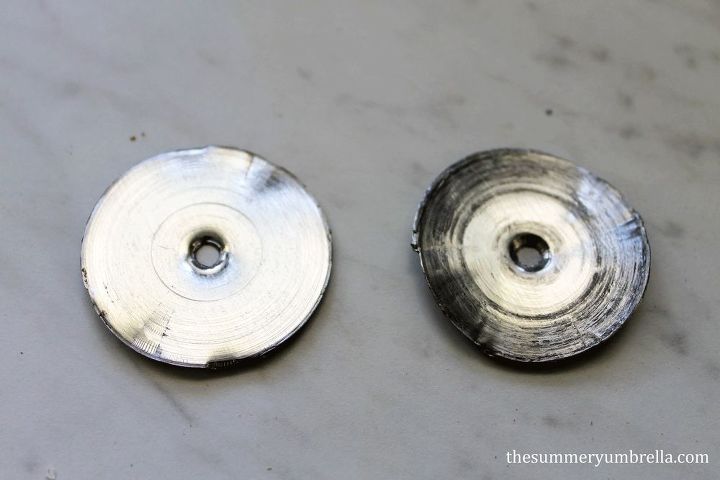
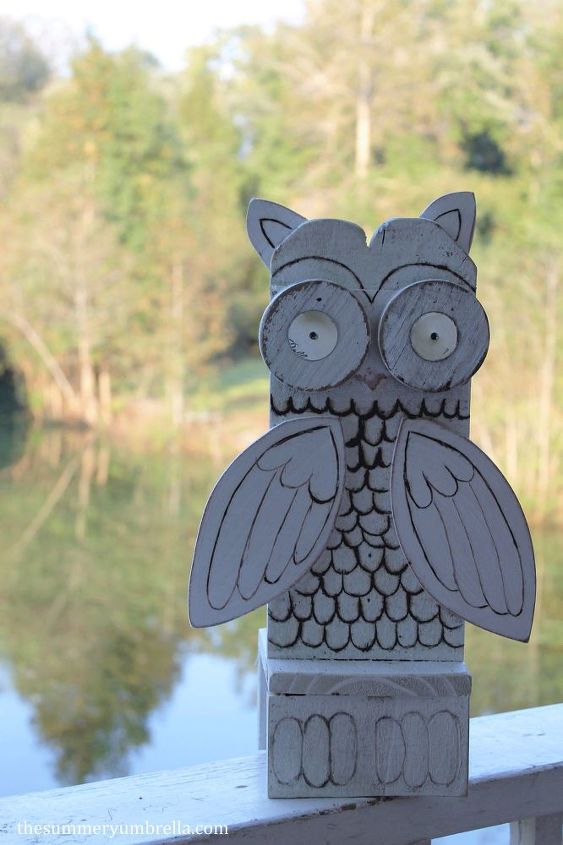
For instance, these two circles are the "innards" that are taken out when Mike and I make our reclaimed wood mason jar shelves.
For instance, these two circles are the "innards" that are taken out when Mike and I make our reclaimed wood mason jar shelves.
Do you remember the Mason Jar Pendant Light that we made last week? These are the "innards" of the mason jar lids.
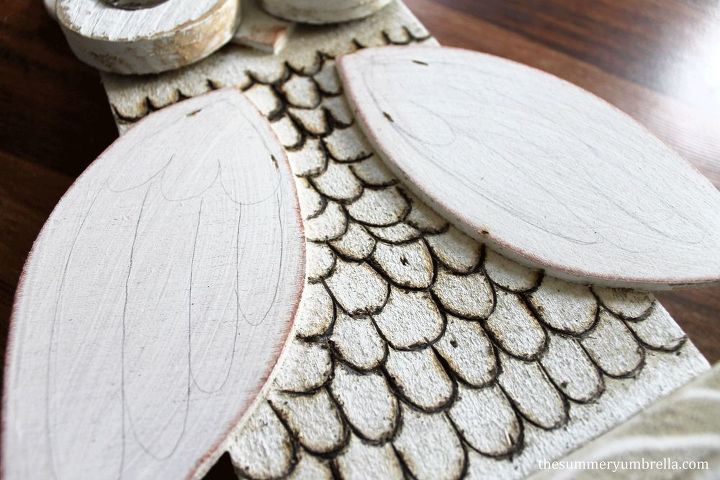
This project took quite a few tries to get it right, and unfortunately I do not have any exact measurements for anything.
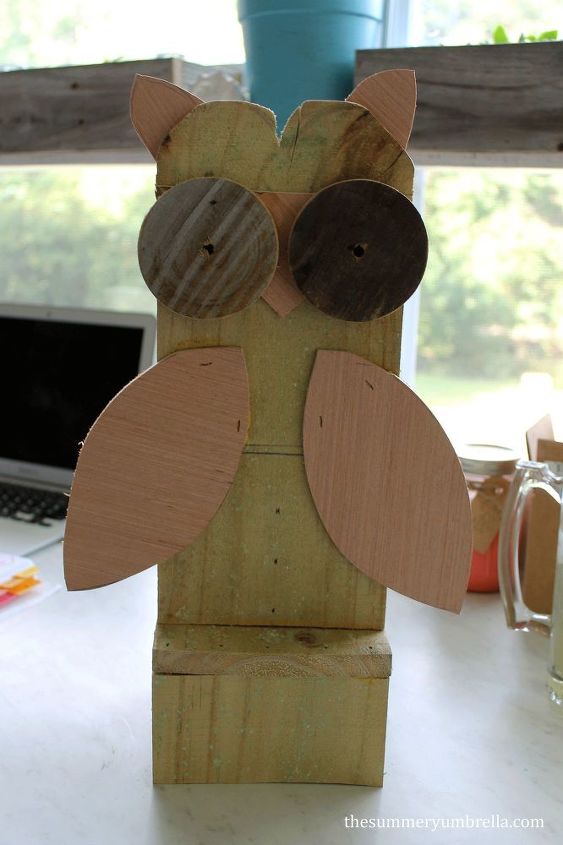
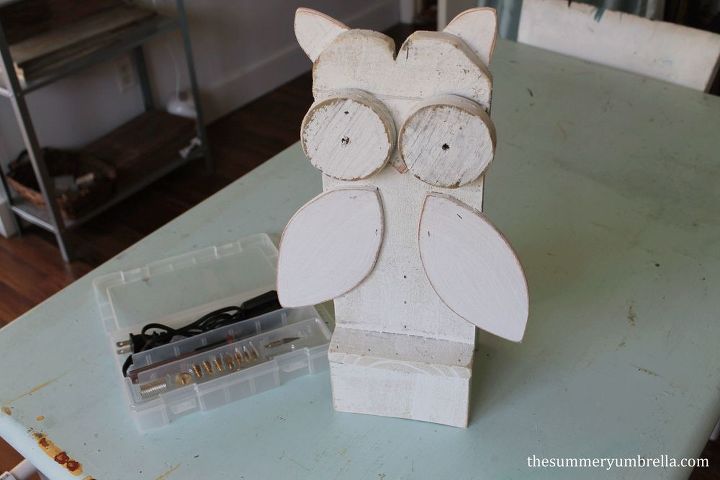
Tip: It would have been sooooo much easier to use the wood burning tool PRIOR to putting my owl together. Since I'm a novice with this tool I had a lot of trouble maneuvering it around the different layers that I had already constructed. I will definitely need to remember this for next time!
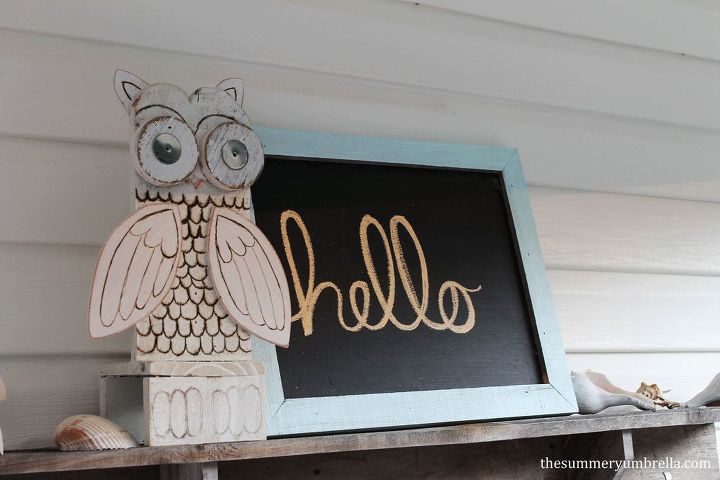
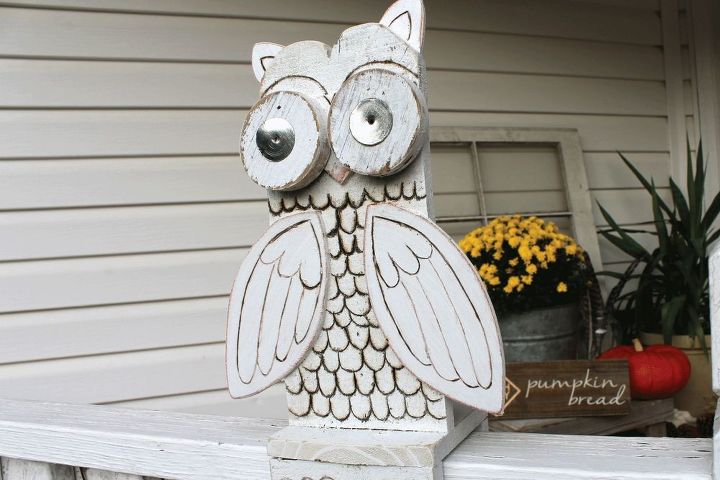
After all of the details had been burned into the owl…. WA-LA! Oxford the Owl was ready for the outdoors. :) Eek! So psyched how cute he is!!

Want more details about this and other DIY projects? Check out my blog post!
Comments
Join the conversation
3 of 11 comments
-
Thanks, I just looked you up on etsy! Good luck... 😃
-
Thank You for sharing so cute.


Frequently asked questions
Have a question about this project?