


DIY: Farmhouse Table Tutorial

by
Heather Hess
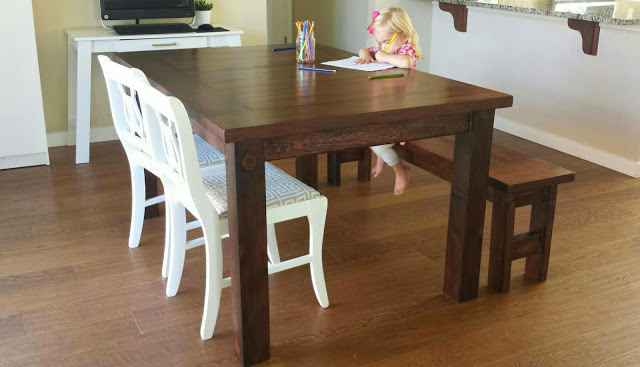
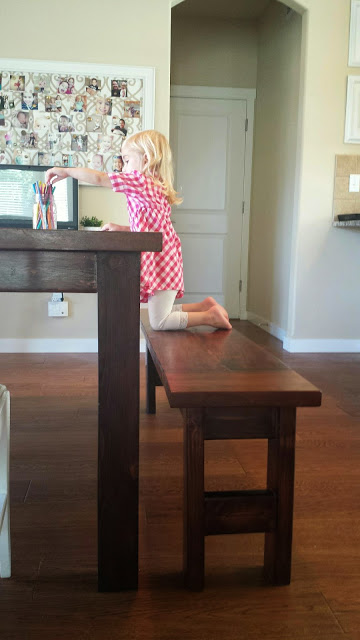
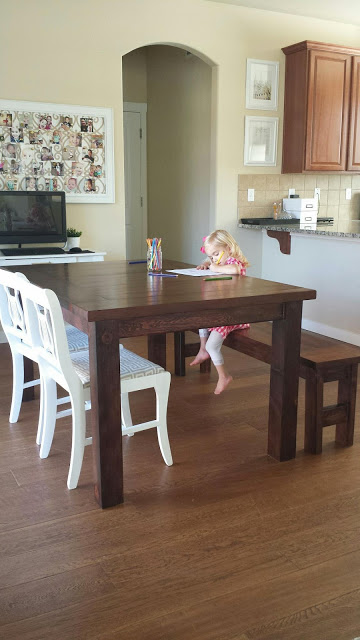
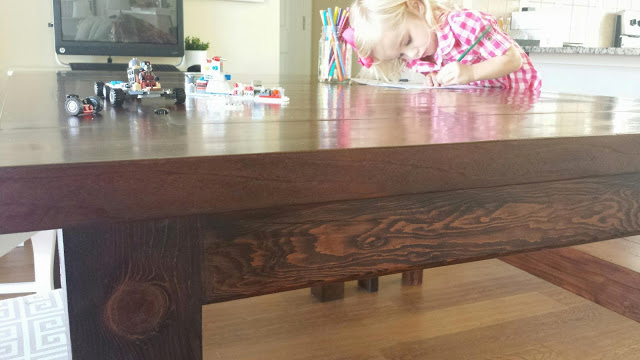
Let me start out by saying I have an amazing father-in-law. He built our new dining room table and bench with his own plans. We discussed what type of table my husband and I wanted and he made it happen. We originally planned on more formal white legs with a wood top but I changed my mind at the end. I am so glad I did because I absolutely love it now.
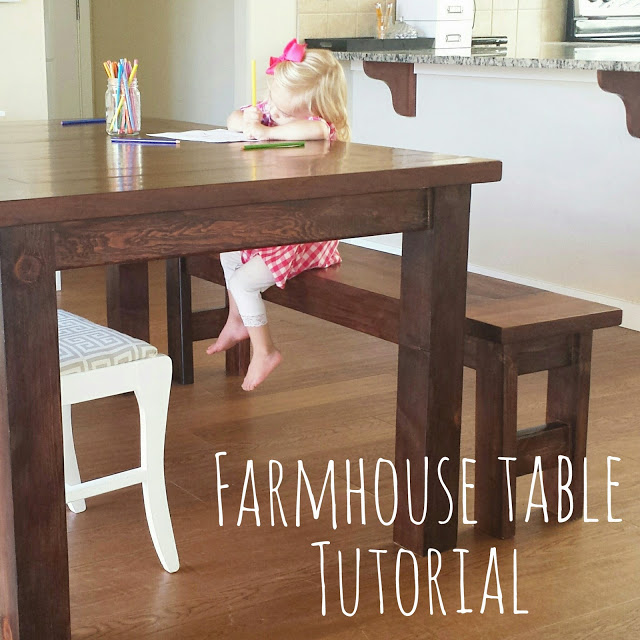
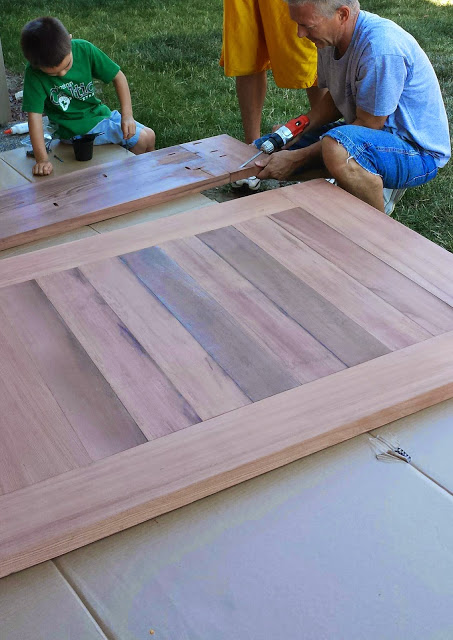
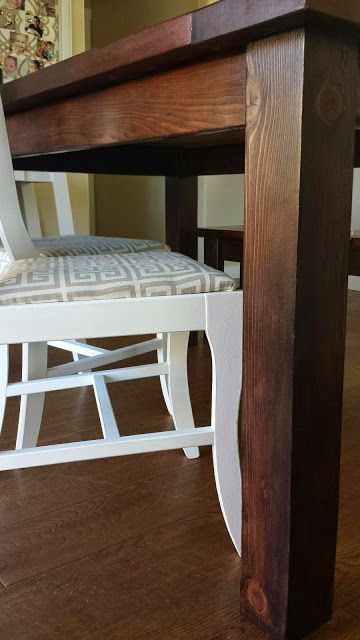
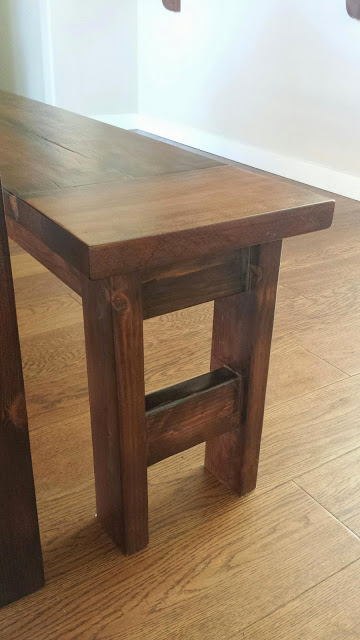
I do not have a tutorial for the table building plans since I did not build it myself, but I will share how we stained and finished our wood. The top of the table is Redwood, but since I changed my mind on the legs, we had to use different wood for the legs. This made it a little tricky when staining but we found a perfect match. On the top we used Early American by MiniWax, and on the bottom we used Red Mahogany by MiniWax. We did this to even out the differences of red tones in the wood. I applied the stain with a rag in a wiping motion and did 2 coats.

Tabletop Finish Instructions:
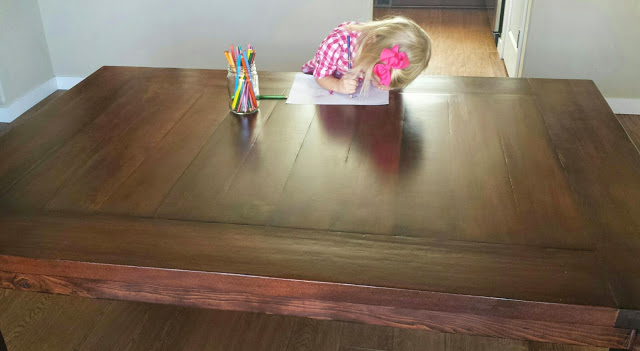
We have been using this table for a couple months now and I highly recommend the finish we used. We have had many spills and they wipe up so easy.
Want more details about this and other DIY projects? Check out my blog post!
Comments
Join the conversation
2 of 4 comments
-
Gorgeous table!
-
Thank you for sharing, very beautiful.


Frequently asked questions
Have a question about this project?