


Upcycled Tripod Table
$7
Medium
Take a basic tripod table and turn it to something awesome with this step by step tutorial!
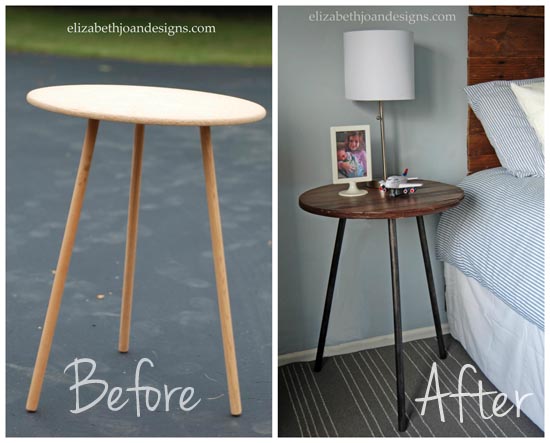
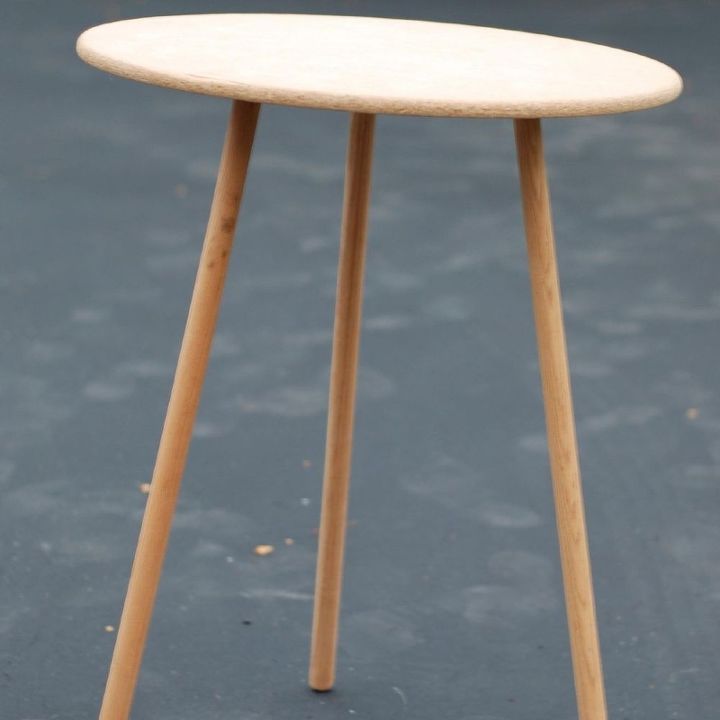
I had been searching everywhere for the perfect table to use as a nightstand in my son’s room. (And by everywhere, I really mean the side of the road and garage sales.) I was looking for something narrow, tall, and with an interesting shape when I came across a basic tripod table. The asking price was a whopping $1 at a yard-sale. I decided it was a fair price, skipped the negotiation step, and went straight for the purchase. I was so excited to have found something so cheap.
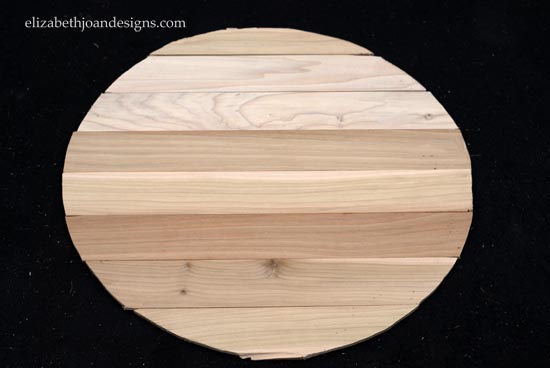
Using a jigsaw I cut out the planks of wood to fit the table top. I purchased the wood at Lowes for around $5.
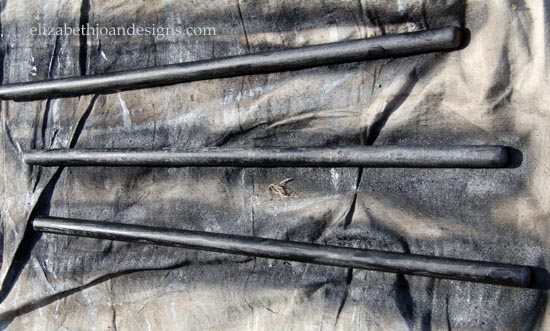
The three legs were sprayed with Rust-Oleum’s Oil Rubbed Bronze Paint and Primer in One to give them a slight metallic look.
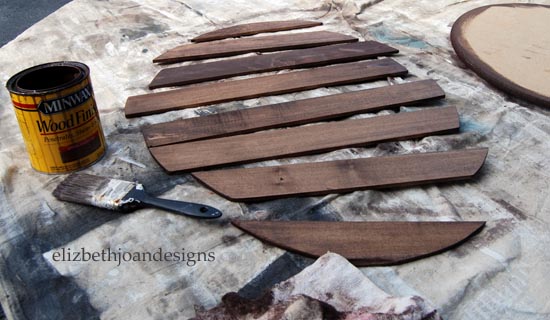
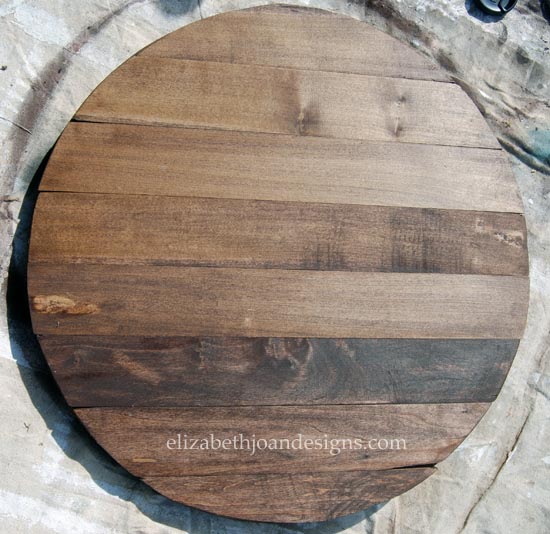
Then, I sanded each plank and stained them with my favorite wood stain, Minwax Special Walnut. I applied a couple coats of Minwax Polycrylic to give the table top a little extra durability.
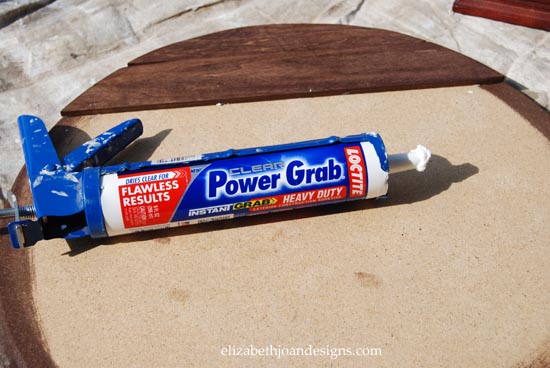
I used adhesive to adhere the planks to the top. The processes was pretty quick and I left the table over night to dry.
In the morning I reattached the legs and the table was ready for use
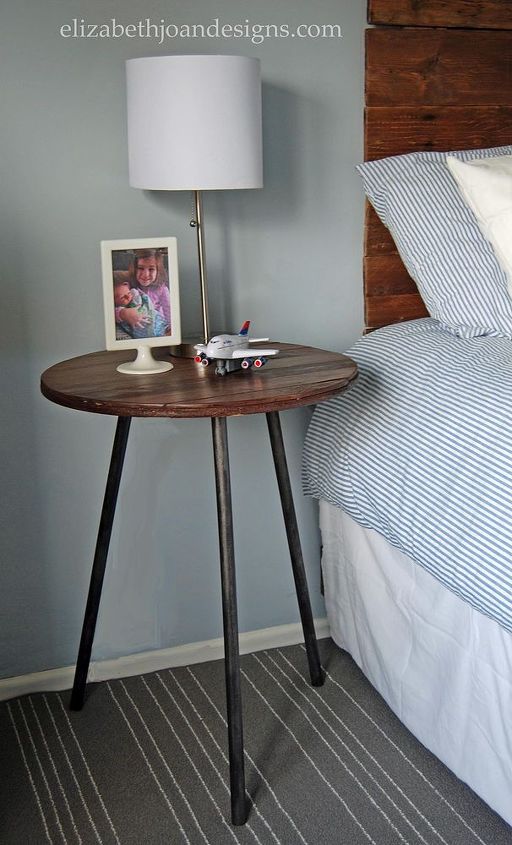
I am so happy with how this table turned out! What do you think?

Want more details about this and other DIY projects? Check out my blog post!
Comments
Join the conversation
2 of 6 comments
-
Neat! I have one too, but i cover mine with hand made small tablecloths that go all the way to the floor and change with the seasons. It adds an unusual spot of color to the bedroom and a nightstand too.
-
Great idea putting the wood on top to weigh it down those were pretty lite and fell over ..Looks great !.


Frequently asked questions
Have a question about this project?