


Easy DIY Halloween Pillow "Toppers"
We've been having fun updating our fall porch decor with a bit of fun Halloween decorations, including these easy, painted pillow covers (I call them 'Toppers" since I simply attach them to existing pillows with safety pins - easy, peasy!). We're sharing all the steps to be able to make your own, plus a video!
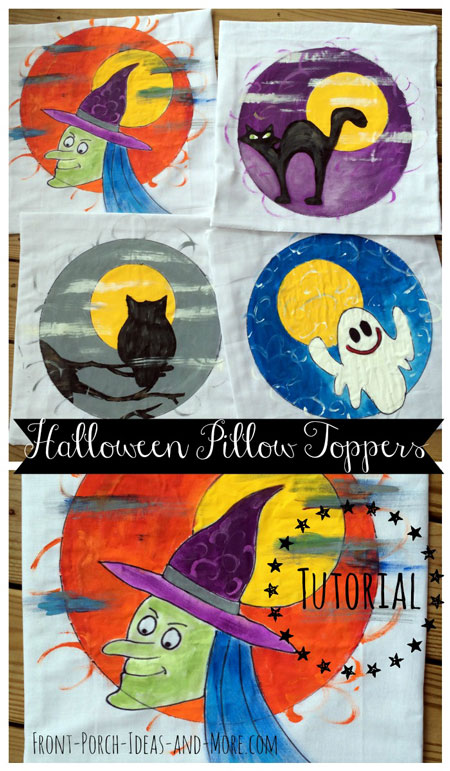
This is the first time I tried my hand at painting Halloween pillow toppers and I loved it. I used clipart as my inspiration, and some basic painting techniques (very basic - anyone can do it!) to create a set of 4 colorful and fun Halloween pillow covers: friendly witch, black cat, owl silhouette, and happy ghost.
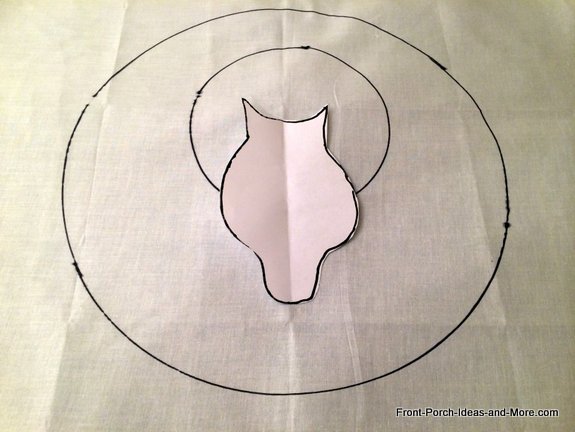
1. I started by drawing a large circle onto a piece of white fabric and then a smaller circle inside for the moon. I used plastic lids and a permanent marker. I cut out a simple owl template for the silhouette.
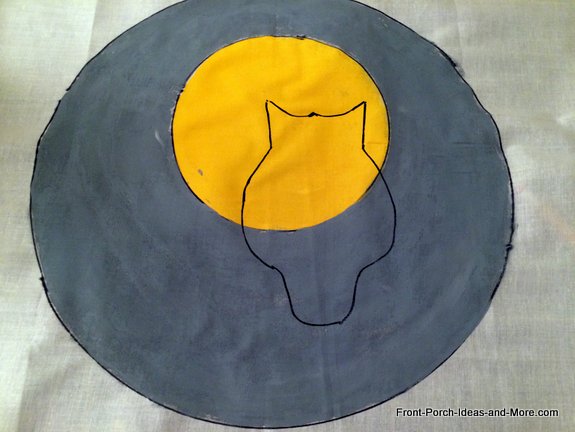
2. Using acrylic paints, I painted the inside of the large circle gray and the the moon yellow. Then I outlined the owl template with permanent marker.
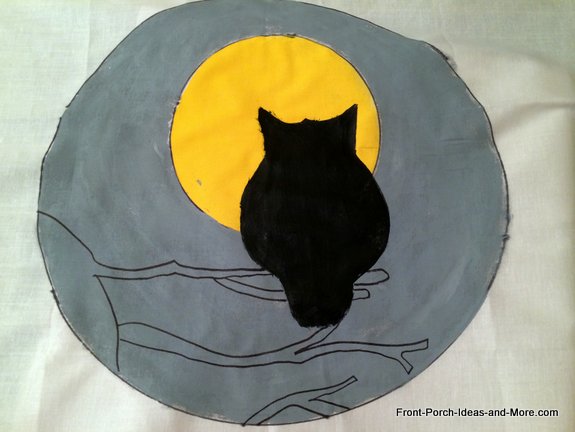
3. I painted the owl black and then added tree branches freehand with the marker for the owl to sit on.
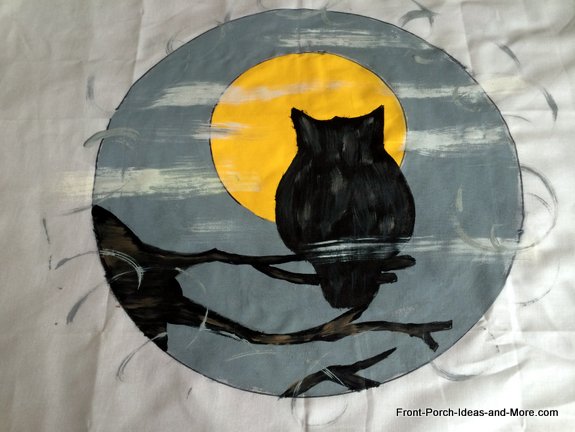
4. To finish up the owl pillow top I filled in the tree branches with paint and then added white dry-brushed paint to represent fog and some gray swirls for wind. I added a few highlights with gray on the owl and called it good.
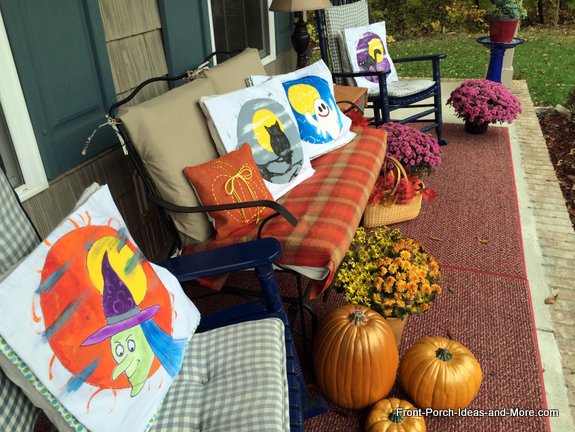
We just love how adorable they look on our porch, they're so colorful!

Want more details about this and other DIY projects? Check out my blog post!


Frequently asked questions
Have a question about this project?