


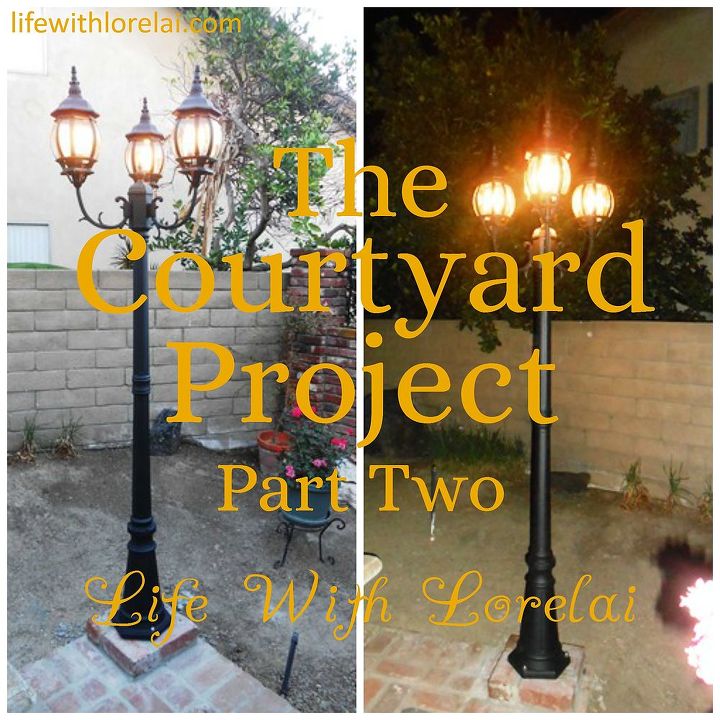
Courtyard Project - DIY Makeover - Part Two
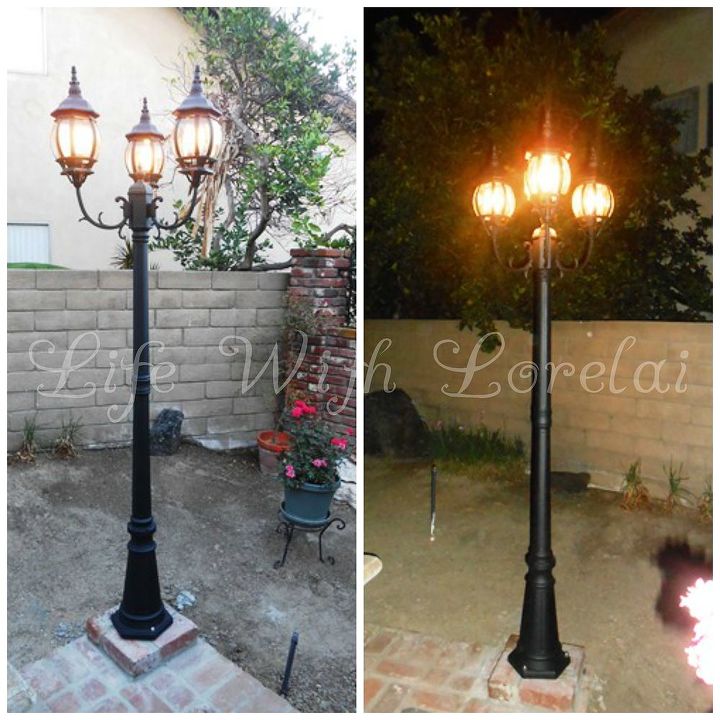
I have always adored old-fashioned lampposts. I even love the word lamppost and the way it’s spelled, LOL. As we were hard at work in renovating my courtyard this summer, we would sit exhausted at the end of a long evening trying to cool down. The problem we had was not a new one–the courtyard was dark. The two sensor-ed lights would not stay on for any length of time causing us to have to walk up to the light and wave our arms around like lunatics to get the lights to turn back on again. This was definitely not a relaxing way to take a break.
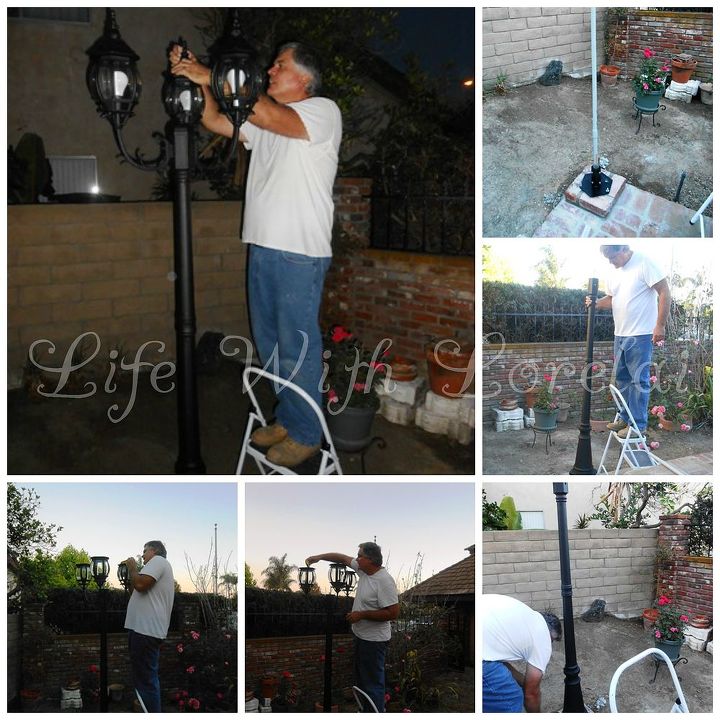
So Luke and Rory put their noodles together and concocted an amazingly wonderful idea for my birthday present. I can’t even tell you how excited and happy I still am about my lamppost.
So Luke and Rory put their noodles together and concocted an amazingly wonderful idea for my birthday present. I can’t even tell you how excited and happy I still am about my lamppost.
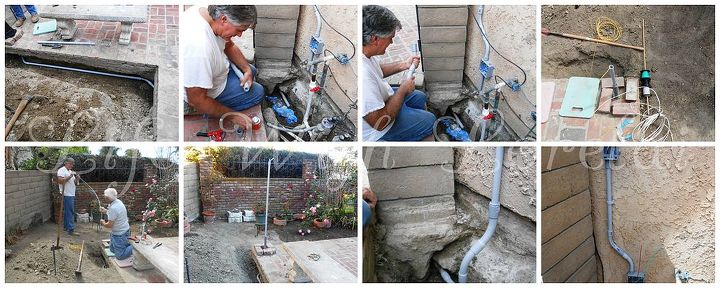
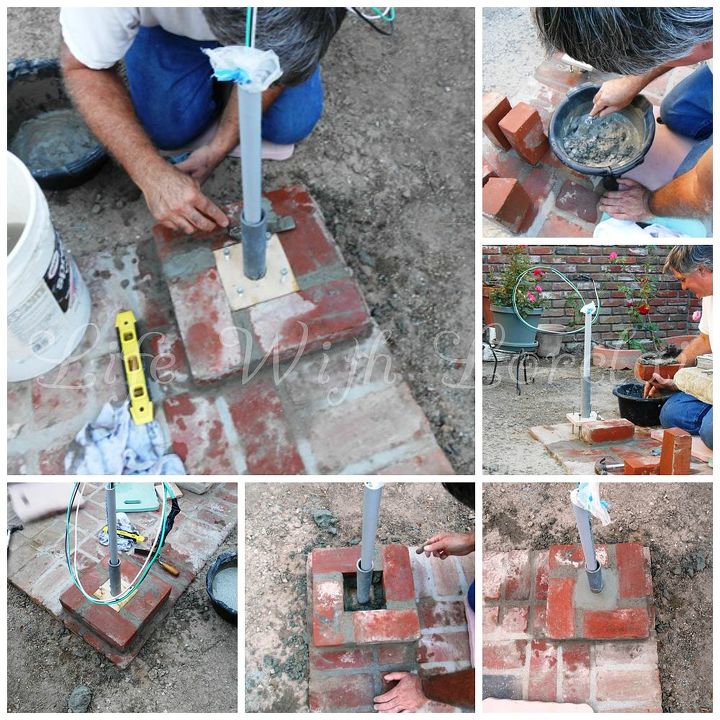
The lamppost project was a big undertaking. We needed to:
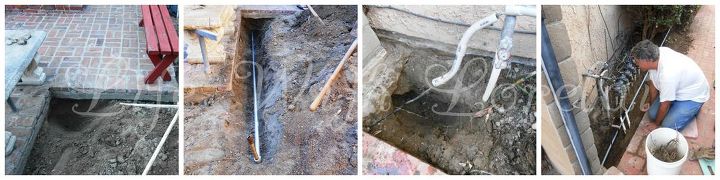
Have you heard of a Hydro-Pipe?
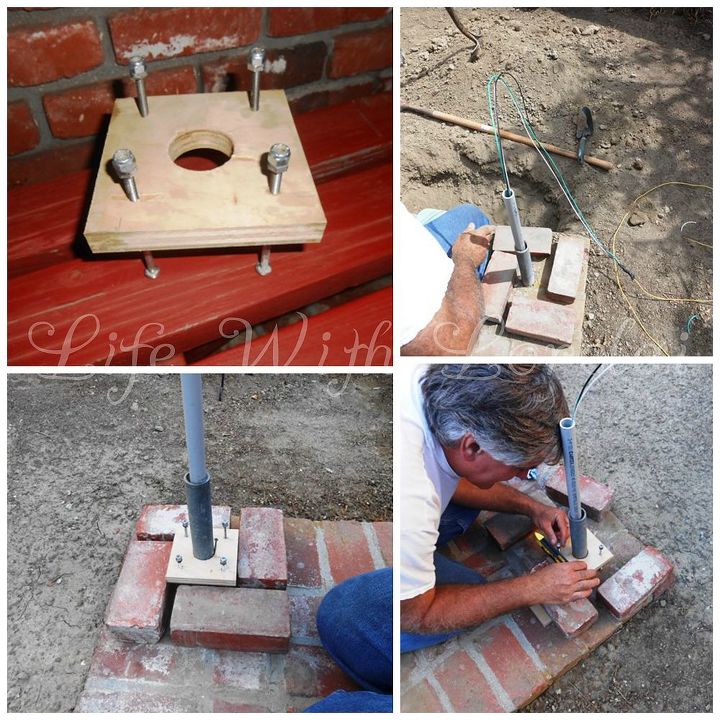
Do you know what this wood piece does?
Click to READ the FULL POST @ Life With Lorelai...

Want more details about this and other DIY projects? Check out my blog post!


Frequently asked questions
Have a question about this project?