


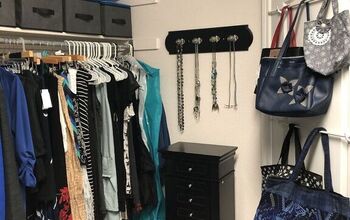
Closet organizer

by
Roxann O
Replaced wire racks in a walk-in closet with a Closet organizer kit. Plastic does not hold a lot of weight and when the plastic clips started to break on my wire racks everything fell out of the closet and it was time to up-grade.
Advice:
Do have someone help you hold the metal bar in place while installing.
Do use power tools, makes a much nicer cut.
Don't be afraid to get creative. These kits are pretty easy to customize to fit any closet.
This project was easy to do since I have a walk-in closet. I bought two kits to complete this project.
First I had to take down the wire racks and the clips holding it to the wall. Then I had to fill in the holes with putty, sand smooth and paint.
Now it was time for the shelves/cabinets to be assembled. The box was too heavy for me to carry, so I left the box in the car and took out a piece at a time following the directions that came with the kit. When I finished the two shelf towers, I used one to mark the carpet and wood molding where I wanted the cabinet to rest. I cut out the carpet and padding with a box-knife (I later had new carpet installed). Then I pulled off the wood molding from the wall and cut out the section I had marked with a miter saw.
Now it was time to place the cabinets and attach to the wall. Each kit has two cabinets that stack on top of each other so they need to be screwed into a wall stud, just one or two screws so that it stays against the wall. I used a stud-finder and marked the wall with a pencil since the backs of the cabinets are open. Now I measured the metal bar between the cabinet and wall. I cut the metal tube with a haxsaw to length. I used wood I had, not the brackets that came with the kit, so that the shelf will hold more weight. I used a 1"x6"x15" with a 45% miter cut on one end and drilled a hole in the middle the size of the metal tube/rod. Then I measured the back wall for a 1"x4" cut to length and nailed it into as many wall studs as I could find. Then I nailed the wood with the hole to the side wall. I used the metal bar just eye-balled the round bracket and market the side of the cabinet with an ink-pin. If you can't do this then measure the distance using the other side. I drilled a pilot hole for each screw and screwed the round bracket with the metal tube into the side of the cabinet. You many need somebody to hold the tube while you you do this. Cut the shelves to fit with a table-saw or a circular saw and set the shelf into place. I did use one metal bracket on the side of one cabinet for the small shelf. Replace the small piece of molding at the bottom of the wall. I just repeated the steps for each wall using the two kits.
Materials:
$250.00 - $0.00
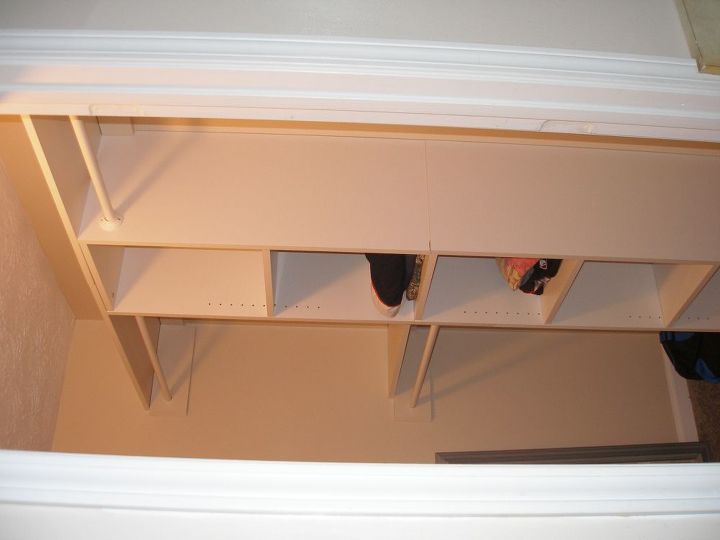
Closet Organizer.
Tall side of clothes bar.
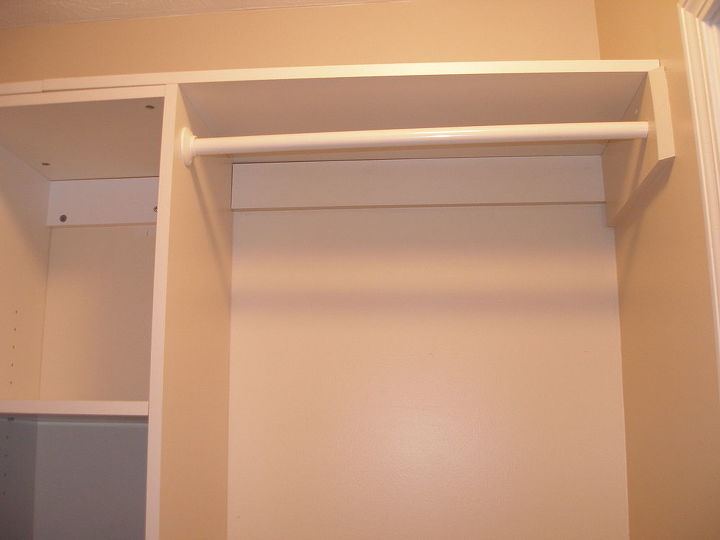
Split-side clothes bar with shelf.

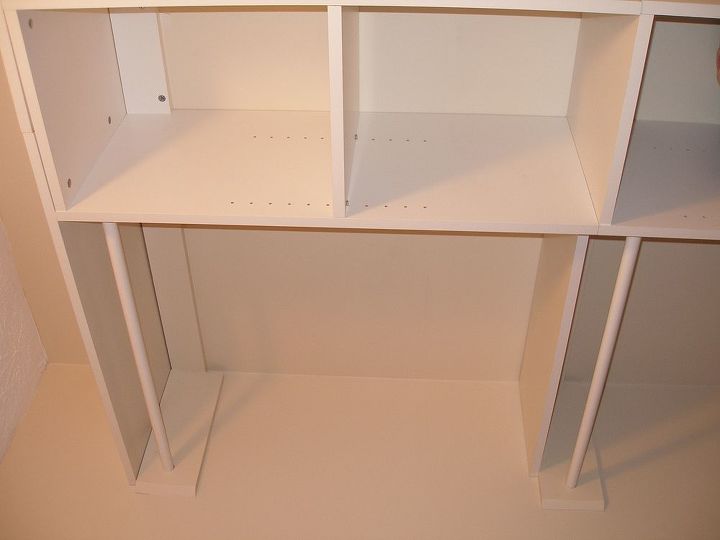
Brackets holding small shelf and metal rod.

Find wall stud with stud-finder and mark wall with a pencil.
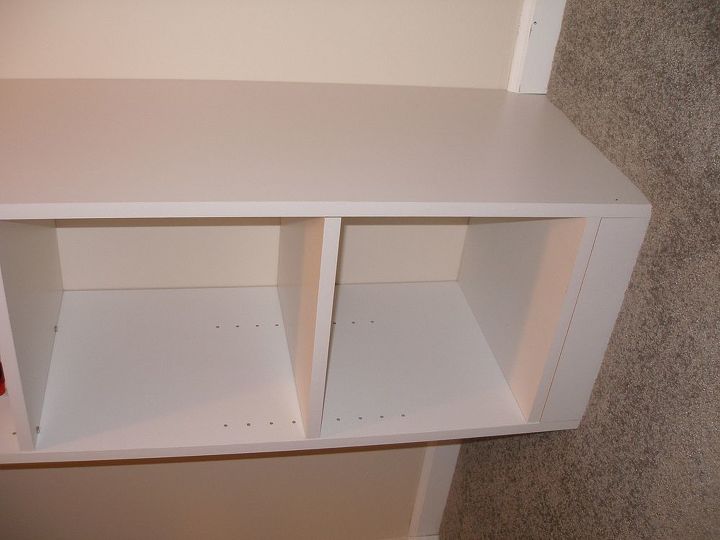
Cabinet base.
Comments
Join the conversation
2 comments
-
its only a kit that I bought from Lowes. Anybody can do with a little knoweldge of home improvements.
-
I know someone looking to do some shelving. I am going to refer them to this post.


Frequently asked questions
Have a question about this project?