


Natural stone paver patio makeover

by
Robert A
I replaced a 12' x 14' patio slab with natural stone patio pavers and extended the living space to 20' x 14'.
*Options I considered for this project:
I considered the following 3 options:
1. A ground level deck made of pressure treated decking materials
2. Paying a contractor to extend the patio with additional concrete
3. Replacing with a paver patio, which is the choice I went with.
*Questions and unexpected events that arose during the project:
This project was relatively straightforward. However, I greatly underestimated the wear and tear on my back and knees while performing the tasks to complete this project. I saved money by hauling the stone and supplies myself, but that also meant I had to pick each item up at least two times. The store personnel helped me load it into the truck. I then had to move it once from the truck to the backyard and at least a second time when installing it. Next time I would have the materials delivered for a nominal fee. I also underestimated the amount of sand and paver base needed to complete the job. My tip is buy more than you think you need and return the unused portion. you also want to buy ~10% more than enough pavers just in case you make some mistakes when cutting.
* Cost Comments:
560 stone pavers (6"x12") = $1,114
20 bags of paver base = $70
20 bags of paver sand = $70
6 pressure treated 2x4's = $39
*My motivation to do this project:
We desired more room outside for parties and such. The patio was too small and was barely enough room for a 4 person table w/ umbrella and 2 adirondack chairs. This was a much needed improvement to the outdoor living area.
*Project Steps:
I researched the different types of pavers, but knew I wanted something with a natural look to it. I found this particular paver at The Home Depot. I estimated how much paver base and sand I needed and the color of each that would go with the paver color. Once I was ready to start, I measured the desired area and used stakes and string to mark it off. I then added pressure treated 2x4's to frame the patio area. The area was larger than the original patio. The parts that were not on the patio concrete had to be built up at a level height with the patio. This required crushed rock and paver base. Once level, I started adding the pavers in the desired pattern. I was careful to mix the shades of the pavers so that it blended throughout the patio area. Once I reached areas that required a smaller paver, I used a circular saw with a masonary blade to make the desired cut. You really only have to go 1/4" through as you can use a rubber mallet and a stone chisel to finish the job. Once all the pavers are down, I swept sand into the cracks to make it a tight walking surface.
Advice:
Do find a stone that compliments your exterior house color and materials.
Do take your time and do it right so that it will withstand the weather and last a long time
Don't worry about minor imperfections in the stones as they add character
Materials:
Stone pavers - $0.00
Paver base - $0.00
Paver sand - $0.00
Pressure treated 2x4 - $0.00
Masonary blades - $0.00
Stone chisel - $0.00
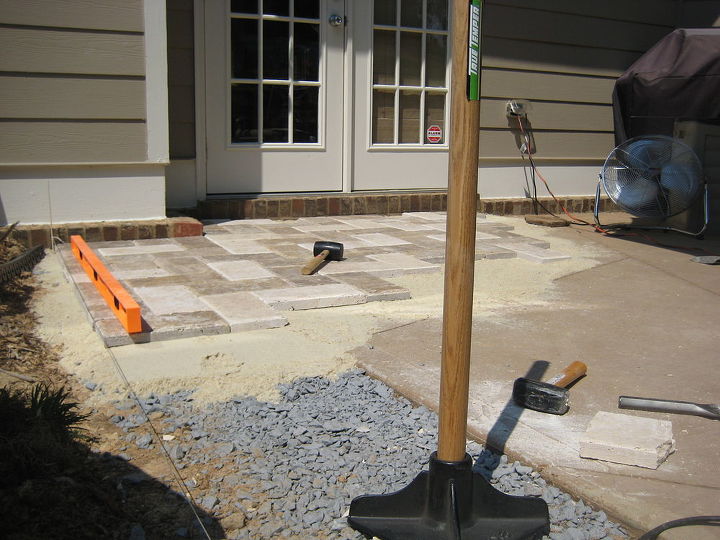
Building up a leveled area next to the original patio slab
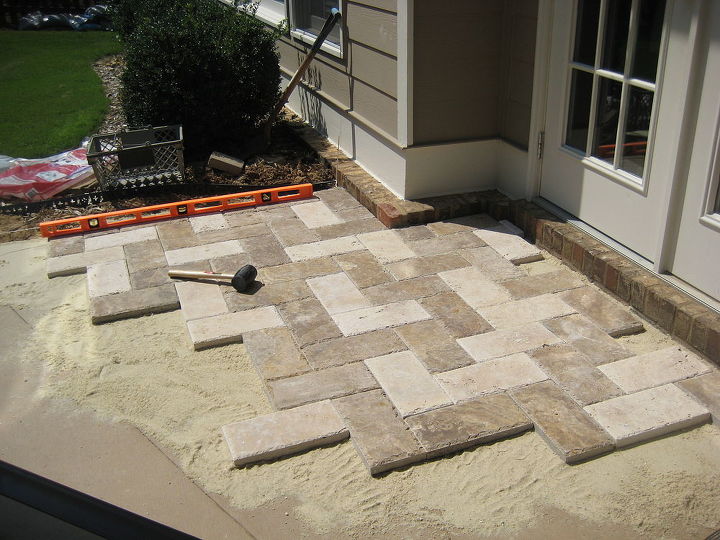
Working the pattern and alternating the stone color. The sand helped level the surface.
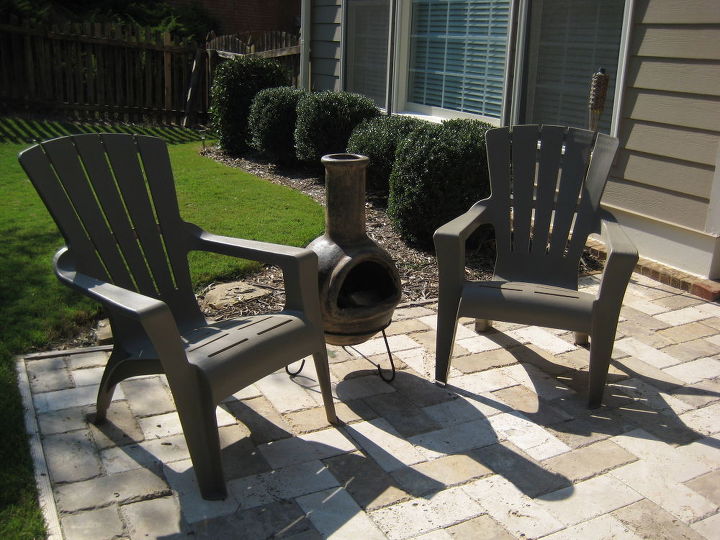
Paver patio on the left side.
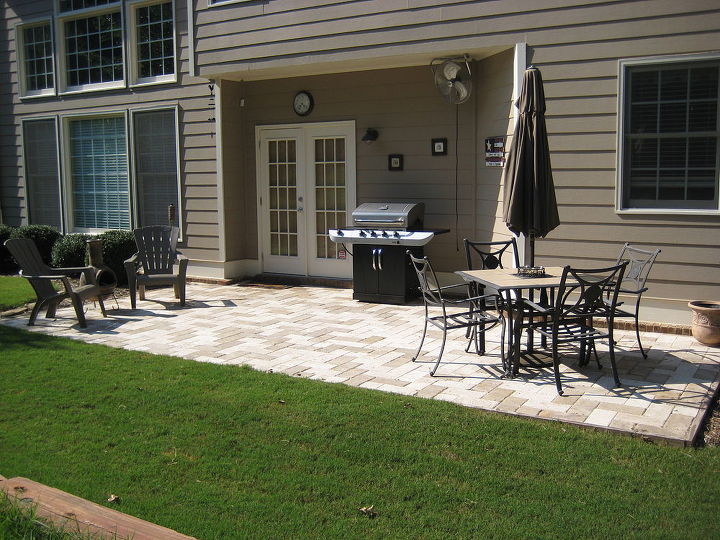
Paver patio from right angle view.
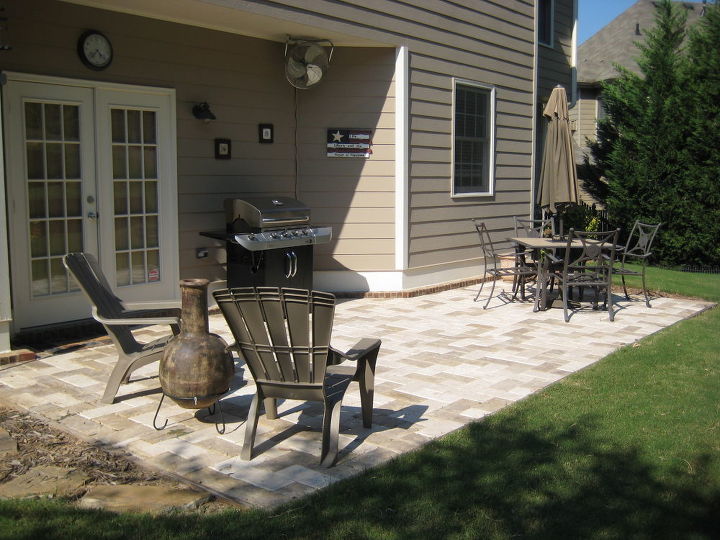
Paver patio from left angle view.
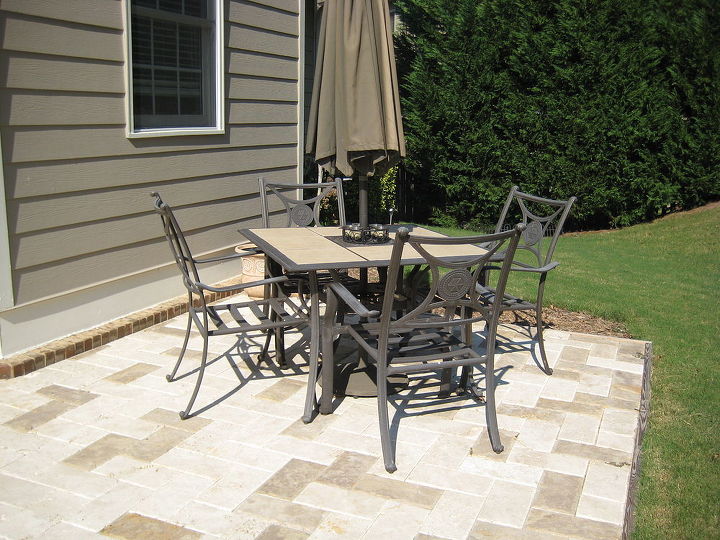
Paver patio on the right side.
Comments
Join the conversation
2 of 6 comments
-
Did you remove your original slab or put the pavers over it and add on with more pavers?
-
Look nice .


Frequently asked questions
Have a question about this project?
Hi,
I really like the great job that you did with you patio! Would you please tell me what is the name of the stone pavers you used and where you bought them. Thank you very much!
Marina
We are thinking about doing the paver project. Could you tell me how well it has held up?