


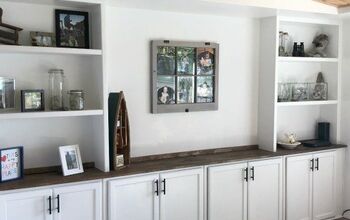
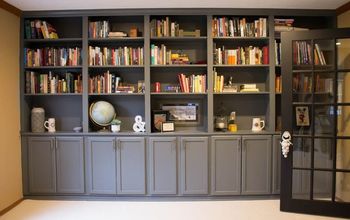
Built in bookshelves in living room

by
Robert A
I added built in bookshelves around fireplace in living room
*Options I considered for this project:
The only consideration was doing it myself or paying a contractor. Several estimates were in the thousands of dollars. I chose to do it myself and design as I went.
*Questions and unexpected events that arose during the project:
I underestimated the amount of wood in some cases, but that was an easy fix.
* Cost Comments:
20 - 2"x4"x8' - $50
6 - 48"x1/2"x8' sheets mdf - $90
1 - 48"x3/4"x8' sheet birch plywood - $35
2 - 4 cont.
*My motivation to do this project:
The living room was a little bare on the wall with the fireplace especially given it is a two story room. Plus we wanted extra storage space.
*Project Steps:
I researched designs in magazines, books and online to find the ideal look for the bookshelves. Once I had a rough draft in my mind, I started drafting it with measurements on paper. Once I was ready, I made several trips to the store picking out the supplies. Since I knew they would be painted, I had to determine which parts would be wood versus MDF. I added this into the design. Here are some of the specifics to take into account. I may have missed a step or two, but this gives you the overall picture.
1. Measured space and built base frame out of 2x4's
2. Surrounded front and sides of the base cabinets with MDF
3. Cut 3/4" birch to desired size for top of base cabinets
4. Mounted with 4" wood screws to base frame.
5. Measured desired hight of book cases and built frame out of 2x4's and MDF as pictured.
6. Mounted them to base cabinet and connected at top with wood screws
7. Cut desired shape for front of book cases out of MDF and installed with brad nailer 1 1/4" nails
8. Cut and attach desired trim and trim designs with 1 1/4" nails
9. Purchase pre made doors or cut and install with hinges and knobs.
10. Hold scrap pegboard against inside of bookcases resting on base cabinet.
11. Tape off the holes that will not be needed on the pegboard.
12. Use white spray paint (or desired color of finished product) to spray the holes onto the bookcase sides.
13. Use drill and bit (matching peg size) to drill the desired shelf mount holes. Ensure a rubber stopper is on the bit to prevent drilling all the way through the side wall.
14. Measure and cut shelves and add trim to the front for a finished look
15. Prime and paint
16. Enjoy!
Advice:
Don't rush....measure twice, cut once.
Do use the same tape measure when measuring the space and measuring the cut on the wood.
Do prime the finished product before painting.
Materials:
Wood, MDF & Trim - $385.00
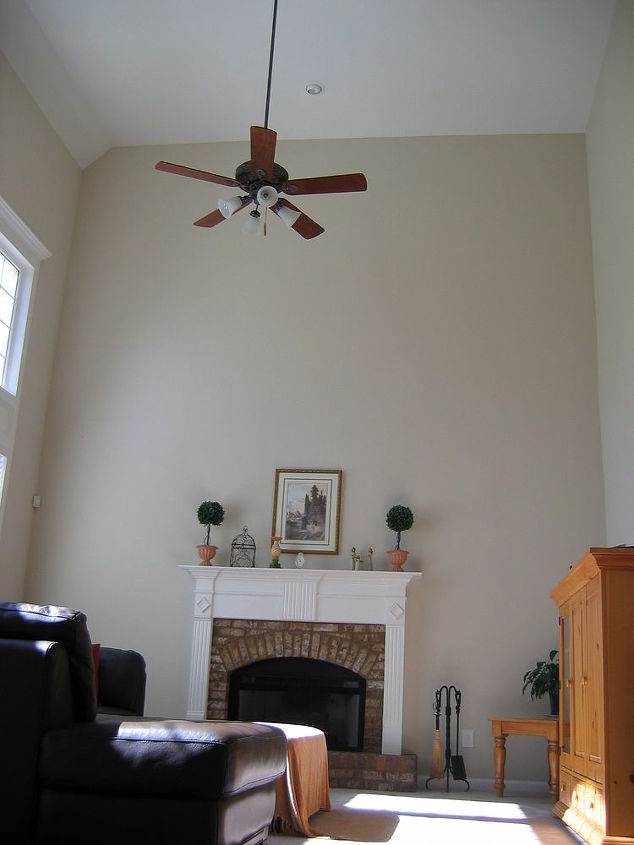
Before project began
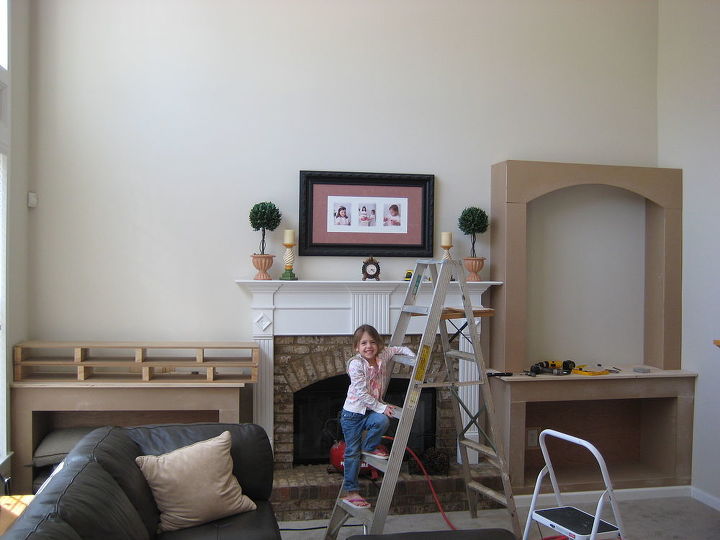
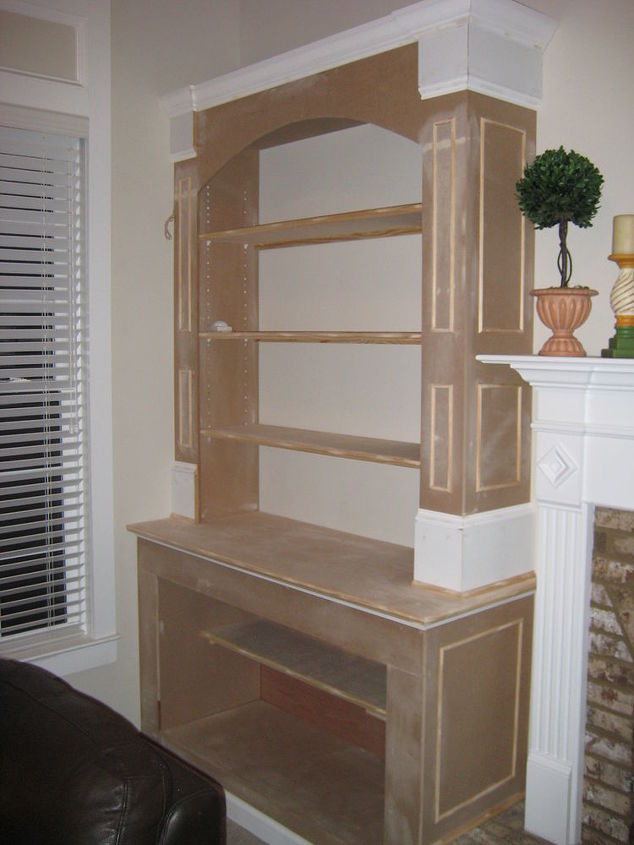
Bookshelves begin to take form
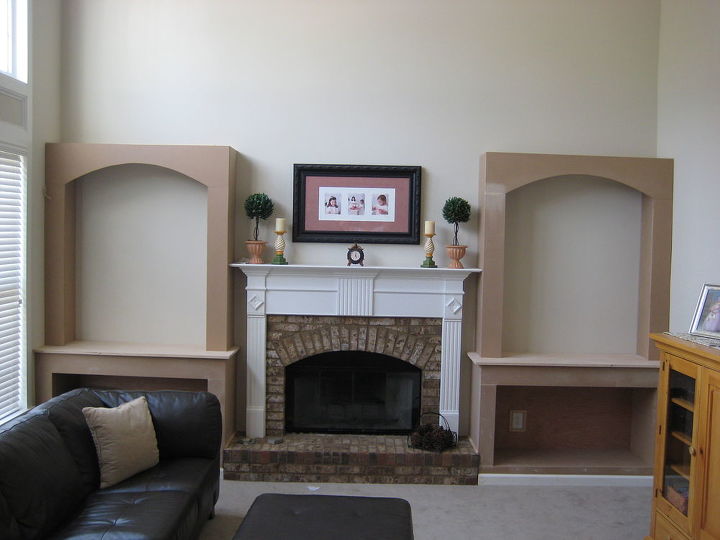
Framing is complete
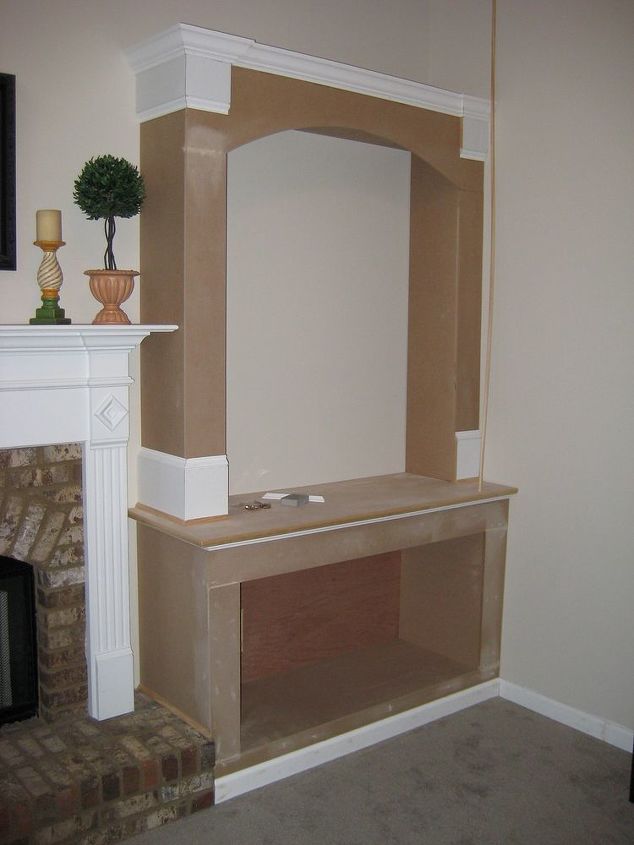
Begin trim work
Add shelves

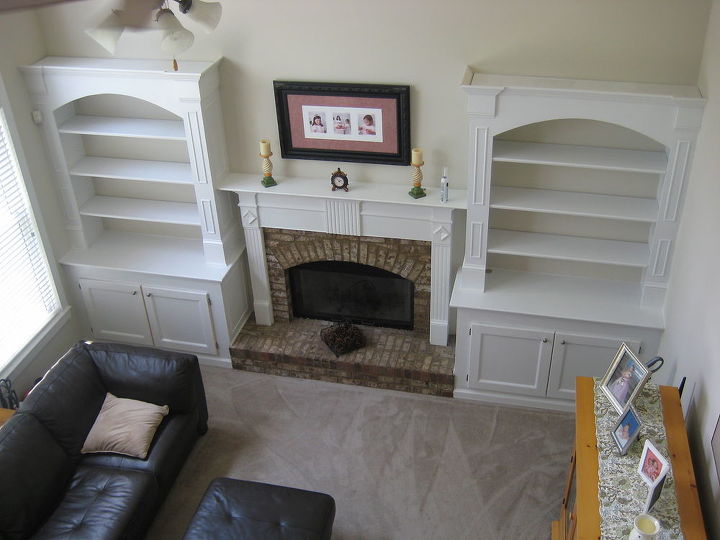
Finished product
Comments
Join the conversation
3 of 33 comments
-
turned out awesome! how wide and how tall were they? Thanks!!!!
-
nice bookcases althoughI think it's a poor design


Frequently asked questions
Have a question about this project?