


JEWELRY FRAME

by
Christi H
Large picture frame (28 x 36) that has an insert covered in fabric. Pushpins are painted black and pencil erasers are used on teh back to hold them in place and to peotect the wall. Necklaces, bracelets and such can be displayed.
*Options I considered for this project:
I'm going to hot glue clear glass flat marbles on the front fo the push pins. They are somewhere in my craft room but I can't tind them....yet!!
*Questions and unexpected events that arose during the project:
None...This was so easy and only took about 20 minutes (not counting painting the frame which I did a few months ago.)
* Cost Comments:
The fabric came from Wal-Mart (really!!) and was 2.50/yd. The frame was free and the pushpins were i
*My motivation to do this project:
To keep my jewelry from getting tangled in my jewelry box.
*Project Steps:
1. Paint Frame desired color.
2.Cut cardboard appropriate size
3. Choose fabric and cut to size leaving 2" extra on each side.
4. Hot glue fabric around edges on the back of the cardboard.
5. Paint push pins if needed.
6. Place pushpins and but a pencil eraser on the back to hold it in place.
Advice:
DO: Be sure to use the erasers on the back to protect the wall.
Materials:
FRAME - $0.00
FABRIC - $0.00
STAPLE GUN (9.99) - $0.00
HOT GLUE GUN - $0.00
PUSH PINS - $0.00
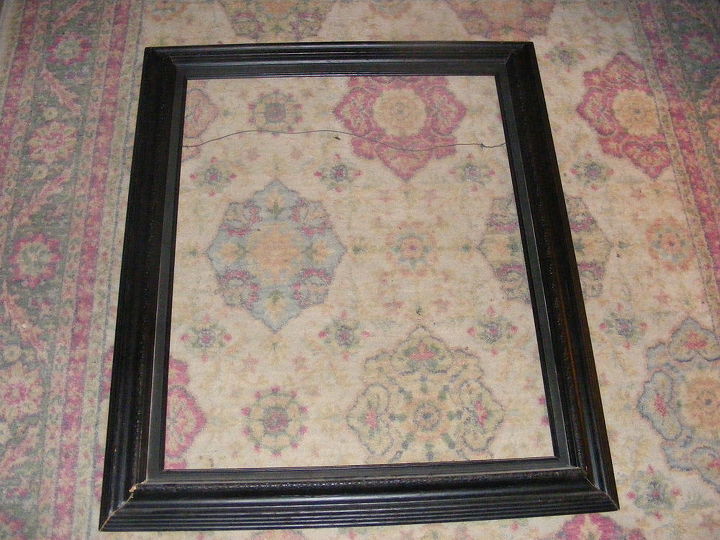
28 x 36 Frame that someone had put out to throw away. I painted it black.
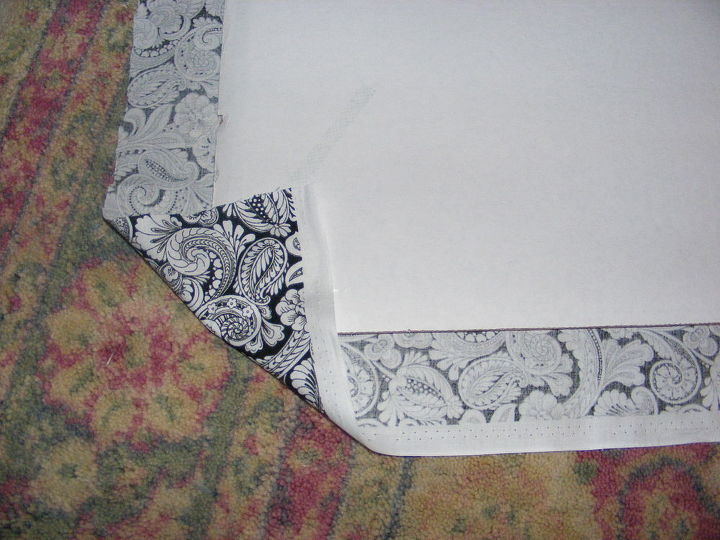
Meiter corners using hot glue then do opposite sides (top bottem then left and right)
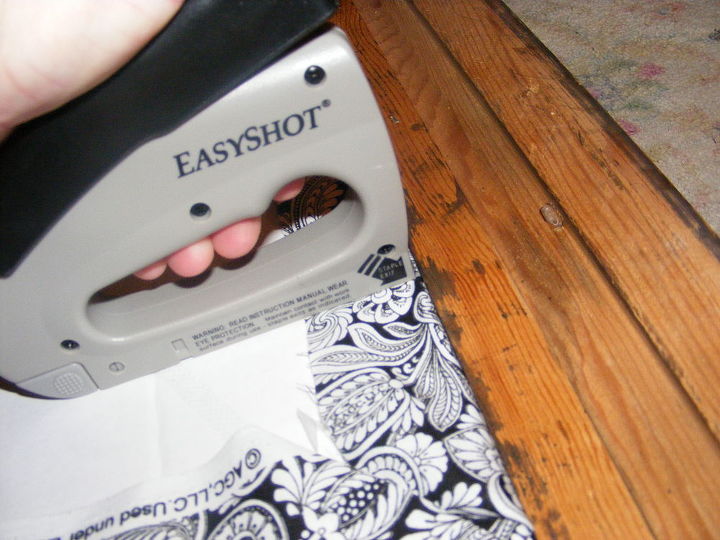
Staple to inside of back of frame.
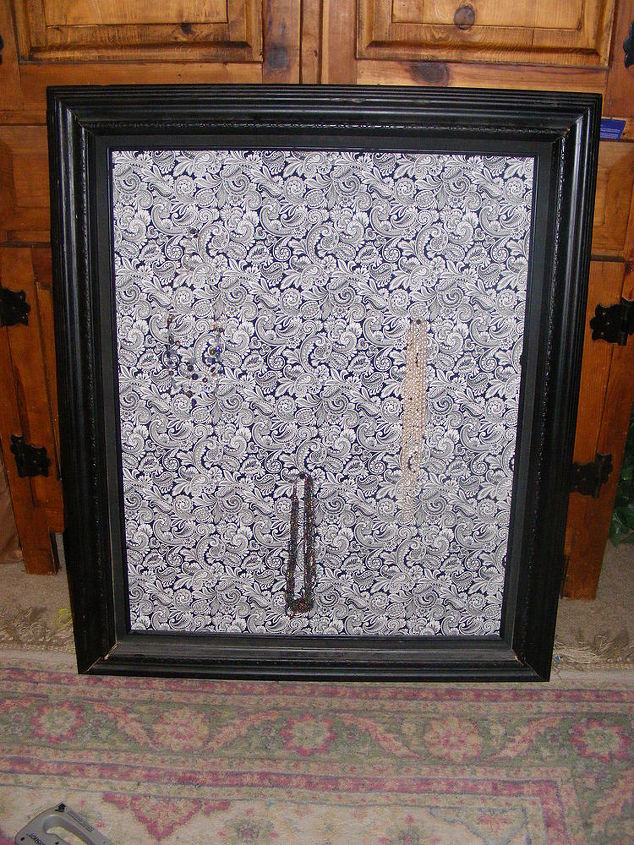
I used a bold fabric but the necklaces are much easier to see in real life.


Frequently asked questions
Have a question about this project?