


Raised planter

by
Steve E
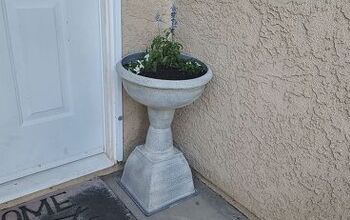
Added a raised planter to an existing planted area.
*Options I considered for this project:
Stacked stone- too expensive and unstable without grouting or cementing the stones.
*Questions and unexpected events that arose during the project:
The back of the planter faced a security fence, and there wasn't room to use the paver stones at the back, or they would have taken up most of the area in the planter for actual plants. I ended up using flat chunks of the concrete that was broken up when I first created this planting area from a paved concrete parking area. The chunks were basically stacked on edge against the security fence (see photos) and held in place by the infill. They fit closely enough together to hold the infill in place.
* Cost Comments:
If you don't compost, you will probably need to budget for that. It wouldn't be much, but I always feel foolish paying for dirt.
*My motivation to do this project:
This was done purely for the aesthetic look of the raised planter, which helps define the edge of my property.
*Project Steps:
1) Trimmed away as much honeysuckle as I could without killing it. The honeysuckle has grown up around the security fence and make a nice green screen between me and my neighbor.
2) Leveled and compacted the ground where I planned to stack the pavers.
3) Stacked the pavers and put in place the first row of concrete chunks.
4) began filling the planter with composted dirt, up to the first row of concrete chunks
5) Installed a couple more rows of concrete pieces, infilling with composted dirt as I progressed.
Materials:
27 garden stack stones - $50.00
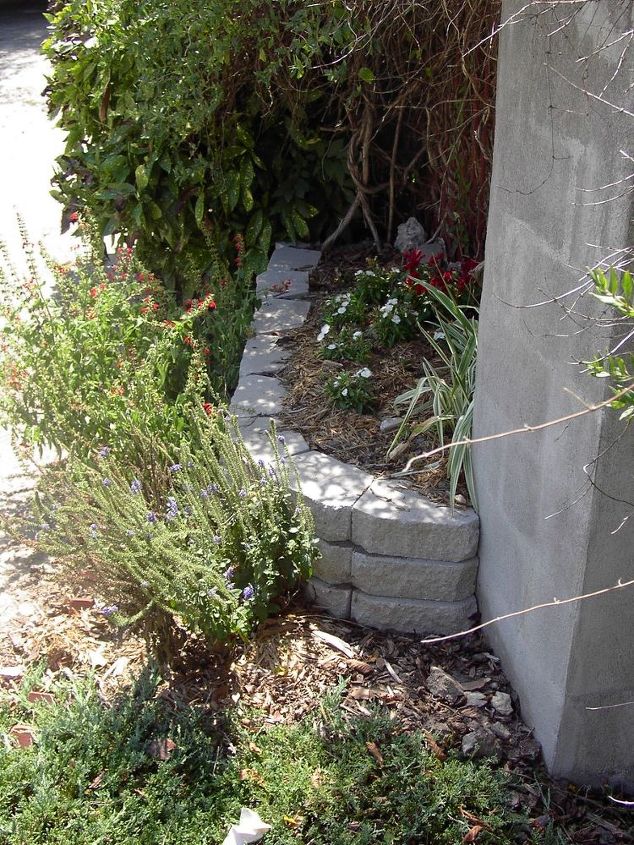
End view
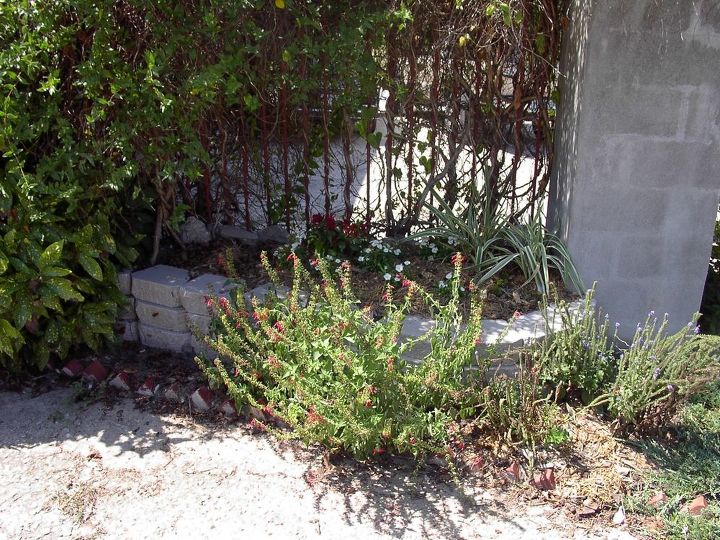
Face view rifght
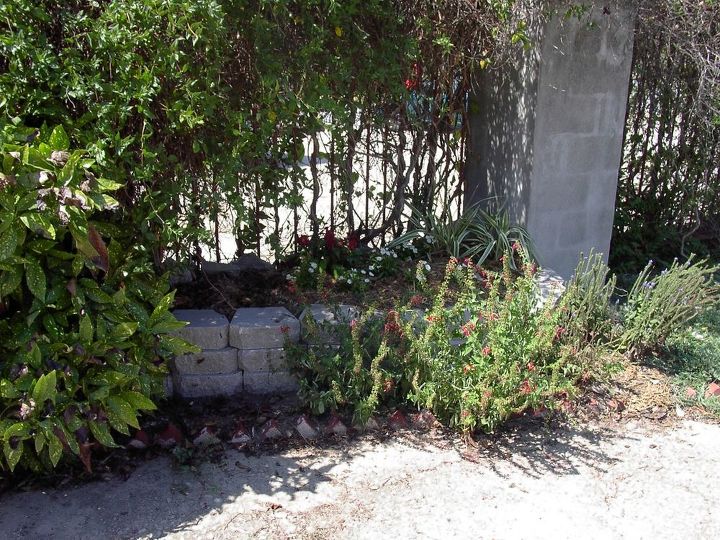
Face view left

Back view left- it's a little hard to see, but the concrete chunks are laid against the other side of the fence.
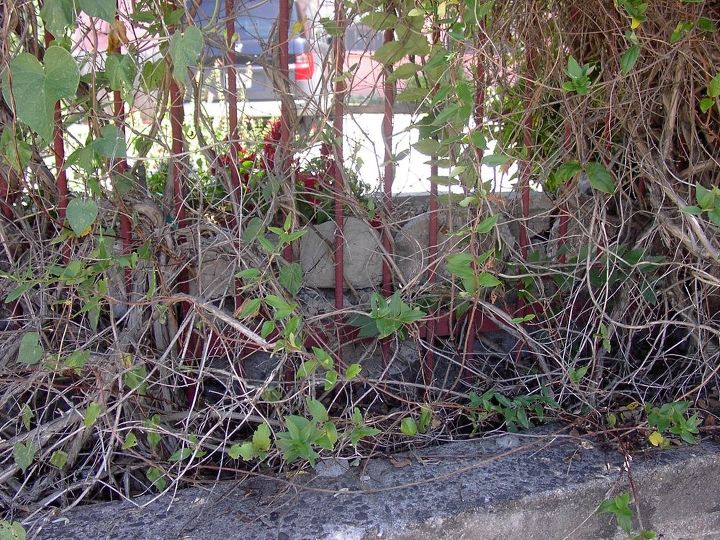
Back view right- see above


Frequently asked questions
Have a question about this project?