


Kitchen Backsplash

by
Suzanne P
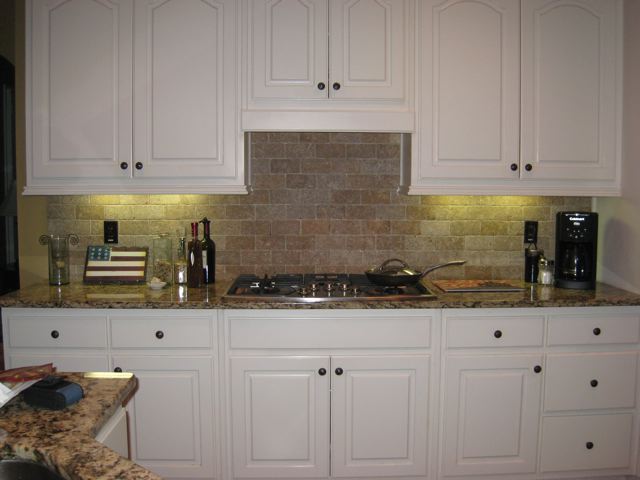
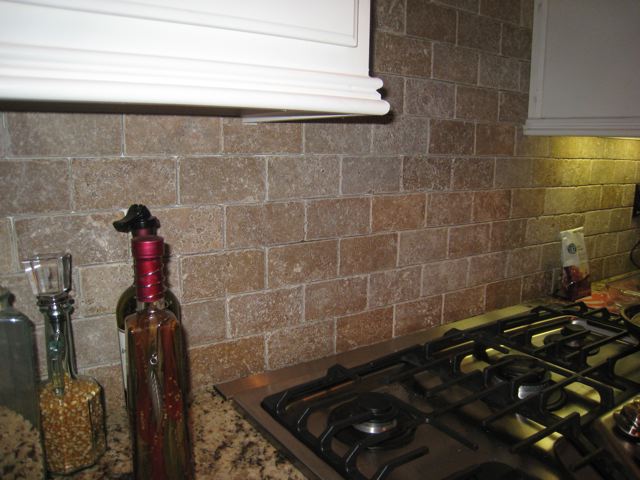
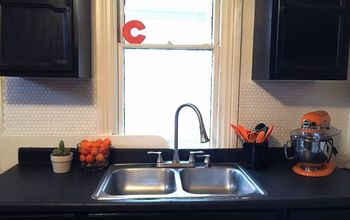
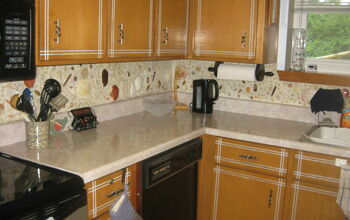
After having granite installed in out kitchen we needed to upgrade our back splash too - we just had to make sure we choose the right color tiles. The nice thing about adding a new backsplash is that it isn't all that hard to do. If your existing back splash is painted drywall, it's quite straightforward. But if you have an old tile back splash its just a lot messier in the beginning. We had an existing builder grade back splash that didn't really go with the new granite. Measure how much tile you will need; always get more cause some will crack when cutting. Its helpful to rent a wet tile cutter from the rental place too. Plan your design ahead of putting on the wall...less room for error and waste.
*Options I considered for this project:
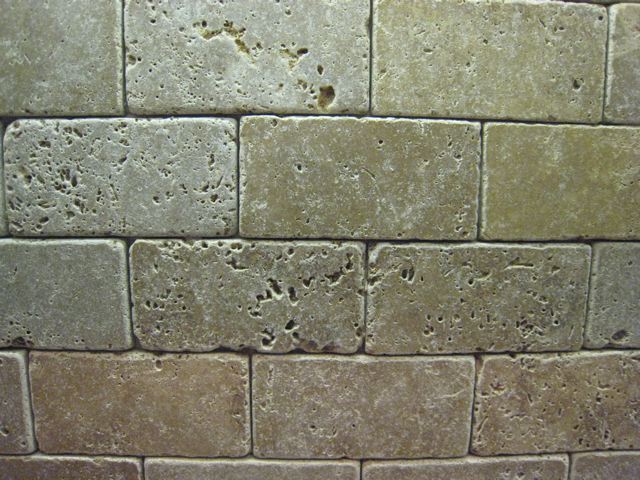
We considered paint but new tile was the best way to go. We considered a glazed tile, but the unglazed was the look we wanted.
*Questions and unexpected events that arose during the project:
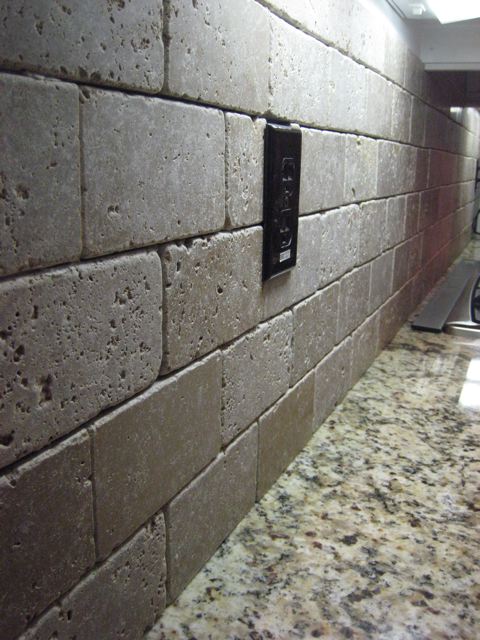
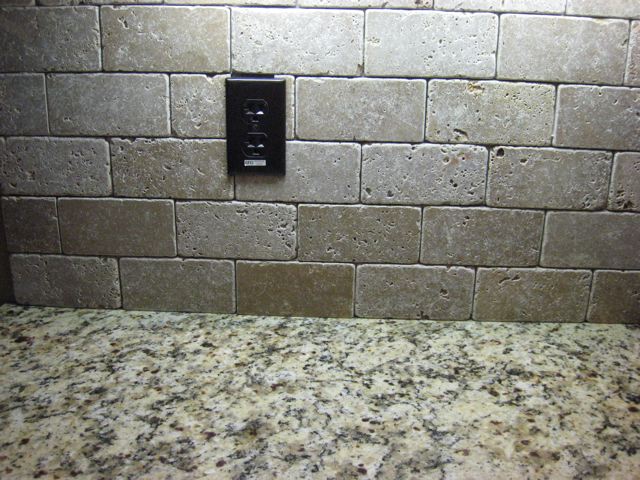
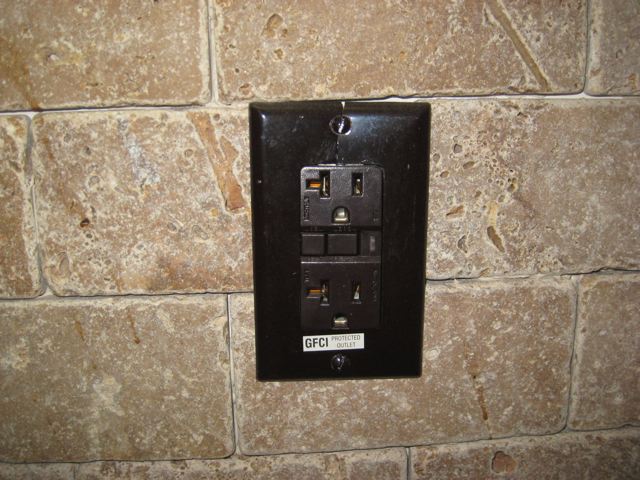
Cutting opening for the outlets. Depending on where an electrical outlet fits into your pattern, you may be need to cut two tiles using the scoring cutter, and then use tile nippers to cut out the opening and put them on each side of the outlet. We had 2 outlets we had to work around.
* Cost Comments:
$250-$300
*My motivation to do this project:
The old builder grade tile just didn't work with the new granite counters
*Project Steps:
Measure the length and width of the backsplash area. To get the square footage by multiplying the length times the width.
Apply the recommended adhesive with a notched trowel. Hold the trowel at a 45° angle and spread a thin layer. Be sure to work in small areas to prevent the adhesive from drying out.
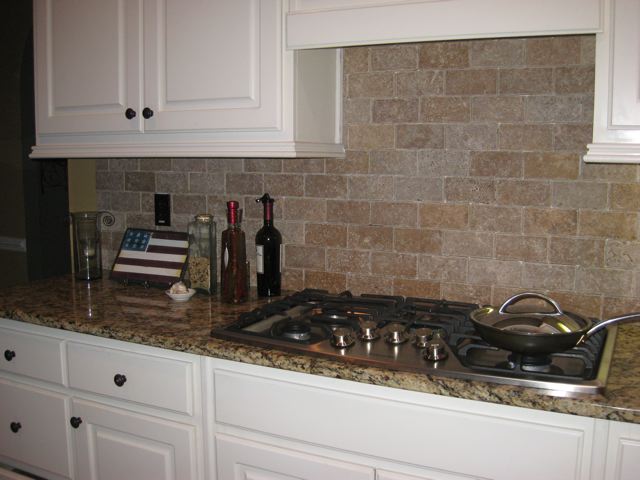
Lay the first tile in the center at the base of the backsplash. Position the tile using a slight twisting motion. Use a level to make sure the tile is square. Place a spacer on each corner of the first tile.
Working out from the first tile, continue laying the tiles in a row, flush to the spacers. Wipe off any excess adhesive that oozes up between the tiles. Leave enougha little space to fill in with grout. Every once in a while check to make sure the tiles are level. After one row is complete, begin with the next row and follow the same pattern.
If you need to cut tiles, score the tile with a tile cutter. Use tile nippers or a saw to cut away the area carefully.
When you place the tiles around an outlet, be sure that the outlet cover hides the tile edges. I messed up a few times.
When you laying all the times for the backsplash, wipe off any excess adhesive with a damp cloth.
Allow the adhesive to set. After the adhesive sets, remove the spacers.
Mix the grout according to the instructions. Apply the grout using a rubber float. Spread the grout diagonally at a 45° angle across the tiles, pushing the grout between the tiles. Wipe off the excess grout with a damp sponge. May have to do this sever time until the "haze" is gone.
Then apply the sealer according to directions and replace the outlets covers.
Advice:
Don't try to rush thru the project. You will be happier with the results if you think thru each step carefully. Rent a Tile cutter, it made the project run a lot more smoothly. I even sat in on a free "how to install tile class" at the store before I started; it was very helpful.
Materials:
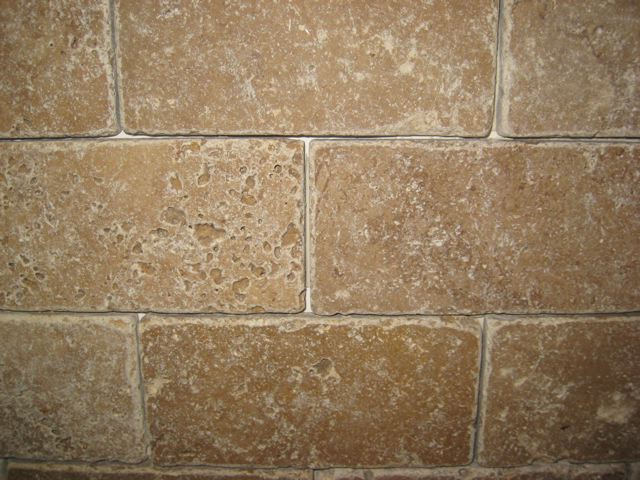
6x3 Unglazed Porcelain Tile/ea - $1.20
tile mastic/1qt - $15.00
scoring cutter/rent - $20.00
tub and tile caulk/each - $6.00
silicone grout sealer/Gal. - $50.00
Tile Spacers/100 - $3.00
*Options I considered for this project:
We considered paint but new tile was the best way to go. We considered a glazed tile, but the unglazed was the look we wanted.
*Questions and unexpected events that arose during the project:
Cutting opening for the outlets. Depending on where an electrical outlet fits into your pattern, you may be need to cut two tiles using the scoring cutter, and then use tile nippers to cut out the opening and put them on each side of the outlet. We had 2 outlets we had to work around.
* Cost Comments:
$250-$300
*My motivation to do this project:
The old builder grade tile just didn't work with the new granite counters
*Project Steps:
Measure the length and width of the backsplash area. To get the square footage by multiplying the length times the width.
Apply the recommended adhesive with a notched trowel. Hold the trowel at a 45° angle and spread a thin layer. Be sure to work in small areas to prevent the adhesive from drying out.
Lay the first tile in the center at the base of the backsplash. Position the tile using a slight twisting motion. Use a level to make sure the tile is square. Place a spacer on each corner of the first tile.
Working out from the first tile, continue laying the tiles in a row, flush to the spacers. Wipe off any excess adhesive that oozes up between the tiles. Leave enougha little space to fill in with grout. Every once in a while check to make sure the tiles are level. After one row is complete, begin with the next row and follow the same pattern.
If you need to cut tiles, score the tile with a tile cutter. Use tile nippers or a saw to cut away the area carefully.
When you place the tiles around an outlet, be sure that the outlet cover hides the tile edges. I messed up a few times.
When you laying all the times for the backsplash, wipe off any excess adhesive with a damp cloth.
Allow the adhesive to set. After the adhesive sets, remove the spacers.
Mix the grout according to the instructions. Apply the grout using a rubber float. Spread the grout diagonally at a 45° angle across the tiles, pushing the grout between the tiles. Wipe off the excess grout with a damp sponge. May have to do this sever time until the "haze" is gone.
Then apply the sealer according to directions and replace the outlets covers.
Advice:
Don't try to rush thru the project. You will be happier with the results if you think thru each step carefully. Rent a Tile cutter, it made the project run a lot more smoothly. I even sat in on a free "how to install tile class" at the store before I started; it was very helpful.
Materials:
6x3 Unglazed Porcelain Tile/ea - $1.20
tile mastic/1qt - $15.00
scoring cutter/rent - $20.00
tub and tile caulk/each - $6.00
silicone grout sealer/Gal. - $50.00
Tile Spacers/100 - $3.00
Comments
Join the conversation
2 of 6 comments
-
Don't you dare touch one thing in that beautiful kitchen. I love it! I'm going to copy the back splash. We just put new darker stain on our cabinets and now I wish I had gone with white ones. Thanks for sharing!
-
I love your choices, @Suzanne P . The work looks great. I used similar tiles, only smaller, in some detail in one of our bathrooms and they look fabulous. I love all that texture juxtaposed against the smoothness of the granite. Since they're both natural stones, it works so well together. We've got to finish our kitchen with the backsplash but while I picked out what I wanted early on, I now have to see if it will work given all the choices we've made since. That's the key. Plus I really want to do it myself but my hubby has little confidence in me. (He's probably right, but it doesn't seem that hard, really.) I might get stuck in some places but I doubt I'd screw it up and I can always call in some help from a handyman. Right? The trick will be making sure everything is level and any cuts I'll have to make and bumping out the outlets...but I know conceptually how it's supposed to work...I just need the courage. Still, I doubt I'd hire someone with zero experience to do the job, lol.


Frequently asked questions
Have a question about this project?