


New water Heater
How I spent my New Year's Day...
Just before I took a trip down to our cabin with my girls ( Tori stayed home) for a bit of a break after Christmas, My youngest noticed a puddle below the water heater. It was determined to be a tank leak. I gave Tori some tips on draining and how to shut down the whole house in our absence. She would be roughing it as well as us ...as our cabin lacks running water. A couple of days later when I returned, I finished getting the tank drained, removed, and did a temporary setup to allow cold water for toilets etc. New Years day had me road tripping to Home Depot to pick up a new water heater.
It turns out the mini bit of procrastination I had for the laundry / Mechanical room has been a bonus. This event has forced me to put the tile "under" the new heater. With this jump start the rest may be quick to follow.
BTW...I ripped out the nasty old carpet some months ago and put cement backer down in part of the room.
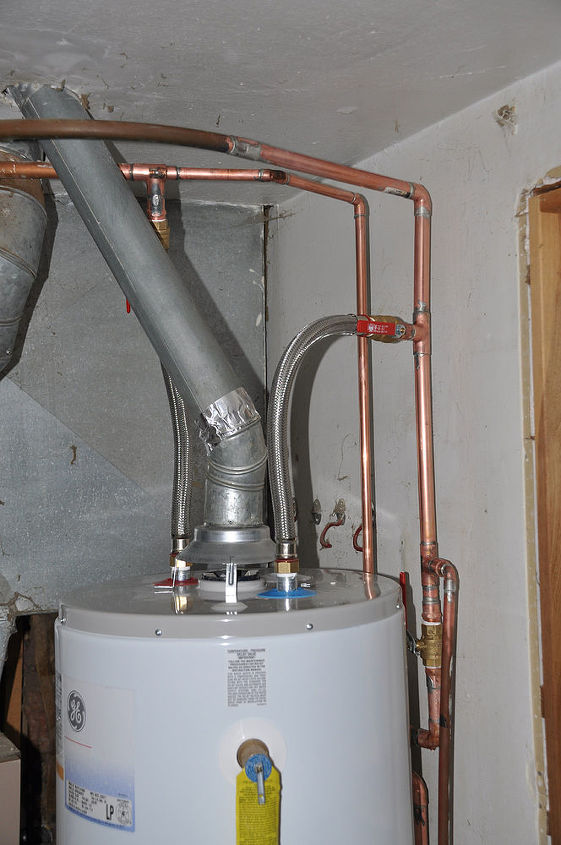
Aside from the simple "tank" install I corrected the goofy plumbing of the water meter and put in some extra isolation valves. Now if the tank needs to be replaced it only requires closing some valves and disconnecting some flex lines. This is one bonus step I did not do 11 years ago when I put in the other tank...I hope to be retired at the cabin by the time THIS new tank dies. So the new homeowner will have a simple time at it.
Just before I took a trip down to our cabin with my girls ( Tori stayed home) for a bit of a break after Christmas, My youngest noticed a puddle below the water heater. It was determined to be a tank leak. I gave Tori some tips on draining and how to shut down the whole house in our absence. She would be roughing it as well as us ...as our cabin lacks running water. A couple of days later when I returned, I finished getting the tank drained, removed, and did a temporary setup to allow cold water for toilets etc. New Years day had me road tripping to Home Depot to pick up a new water heater.
It turns out the mini bit of procrastination I had for the laundry / Mechanical room has been a bonus. This event has forced me to put the tile "under" the new heater. With this jump start the rest may be quick to follow.
BTW...I ripped out the nasty old carpet some months ago and put cement backer down in part of the room.
Aside from the simple "tank" install I corrected the goofy plumbing of the water meter and put in some extra isolation valves. Now if the tank needs to be replaced it only requires closing some valves and disconnecting some flex lines. This is one bonus step I did not do 11 years ago when I put in the other tank...I hope to be retired at the cabin by the time THIS new tank dies. So the new homeowner will have a simple time at it.
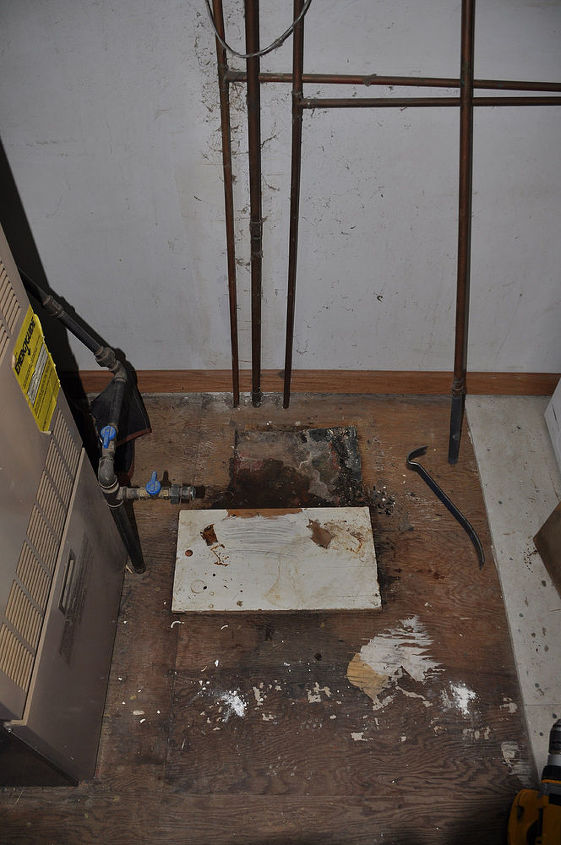
The old base...cheesy lino with wood blocks
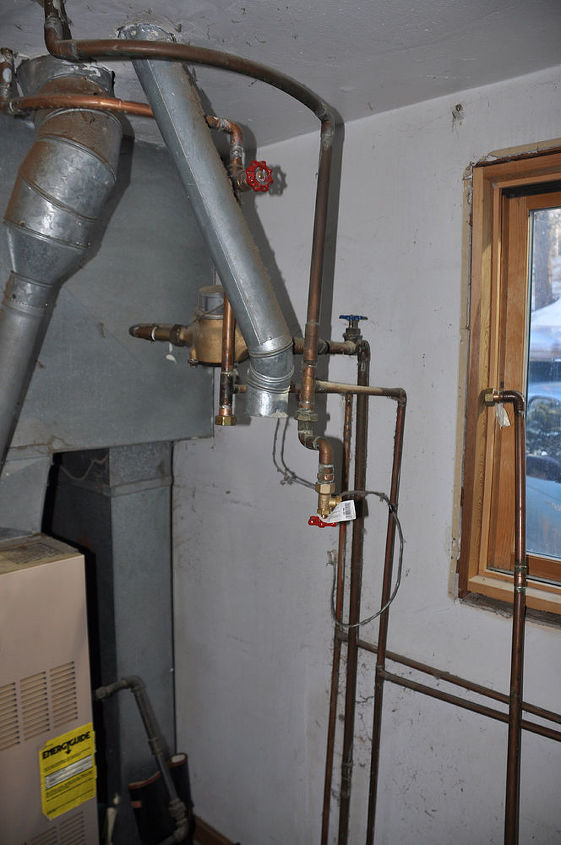
water meter in a bad place
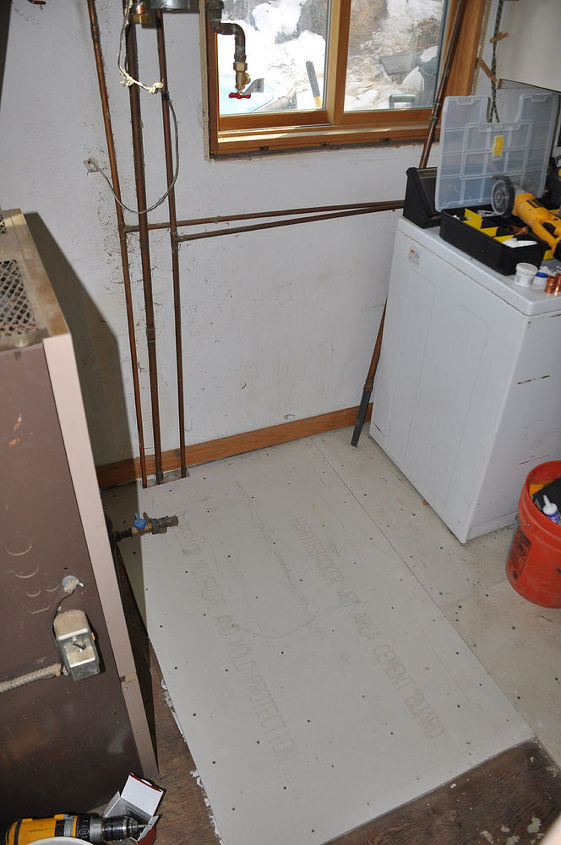
new backer down
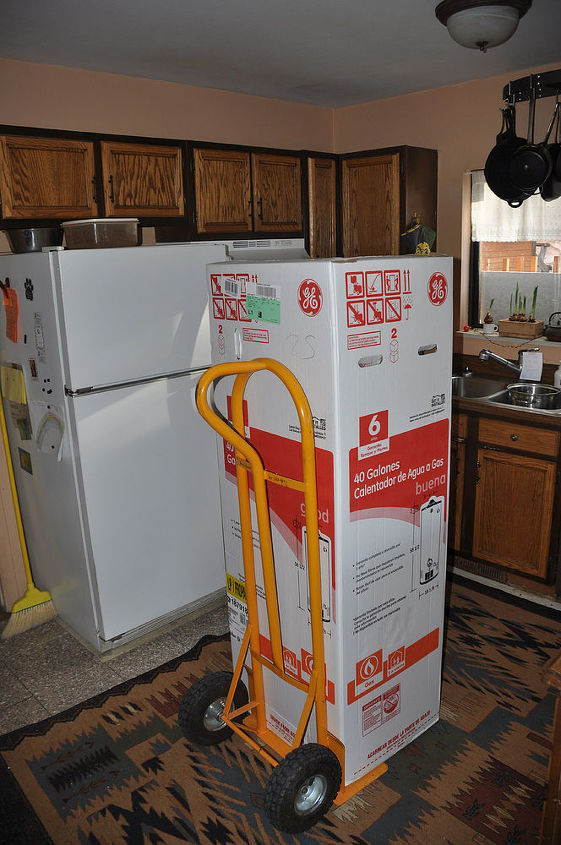
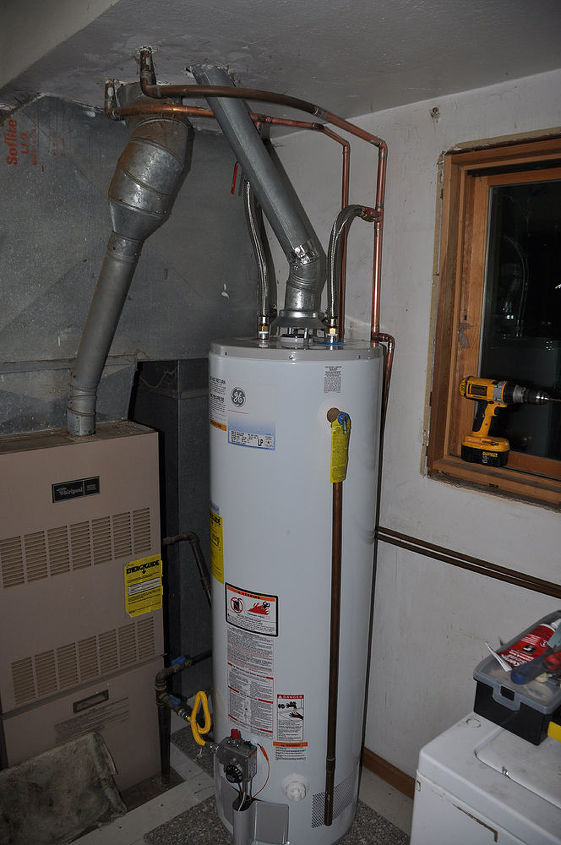
new and shinny

new plumb run..neat and elegant compared to the old run
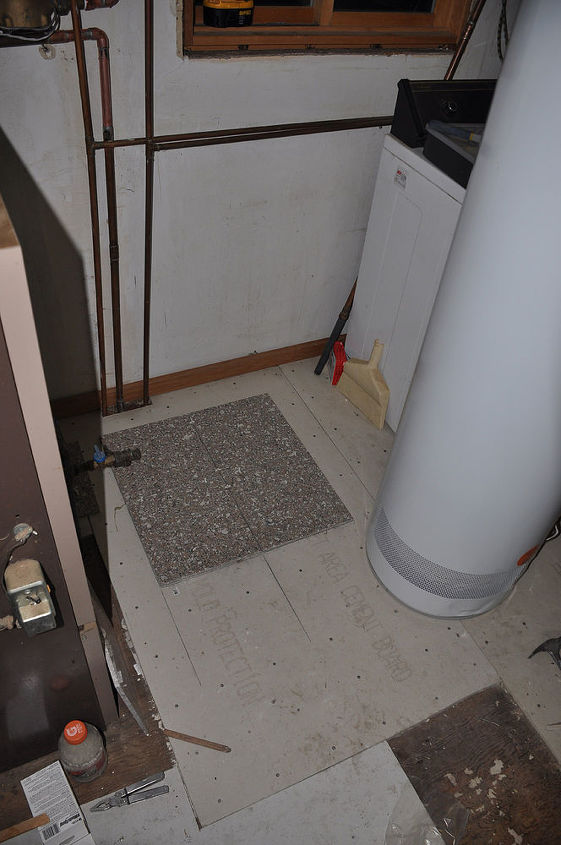
tile layout dialed in to match with the extension from the adjoining room
almost there
done

Want more details about this and other DIY projects? Check out my blog post!
Comments
Join the conversation
2 of 3 comments
-
Ok, going to yell at you. Your not following proper clearances to the Sheetrock on ceiling with the single wall pipe on the chimney. You need six inches free space. (you know this too) Same goes with furnace. One question also, both are going through ceiling, which I assume they join and go out as one chimney through the roof? Why then is the Y fitting not below the ceiling. Aluminum tape is also not allowed. Also its time to change out that Kenmore furnace. And while I am at it, why did you not finish the trim around the window. Is it something like the shoemakers kid not getting any shoes? At least you had clearance to the heater. I had some in the past where we had to take out the heating system just to gain access to pull the hot water heater out through the door. Looks like your new year my friend is off to a great start! Happy Holiday.
-
Woodbridge...If I had to bring every aspect of my 45 year old home up to current code or building standards I would not have any time to do any "paying" work. LOL Those vent stacks have been that way since the home was built...and they are separate all the way to the roof. I'm guessing the reason why that old furnace is is still running is we go through 5-6 cords of firewood each year, (and Its a whirlpool not a kenmore) and the thing only runs a little now and then. When I had my addition done in 2001, I verified that all of the clearances were meet for our primary wood stove. There I even had to add 6 feet of 9 x 14" class A pipe...that was a trick finding more of that. The window trim does fall into the shoemakers group, as completing the stair balusters, and getting the kitchen and laundry room done. You just get done what you can when time and money allow. I look forward to when I can build our "retirement" dream home on our land in NM. Imagine all mechanical, wiring, plumbing, framing, room layout, windows etc....all being done in a proper and logical way.


Frequently asked questions
Have a question about this project?