


How to Add Iron Orchid Designs Mould Appliqués

7 Materials
$60
2 Days
Easy
If you had a piece of furniture that could use some "oomph" Why not try adding some gorgeous appliqués from Iron Orchid Designs....it's easier then you think !!!!
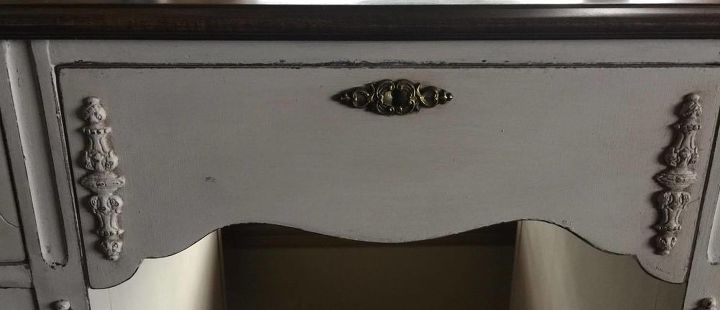
These are the three pieces that we added to a gorgeous vanity that had beautiful ornate mouldings already on it but the centre drawer was flat and boring ! Answer? - Iron Orchid Designs Moulding Appliqués !!!
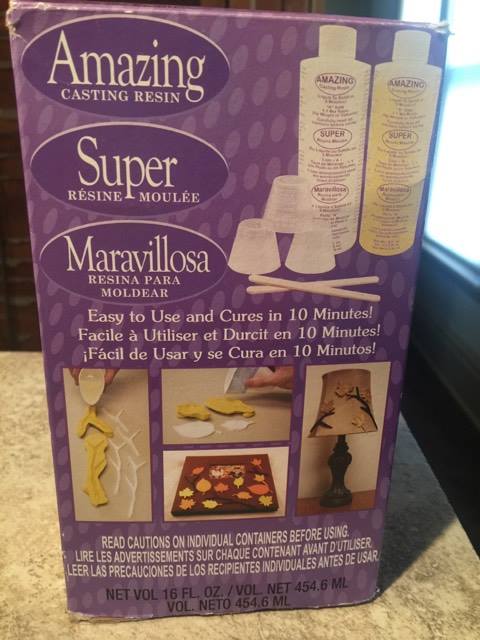
Step 1: There are several options to make your appliqués out of ! Here are just a few, hot glue, resin, latex and paper clay. We love using this resin! It sets in only 10 min and is pliable when it first comes out of the mould so we can form it around whatever we want and then it dries rock hard! Just follow the instructions for whichever method of material you are using for your appliqué
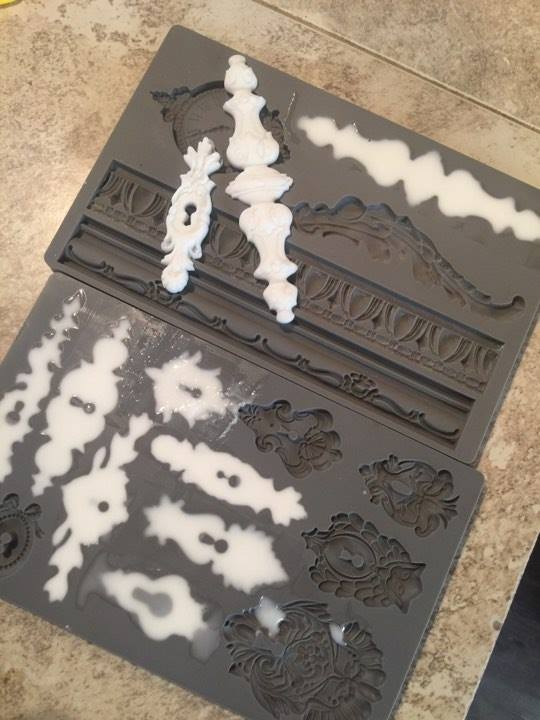
Step 2: We chose a key lock for the centre of the drawer and two of the longer ornate pieces for either side of the vanity.
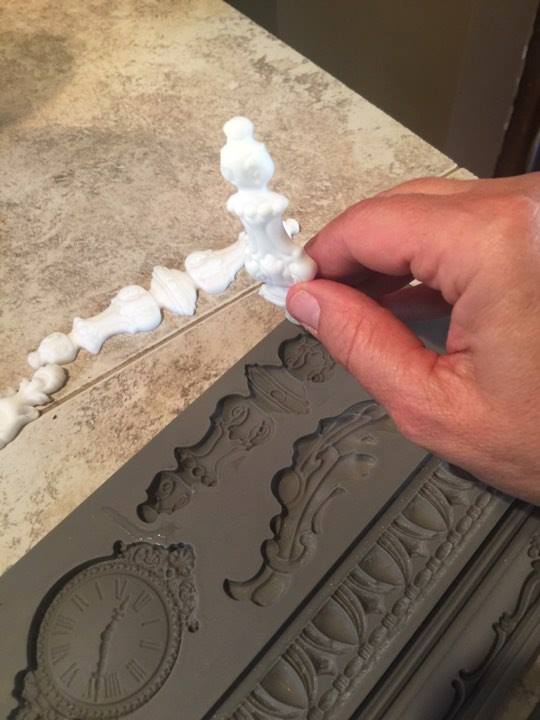
Step 3: When using the 10 min resin they just pop right out of the mould....super easy peasy !!!! You can tell by this picture that it's pliable so if you wanted to form it around something you would want to apply it asap before it hardens !
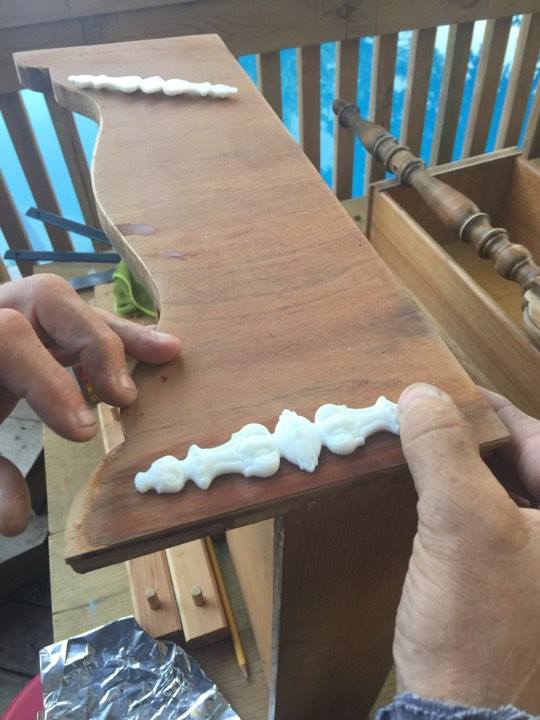
Step 4: Once I had the drawer sanded down we applied the side appliqués with Gorilla glue. Note: we didn't glue down the lock yet as I wanted to make the lock look old and antique and I didn't want to get any paint on it so it was the last thing to be applied to the drawer
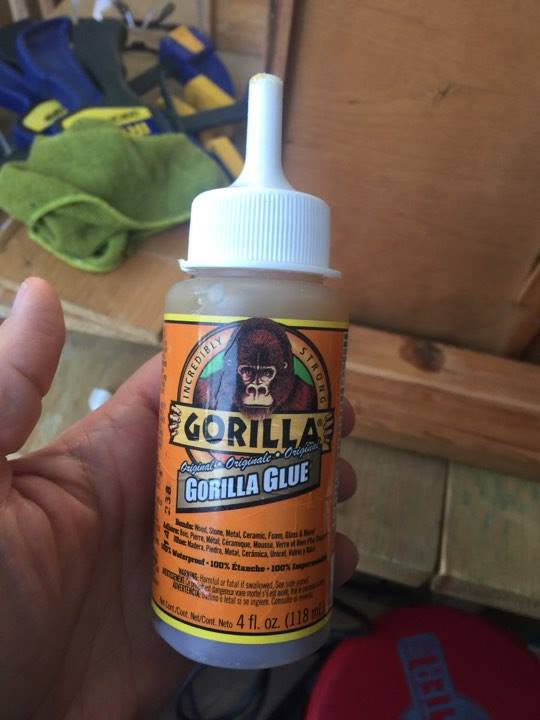
Here's the Gorilla glue we used....just be sure to read the instructions first!
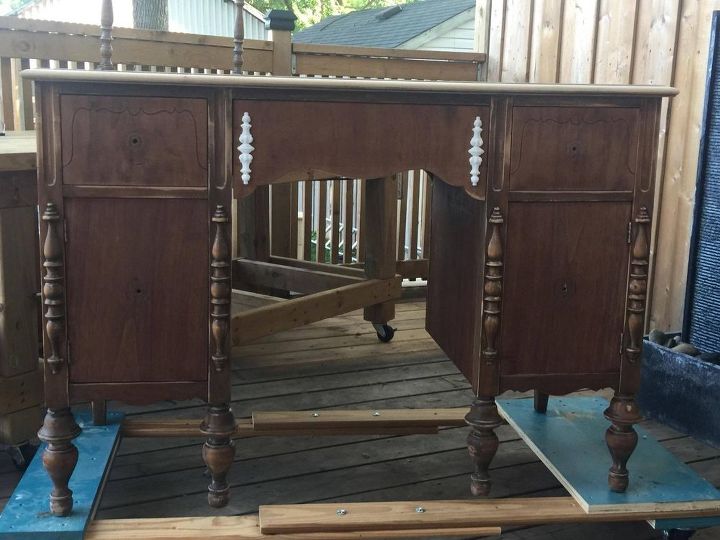
Step 5: Here's what the vanity looked like with the appliqués glued down and ready to paint!

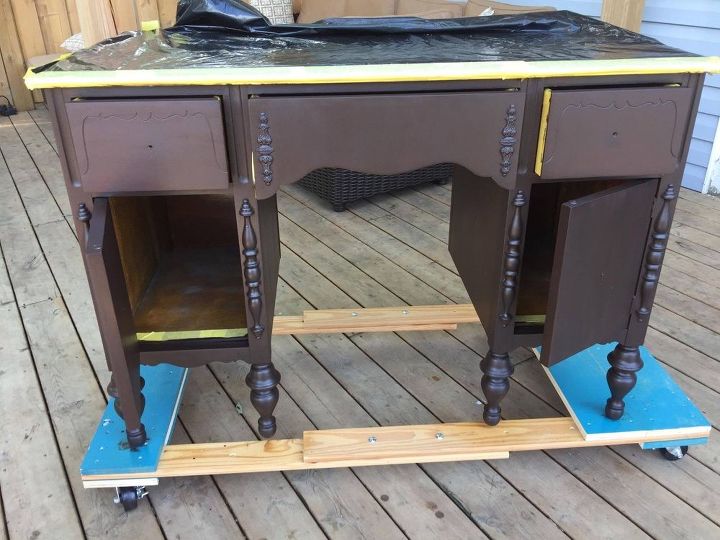
Step 6: Since the appliqué is white I painted them in Fusion Mineral Paint in the colour Chocolate because I did distressing on this piece and wanted it look dark brown in the distressing (not white haha)
Step 7: Here's what it looked like with the appliqués on the top middle drawer all painted in Fusion Mineral Paint - Chocolate You'd never know they weren't part of the original piece and look just like the original wood !
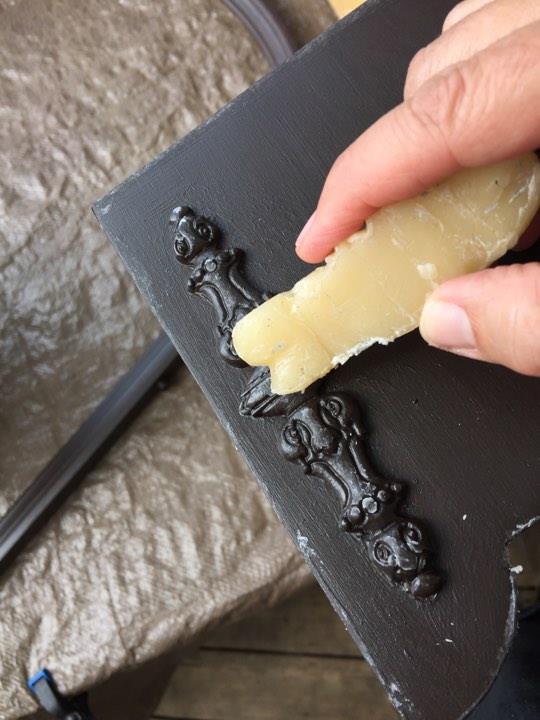
Step 8: Since I was distressing this piece I also wanted to distress the appliqués so I applied Homestead House beeswax block.

Step 9: Next I applied Fusion Mineral Paint - Concealer over the entire drawer and then once it dried I very lightly sanded (using 220 grit or higher...you don't want to sand down to the white resin!) and in between each coat of paint I reapplied the beeswax and lightly sanded
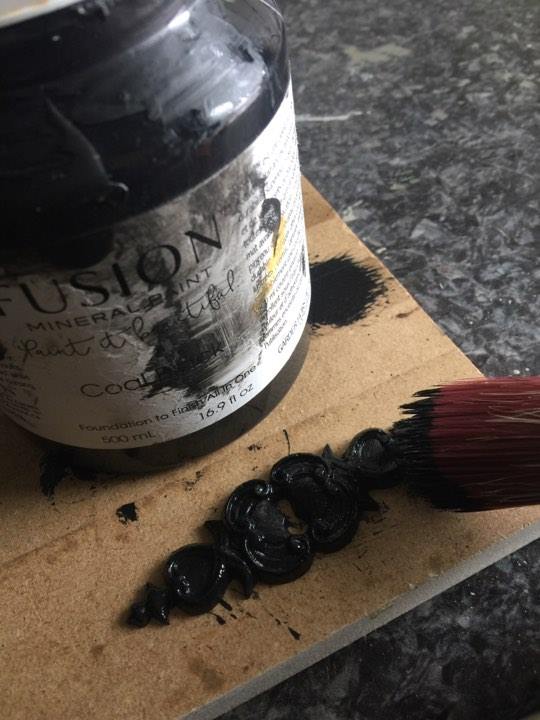
Step 10: For the key lock I first painted it in Fusion Mineral paint in Coal Black
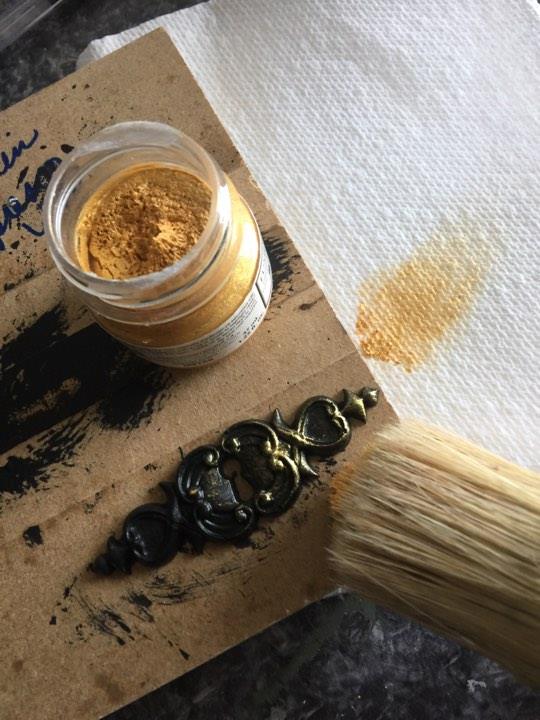
Step 11: Then I went over the key lock (especially covering the high points) in Fusion Mineral Paint gilding paste in Gold but you could also use their Metallic paint in Gold as well!

Step 11: I chose Fusion Mineral Paint in Champlain for the finished colour on this piece !
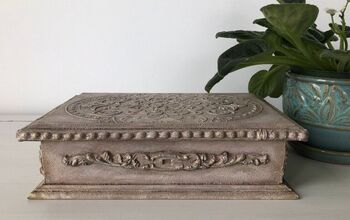
Here is the drawer all finished and it really added such incredible detail and beauty to an otherwise boring drawer !
Note: Before I applied Homestead House Espresso Wax to the entire piece we glued on the key lock (again using gorilla glue) as I wanted to add wax to the key lock as well to even age the look of it more!

Absolutely love how the appliqués were SOOOOO easy to use and added incredible beauty to the vanity !
Comments
Join the conversation
2 comments
-
These are so beautiful! Thank you for sharing your project!
-
thanks Wendy !


Frequently asked questions
Have a question about this project?