Saved From a Life of Brass

Highstyle Restyle
by Highstyle Restyle
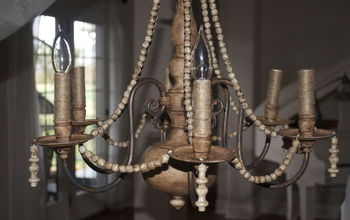
While out thrift-shopping for pieces to ReStyle, I came across a brassy-finish chandelier just begging to be given a new purpose in life. Brass was so popular in the 80's and now thrift shops are simply overflowing with this style just waiting for someone to rescue and re-love them. I was happy to answer this chandelier's cry for help. :)
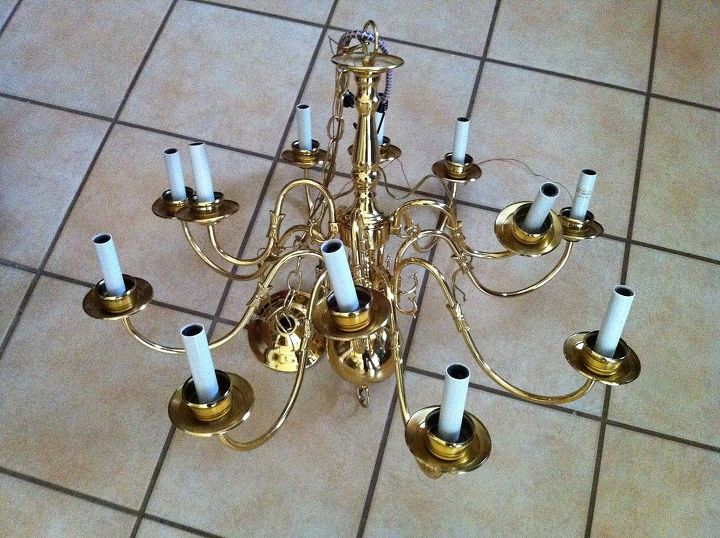
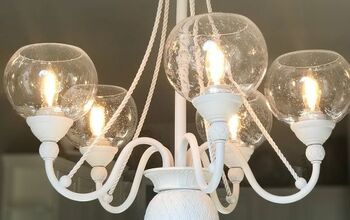
It just so happened a bride, who was looking for a chandelier for her summer wedding, contacted me about purchasing it. Could this chandelier be ReStyled into a dreamy-turquoise? Yes, it most certainly could.


Chalk-type paint is supposed to adhere to everything so instead of using spray paint with a primer, I decided to test it out for myself.


Chandeliers are meant to be hung, so it would be tricky figuring out how to paint it by hand without holding it the entire time. While leaving the house that morning, I noticed our basketball goal in the driveway and a light bulb went off. Why not hang it from the rim of the net? Since the net can be raised and lowered with a hand crank, it was super easy hanging it with bungee cords. And yes, I was pretty proud of myself for being so ingenious. Feel free to steal that idea. ;)
Once I got to painting, I'll admit it wasn't for the faint of heart. Check out all those spindly arms. Twelve to be exact. Yep, it took awhile to paint. Every. Single. One.


When I was finally finished painting, I decided to forgo the step of waxing since it was a light fixture and the heat from the bulbs could potentially melt the wax. I went straight to the big guns - spray poly.


The chandelier was still hanging from my basketball goal outside (I'm sure my neighbors were delighted), so it was ready for its final topcoat. This was the easy part - spraying the poly and waiting for it to dry. And I was thrilled I didn't have to paint another coat on by hand!


Next up, finding some bling to adorn this newly ReStyled beauty.


With a little paint love, this chandelier was ready for its transformation debut.
The chandelier was the perfect finishing touch for the gazebo. What a beautiful background and I'm thrilled my chandelier was chosen to accent this gorgeous bride's wedding!


Now, a turquoise stunner, it was ready to be a focal point in the gazebo at a beautiful outdoor wedding.


To read the entire blog post visit:


http://www.highstylerestyle.com/blog/2014/2/25/saved-from-a-life-of-brass


Follow me on Facebook at https://www.facebook.com/pages/High-Style-Restyle/296597457120303
Frequently asked questions
Have a question about this project?
Comments
Join the conversation
2 of 94 comments
  • Annie Doherty Annie Doherty on Jul 16, 2016
    Looks great, really nice job looks beautiful thanks.
  • C C on Aug 15, 2016
    Another great use is to glue solar lights onto the painted chandler and use it in the yard or gazebo.
Next