


Mirror Makeover- Driftwood and Monogramed

Love it or hate it, the mirror was still in great shape but the style wasnt mine so I got to thinking about ideas to change it up. It was an old frame I handed handed down to me when we first moved into our home and now I was tired of the old look and felt I could do a complete makeover.
To begin, I first had to get down to the bare bones and therefore take it apart. By just removing a few screws from the backing all threeparts were separated- frame, backing and mirror.
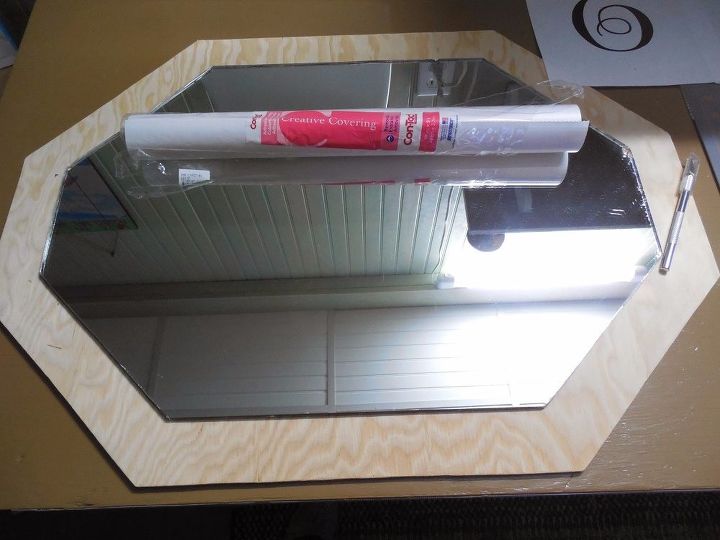
Once the glass part was freed from the old frame I had a piece of thin plywood cut extending beyond the mirror about 3" all the way around. The mirror was secured to the plywood with a liquid nail caulking, liquid nails. Next, l used a peel and stick shelf liner to create a stencil for the design I had in mind to paint on the glass.
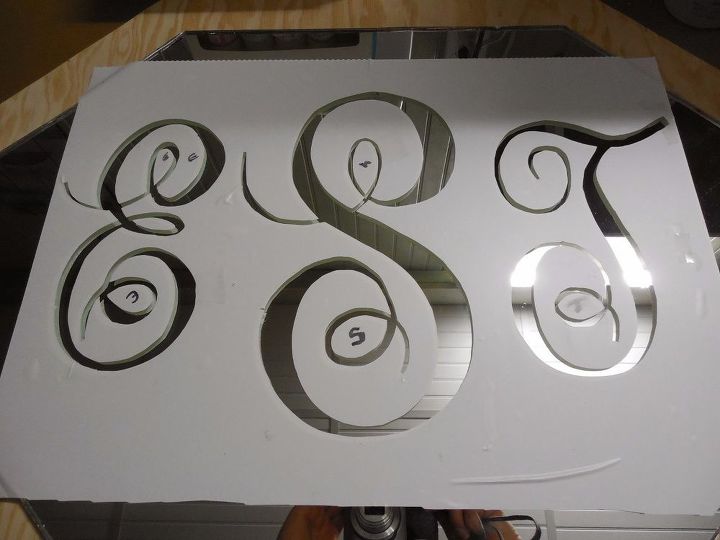
I decided to add a monogram as it would be hung in my entryway and I thought this was appropriate. By printing the large size letters from my computer in the font I chose I was able to trace the letters on the vinyl and then cut them out with the cutting tool shown above. Once it was cut out the paper backing was removed and the stencil applied directly to the glass.
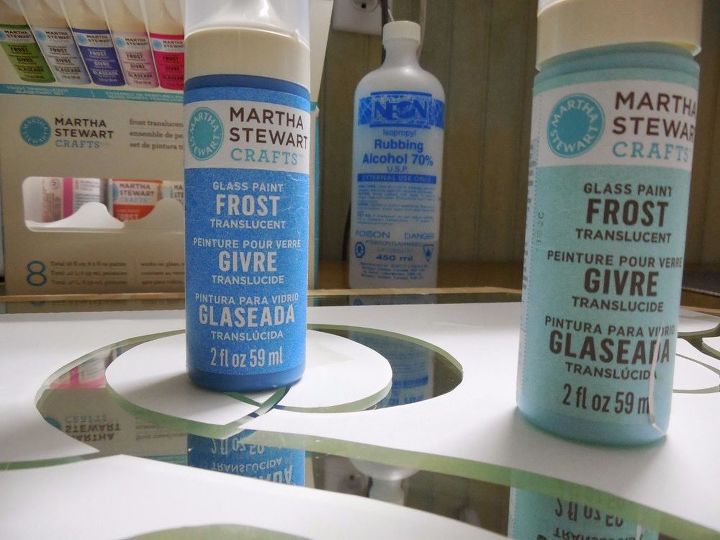
The mirror was cleaned with rubbing alcohol before brushing on the Martha Stewart paint, this ensures good paint coverage by removing any grease from fingerprints that may be on the glass. I applied the paints with a sponge brush in a dabbing motion until all areas were covered, do not go back over partially dried paint.

I removed the stencil after it dried BUT that was a mistake!! I had some paint smudged along the edge of the vinyl so when I pulled it off it peeled some paint from the letter too! Now I had to do repairs on this peeled area, I strongly advise you to REMOVE THE STENCIL WHILE THE PAINT IS STILL WET...carefully and slowly to avoid the anguish I encountered. Once I painted for a second time those bare patches in the letters I peeled the entire stencil off right away.
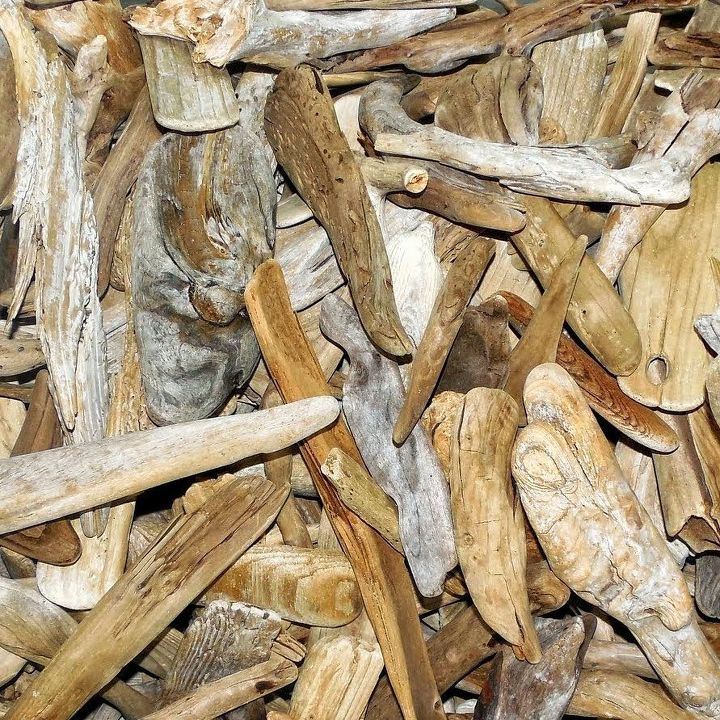
With regards to the 3" plywood border I just had to beautify that...with what though? Rope? Shells? Wood? Yes, wood but not ordinary wood, I used washed and weathered that was literally at my feet .... driftwood! You see I live just 5 minutes from many beaches here in my hometown so I have access to all sorts of beach combed supplies.
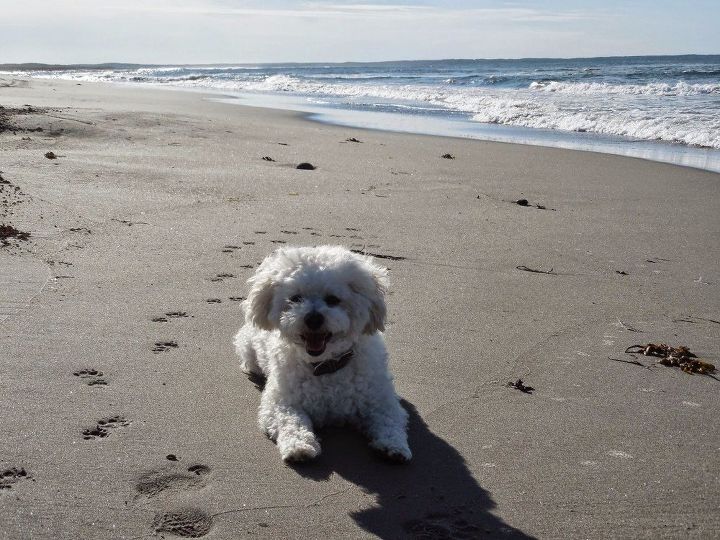
Did I mention that we hate going to the beach? Hahaha just kidding, my partner in crime loves to takes walks on the beach! He sniffs everything, I take in all the sights....see I'm sidetracked already.
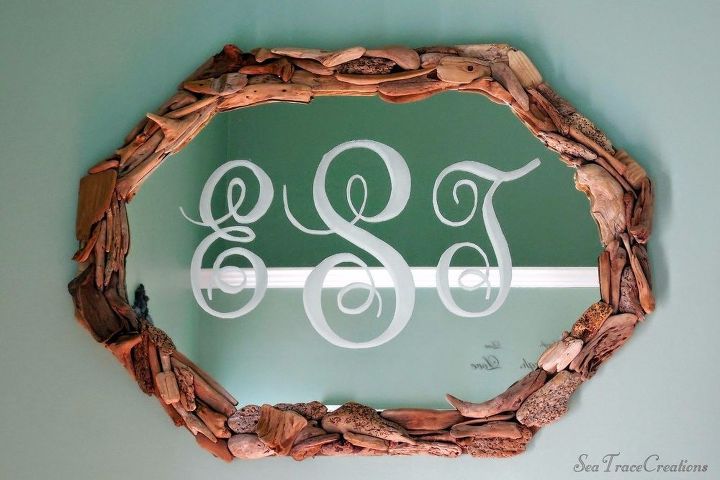
The small pieces were laid in place as you'd assemble a puzzle and glued into place with carpenters wood glue. Hardware was added to the wooden back for hanging and wellah it's completed and hanging pretty in my entry! I hope this has inspired you to rescue a mirror and make it shine again!
Comments
Join the conversation
-
Wow, that turned out amazing! Lovely idea and result!
-
Very pretty!


Frequently asked questions
Have a question about this project?