


Vintage Vanity Case Makeover
I bought this vanity case at a yard sale over the summer for I think 1 – 2 bucks. I snatched that thing up so quickly! I knew as soon as I laid eyes on it that I was going to paint it. And that is just what I did. I used chalk paint for the very first time to do this project, and I must say, I love that stuff! I want to walk around and paint it on every surface in my house! Is that weird?
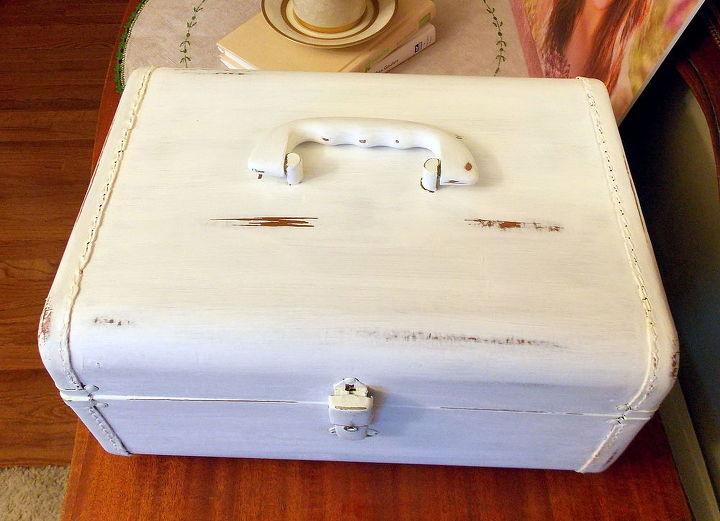
I started by cleaning the case inside and out. The lining was gross, so I ripped it out. After it was completely dry, I used a one inch craft paint brush to paint three coats on, allowing them to dry in between each coat. (Not gonna lie, I waited a day in between, just because I was busy). I had never felt the finish of chalk paint before, and I was surprised at how soft and smooth it felt, even after only one coat.
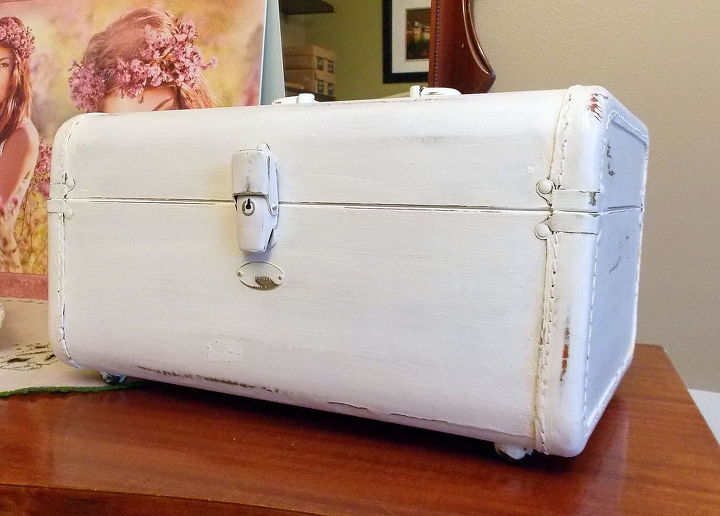
A couple of days after I finished the third coat of paint, I used a fine grit sanding block and a piece of 120 grit sand paper to distress it in random spots. I just kept rubbing until I liked the look. I also distressed the hardware. When I finished sanding it until I was satisfied, I cleaned all of the dust off with a slightly damp rag, and let it dry. Last of all I waxed it with wax in clear.
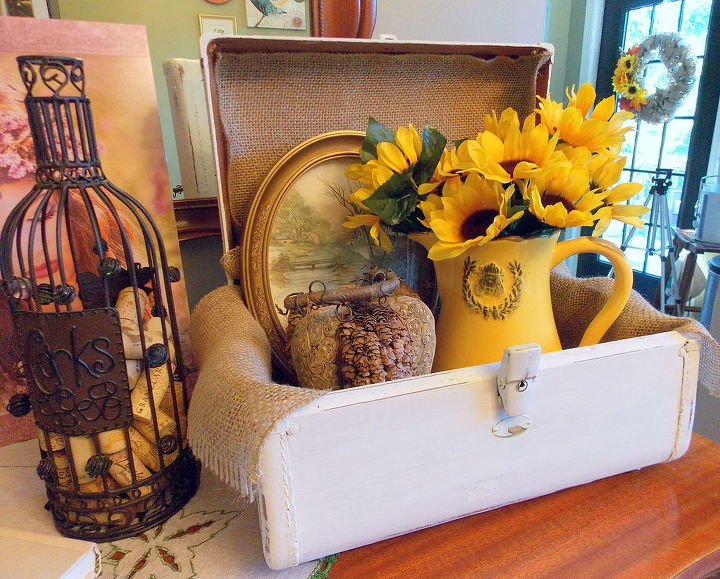
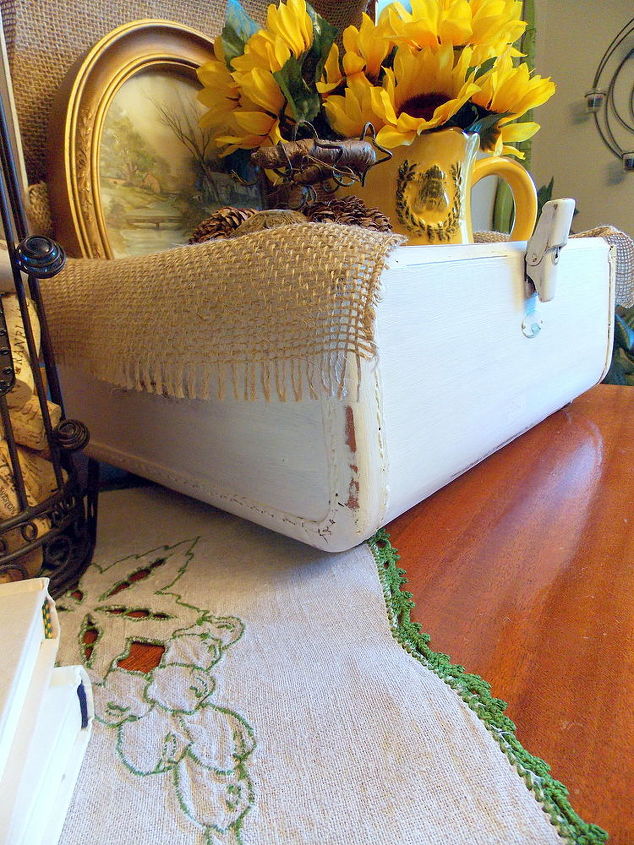
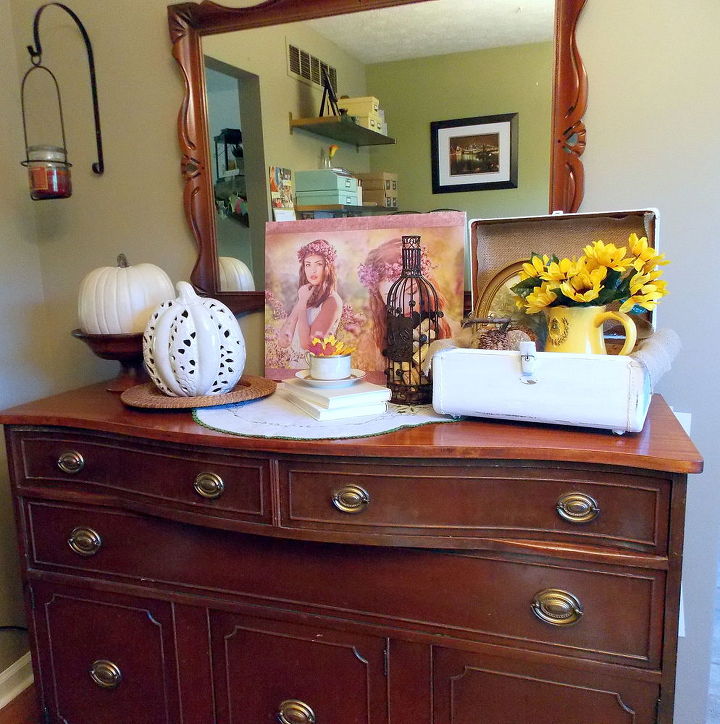
I haphazardly placed some burlap inside to hide the disrepair, and I love the way it looks. Although I do plan on painting the inside eventually, I liked this look for Fall.
And here is it on my buffet for Fall! Love it!

Want more details about this and other DIY projects? Check out my blog post!
Comments
Join the conversation
2 of 3 comments
-
Very cute! Love the burlap.
-
Cannot wait to do this to the suitcase that was my Husbands' Parents and make a memory box.


Frequently asked questions
Have a question about this project?