


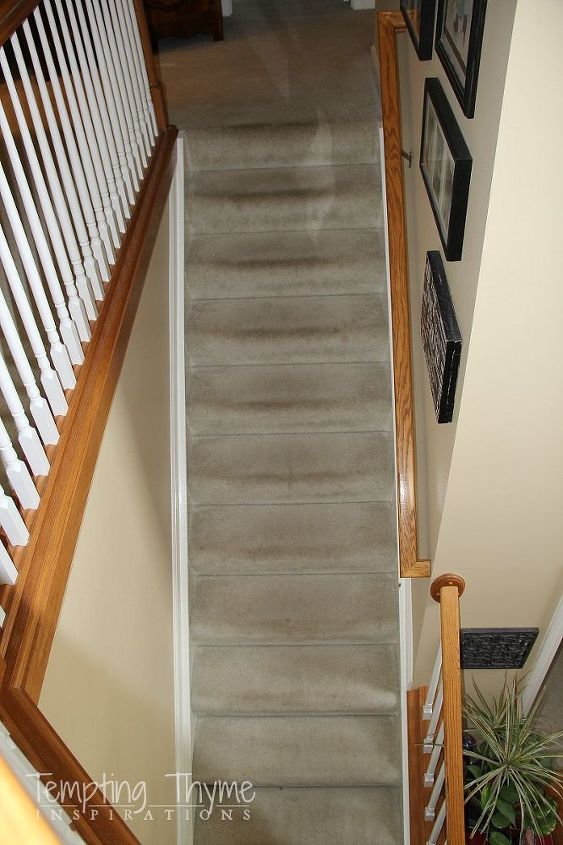
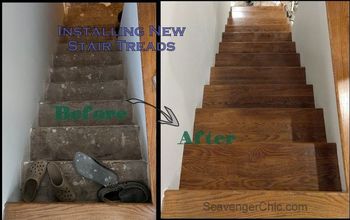
The Carpet Had to Go....didn't It?


Comments
Join the conversation
-
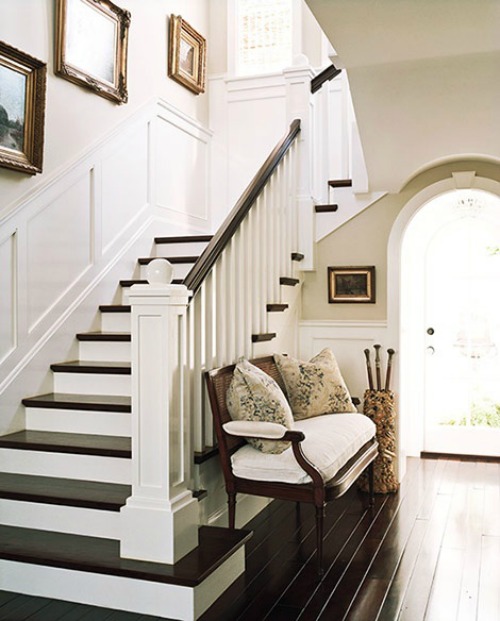
beautiful
-
Hi Donna.
Squeaks/creaks are silenced by screwing down the treads.
Four locations to screw the tread to:
1) Screw through the front of the tread into the riser below it.
2) Toenail a screw into the skirt
3) If there is a center skirt (middle of the tread), screw into it.
This is hidden from view; it's part of the framing. Drill a small hole through
the tread at the center point (left to right) to determine if there is one in place.
Usually you'll find these on wider steps.
4) If the riser behind the tread extends below it, toenail a screw into it. I was able to
do this.
**Pre drill the holes for the screws and countersink the screw heads so you can fill
the holes and hide the screw head. Wood filler works best. It is paintable, but
does not take stain very well.
Depending on how wide the gaps are between the risers & the steps, you might
be able to push foam tubes into the gaps before you screw the risers down tight.
The foam will help quiet the squeaks. Caulk the seams before priming & painting.
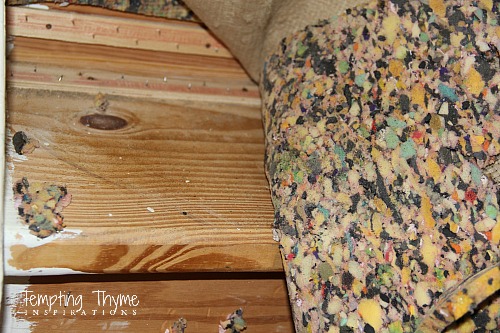
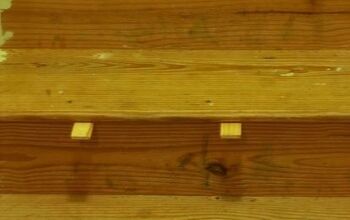
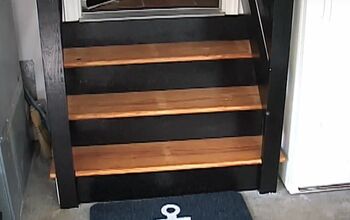
As seen in pic #1, I also hammered wood shims into the gap between the treads
and risers. These hold the treads firmly in place. Foam fills the space between the
shims. The foam also provides a backing for caulk.
For screws, I used 2 1/2" coarse thread drywall screws. Coarse threads are easier
to screw into wood.
tread=step
riser=vertical panel between treads (your toes kick these as you climb your steps)
skirts=side panels (L&R) usually attached to a wall
toenail=at an angle
foam tubes or backer rod=inexpensive solid foam material. It's grey, looks like a snake & is available in 3 or 4 sizes (1/4", 3/8", 1/2", 5/8"). You can either snap off the piece you need or cut it with scissors.
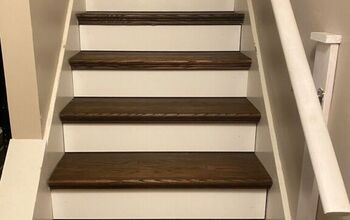
pic #1 shows I also used wood shims to tighten the tread.
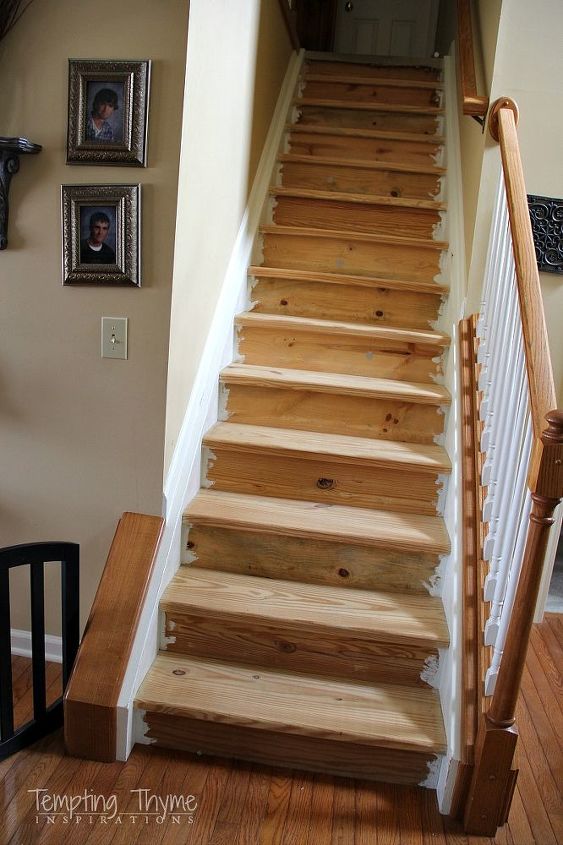
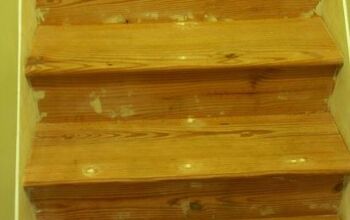
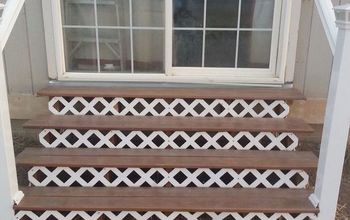
pic #2 is an overall look at the wood filler I used.
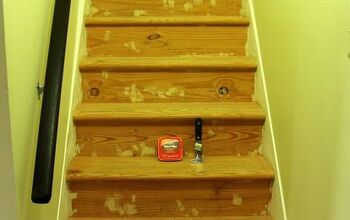
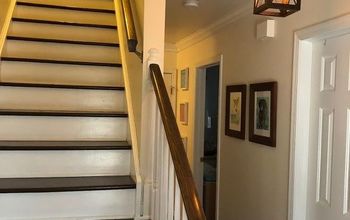
pic #3 shows the screw placement at both the front of the tread and the center rear
of the tread near the riser.
I hope this info is helpful to you, Donna. If you more questions, just ask. I'll be glad to try and answer them. I know I've written a lot, and it might seem difficult, but it is not. The work I describe here is very easy. It's just time consuming. Take your time and you'll be happy with the results.
Please let me know how you make out and send a pic or two.
Mike


Frequently asked questions
Have a question about this project?