


Creating A Small Memo Board

Thursday was our first Hometalk Team project day! Everyday, I clip project after project daily and always say "I will make that one day." Well that one day became last Thursday during our first Hometalk Team project day.
Hannah, Miriam, and I all picked one project that inspired us and put our own twist on it. With ideas in hand we all headed to Michael's to let the crafting commence.
I recently moved into a new apartment and I need storage and things to help keep me get organized. I decided it would be great if I made a small memo board to put on the table I have in my entry way. This would be perfect as a place to put my reminders and anything else paper wise I need to grab for that day (like tickets).
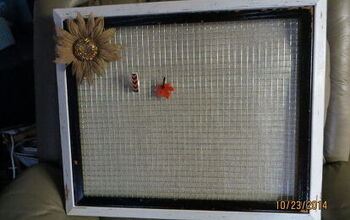
The project the inspired me was Confessions of a Serial DIYer post, "Old Picture Frame Turned Pretty Message Board...with Matching Pins!"
http://www.hometalk.com/diy/organize/command-centers-boards/old-picture-frame-turned-pretty-message-board-with-matching-pins-1799984
Hannah, Miriam, and I all picked one project that inspired us and put our own twist on it. With ideas in hand we all headed to Michael's to let the crafting commence.
I recently moved into a new apartment and I need storage and things to help keep me get organized. I decided it would be great if I made a small memo board to put on the table I have in my entry way. This would be perfect as a place to put my reminders and anything else paper wise I need to grab for that day (like tickets).
The project the inspired me was Confessions of a Serial DIYer post, "Old Picture Frame Turned Pretty Message Board...with Matching Pins!"
http://www.hometalk.com/diy/organize/command-centers-boards/old-picture-frame-turned-pretty-message-board-with-matching-pins-1799984
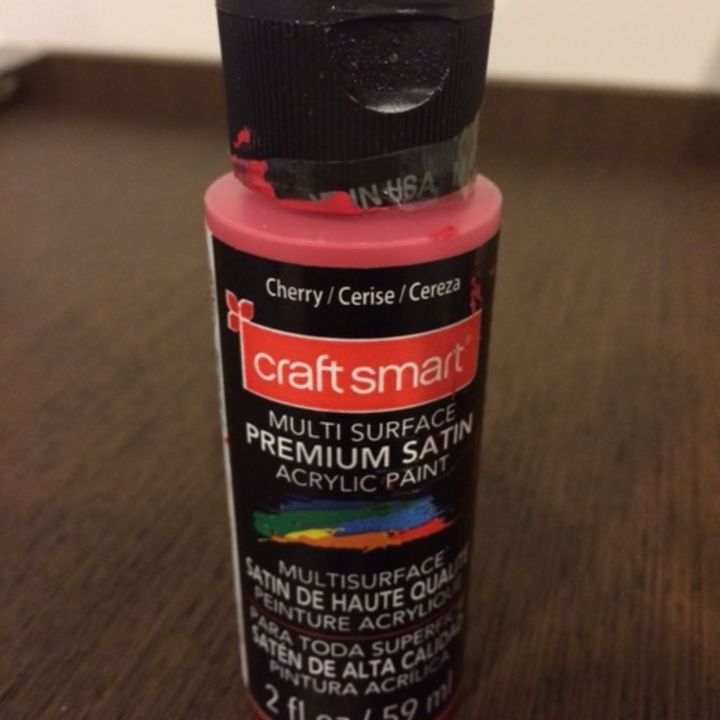
I found a perfect Studio Decor Lifestyles wooden frame from Michaels (and even better was that it was buy one get one free). I choose a smaller frame (8X10) since I don't have that much space in my place. I also got a nice cherry metallic red paint from CraftSmart to match my decor and a simple paint brush. So far, so good.
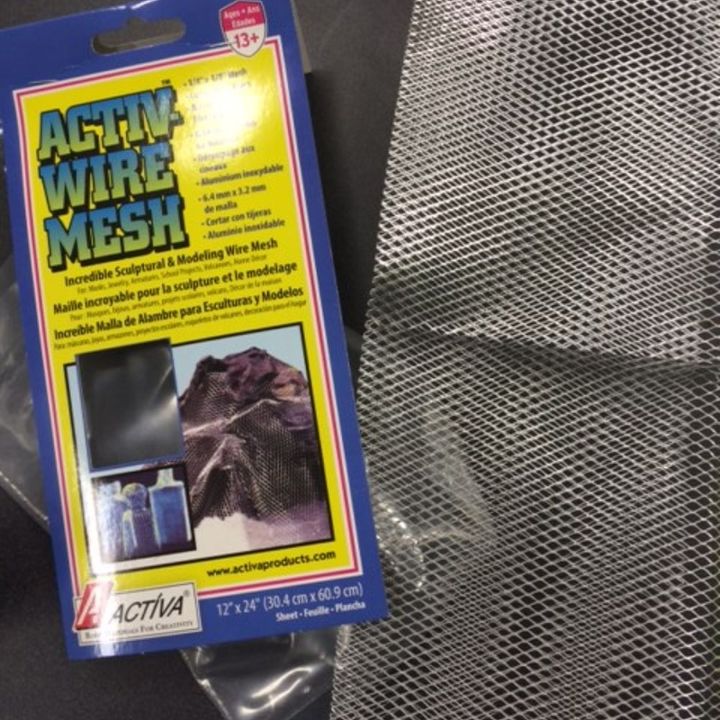
Then it came time for me to get the chicken wire. And a problem came up. I couldn't find it anywhere in the endless aisles filled with every crafting need. I wasn't going to panic but found a Michaels employee that informed me sadly that store was out of chicken wire. I spoke to him about what I wanted to do and he came up with a plan B for me. He suggested I get this wire mesh which would not let me use clothespins but I could use thumbtacks, hooks or small magnets for my notes. I decided to give it a shot.
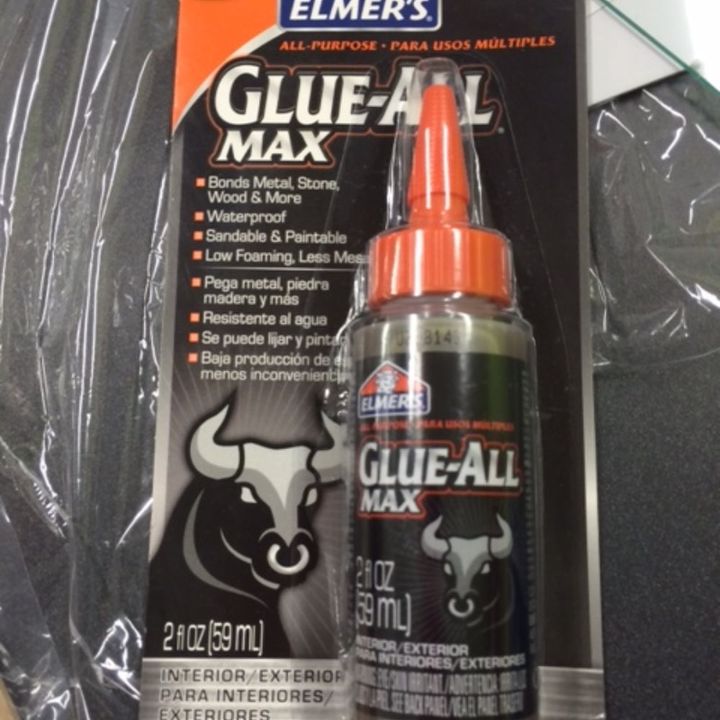
The employee also suggested I use this Elmers Glue-All Max to stick the wire on the frame. I went with his suggestion. I also thought it was a good buy for future projects I was thinking of attempting down the road.
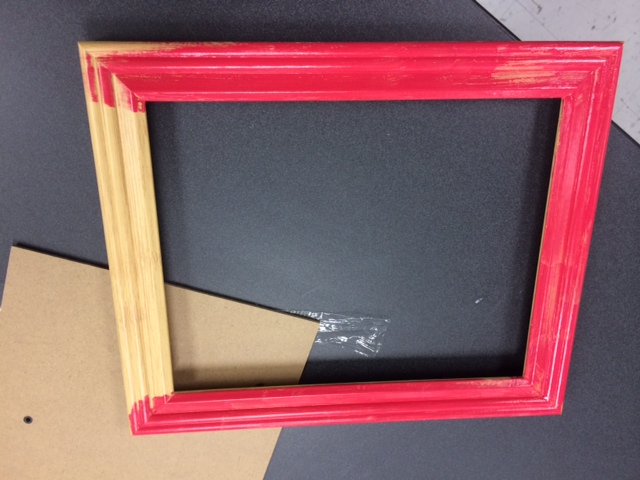
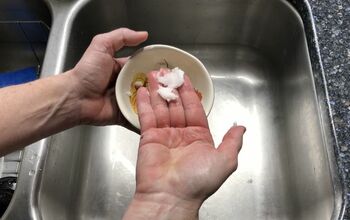
We used the craft room at the store and I felt like I was in art class again. I gave my frame about 3 coats of paint. I noticed that like in art school, I still don't have that much patience when it comes to paint drying. I flipped over the frame too soon and I got a nice thumb print smudge because of it. Lesson learned for next time. The glue did make it easy to place the mesh wire on. I glued it and then cut the extra metal. It was easy enough to cut with a regular scissor.
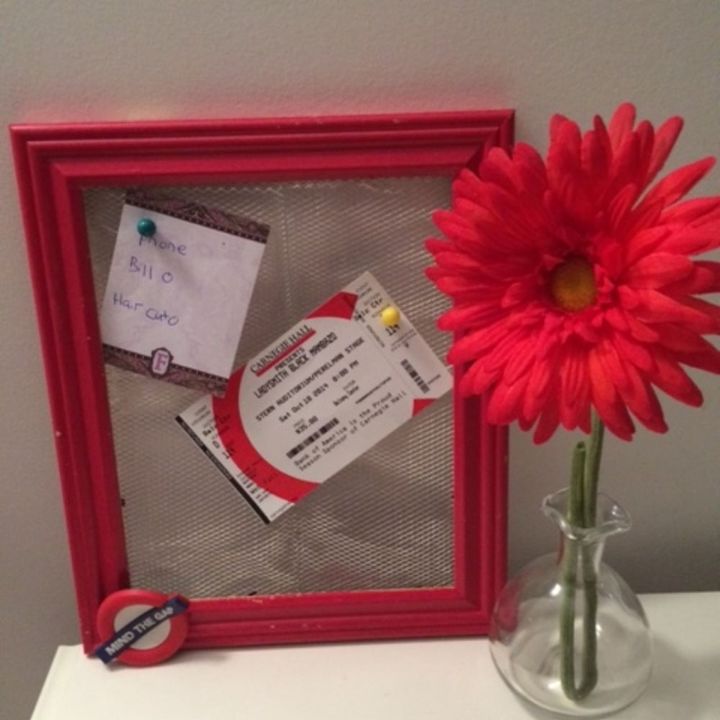
This weekend my new memo board took its place on my entry way table. It does hold the thumb tacks but I do believe chicken wire would work better. I love how the color plays off of my bright daisy. The flower will help me to remember to always see what memos are on the board in the morning.
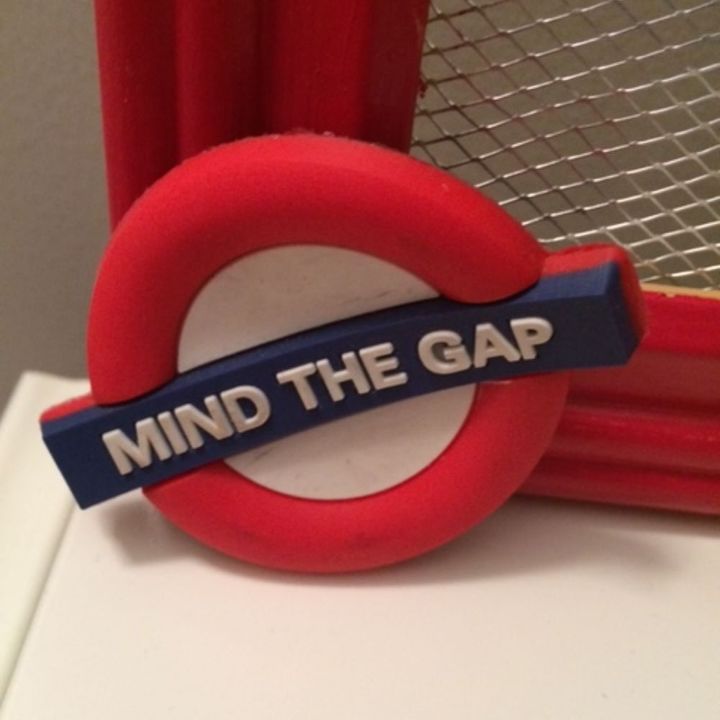
I'm a big London fan and so I added a magnet from my fridge to the bottom of the board. I think it helps the metallic color pop a bit more. And now this favorite magnet is proudly displayed instead of being hidden behind papers on my fridge.
Comments
Join the conversation
2 of 3 comments
-
@Jill , there is a reason that people say that something boring is "as exciting as watching paint dry". :) Love your message board. If you want clothespins - get the small ones and glue a magnet to the back and decorate the front.
-
I love this idea its close to mine, check it out... only mine was for a holiday board which can be can used either way... Good minds think alot !


Frequently asked questions
Have a question about this project?