


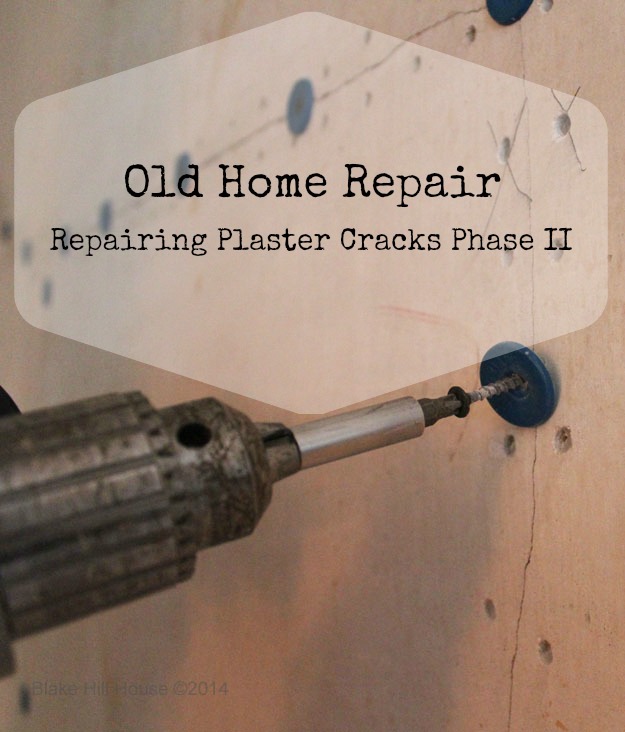
Repairing Plaster Cracks Phase II
Medium
Repairing plaster cracks is cost-effective and easy, and it will preserve the integrity of your old home. Today's post is the second step in the process. You can read all about the first step by visiting our blog.
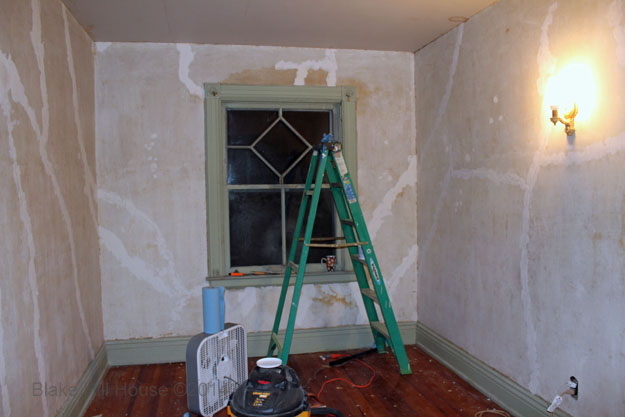
The plaster crack repair for our ORC for November is coming along a little slowly. I wanted to have more done by this time of the month, but life happens. Confession: I have a bad habit of thinking that I have more time than I actually do. I am good about not overestimating time when it counts. We arrive at places and appointments on time, and if I have a deadline imposed by someone else, I will make it. However, when I am the only one truly affected by a situation, I do not always pull it together. That is part of what this ORC is about though. A deadline is set. The blog holds me accountable, and the work gets done...mostly.

The next step was to run the edge of the scraper lightly and quickly over each crack in order to dislodge any bumps of glue or remaining wallpaper or imperfections.
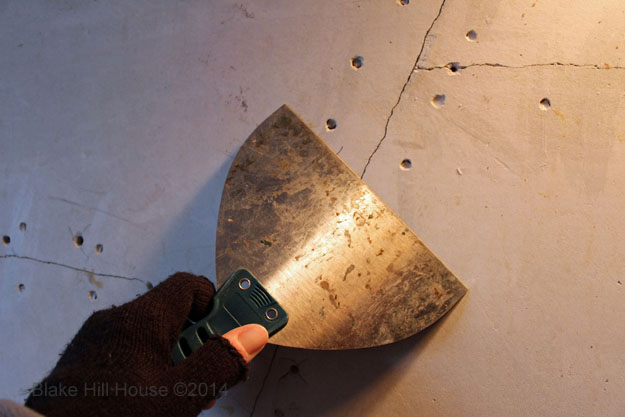
After scraping, we vacuumed each crack thoroughly, and I used a flat screwdriver to gently dislodge any pieces of plaster that were loose, but stuck. The end result was a debris-free crack that patch would adhere to properly.
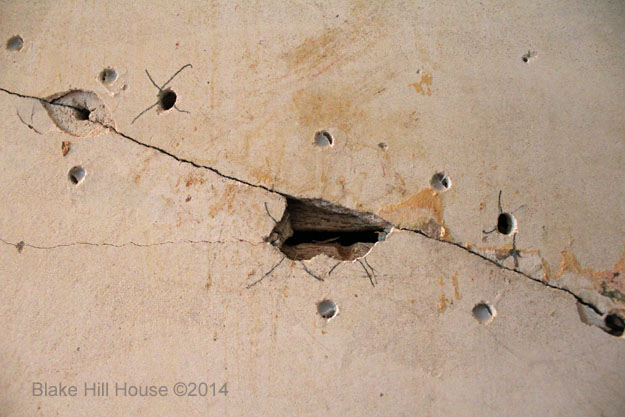
I do need to mention that I am slightly concerned about our adhesive. As I was scraping, I noticed that the adhesive seemed to have shrunk as it dried. That was not the case in every hole, but there were many in which the adhesive was suspect. This is the same adhesive that we used in O's room, so I have no reason to believe that it is an issue of choosing the wrong product, but I suppose it could be brand inconsistency. The drying conditions were slightly colder this time, but they were within the acceptable range based on the product label. At this stage, we were forced to make a decision about how to proceed. We chose to move forward rather than redo the adhesive, knowing that more repairs may be in our future. This may be a giant regret later, but such is DIY life.
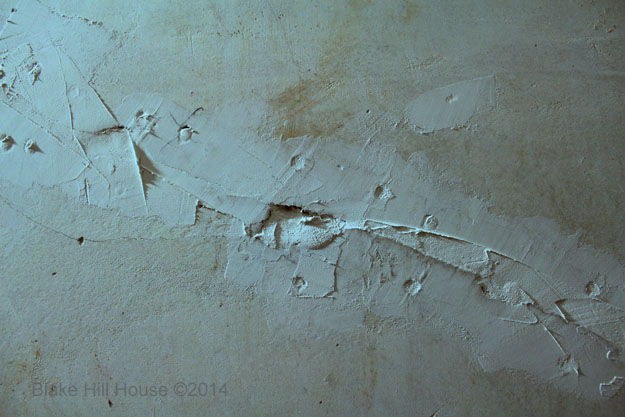
It took about six hours to finish the patching. I was able to listen to every Serial podcast, and holy cow, I am hooked! Anyone else out there glued to this fascinating podcast about the 1999 murder of a Baltimore high school girl? Did they convict the right killer? That question is rhetorical at this point. Oh forget rhetorical, what do you think? Did he do it? That question takes up way too much of my brain's real estate right now. When you get a chance, listen to the podcast, and then read this article. I think you will be hooked too.
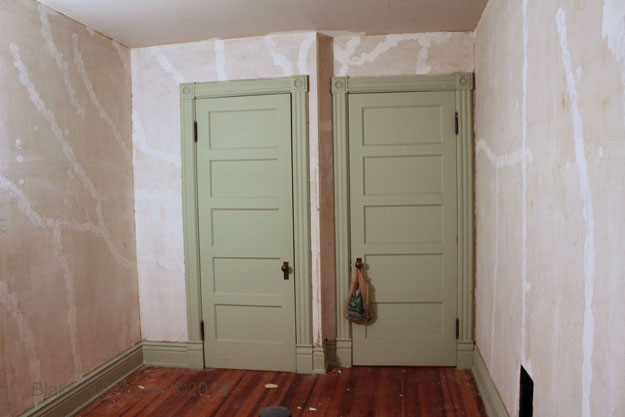
That is where our project ended for the weekend. Sunday, we had other obligations, and no work was done on the room.

Want more details about this and other DIY projects? Check out my blog post!


Frequently asked questions
Have a question about this project?