


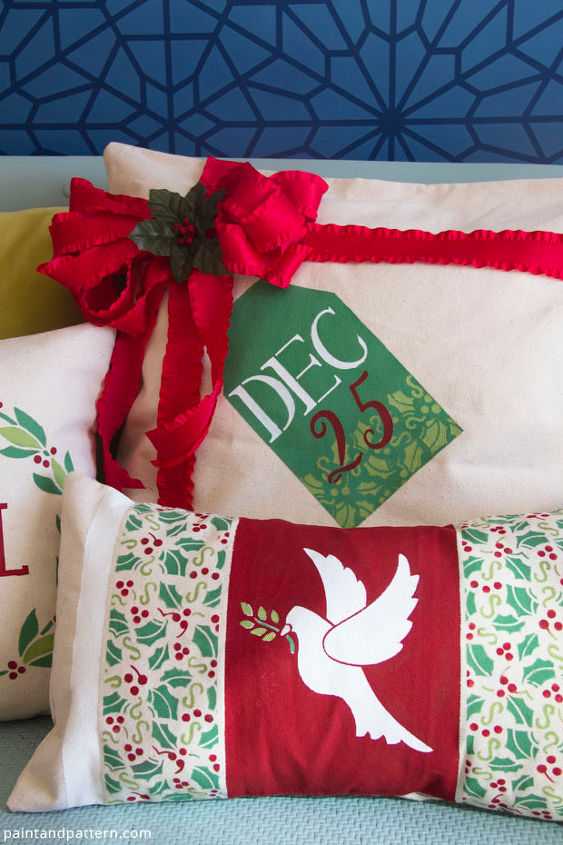
How to Stencil Festive Christmas Pillow Cases

A stenciled Christmas throw pillow easily adds the holiday spirit to any living room or bedroom! This tutorial will show you how you can make three different styles of throw pillows using our Mix and Match Christmas Stencil Collection from Jennifer Rizzo and Annie Sloan Chalk Paint.
Supplies
Royal Stencils: Holly Berry Christmas Stencil, Peace Dove Stencil, Gift Tag #3 Christmas Stencil, Classic Letter Christmas Stencil, Script Numbers Christmas Stencil, Holiday garland Christmas Stencil, Noel Lettering Christmas Stencil
Annie Sloan Chalk Paint: Pure White, Emperors Silk, Dark Green Blend: 1 Antibes Green +.5 Greek Blue, Light Green Blend: 1 Arles + .5 Antibes Green
Royal Stencil Brushes
Foam Roller, Roller Handle, and Roller Tray
Red Ribbon
Painter's Tape
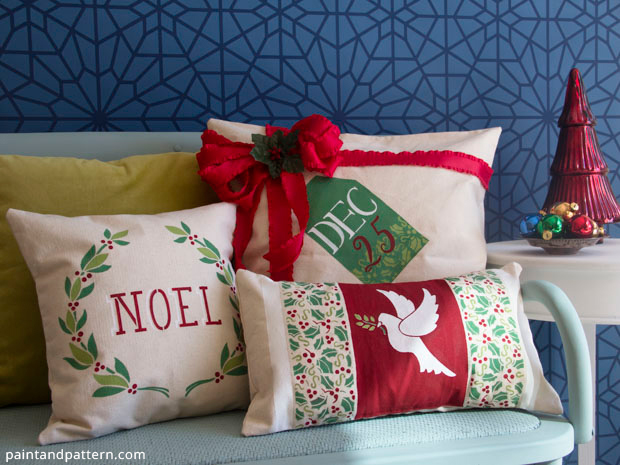
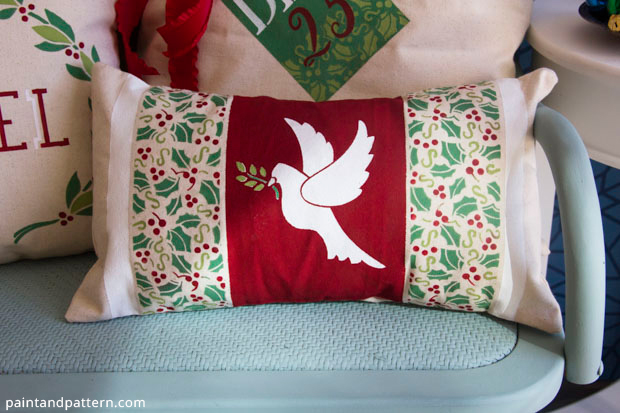
A Peaceful Dove Pillow
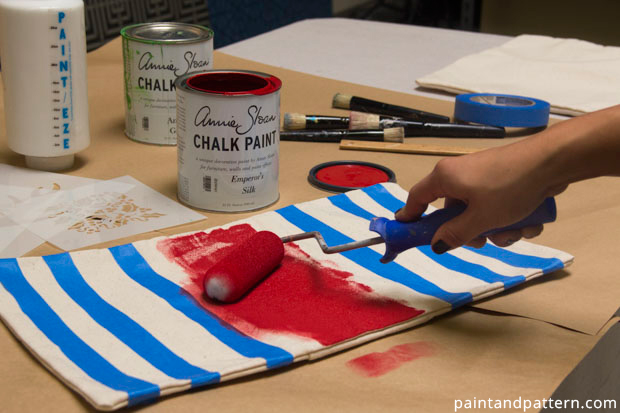
Step 1: For a rectangular pillow, find the center and divide your pillow case into 3 sections using painter's tape. Then, create a 1" stripe 3 inches from the mid panel.
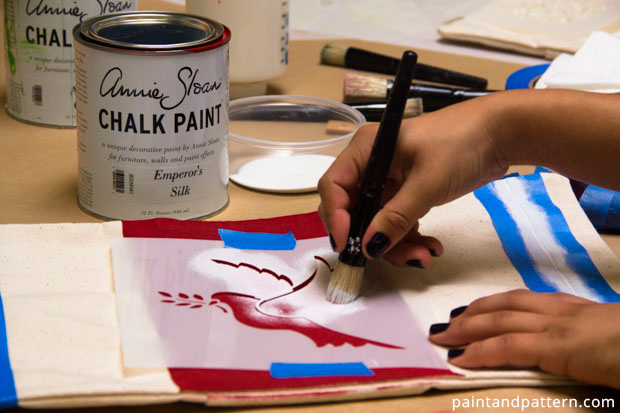
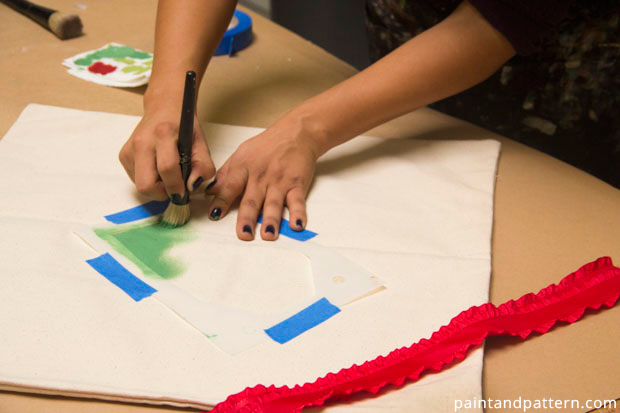
Step 4: When the red panel is dry, place the Peace Dove Stencil on the center of the pillow case and stencil the bird using Pure White stencil cream. Allow to dry. Use the dark green chalk paint blend and the light green chalk paint blend to stencil the branch details on the stencil.
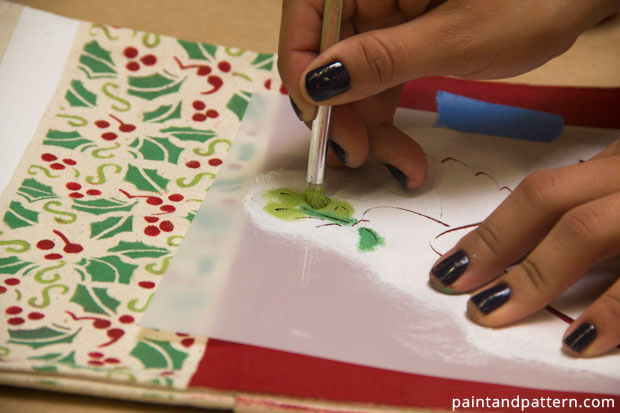
Step 5: Use the painter's tape to create a small border inside the blank mid panel. Stencil with Holly Berry Stencil using Emperor's Silk for the berries and the two blends of Green Chalk Paint for the leaves. Use a 3/8" stencil brush for each color.
A Beautiful Ribbon Pillow
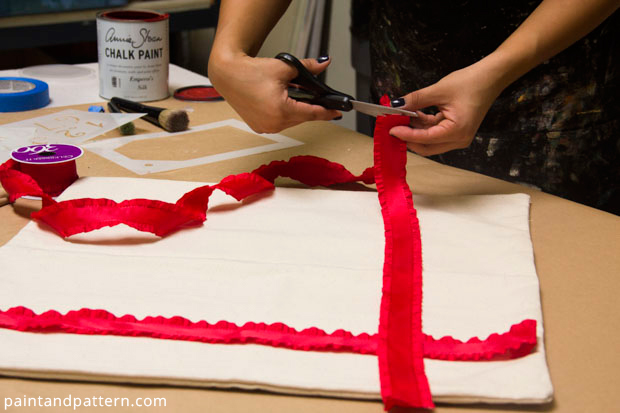
Step 1: Measure the width and length of your pillow and cut 2 pieces of ribbon accordingly. Plan your layout.
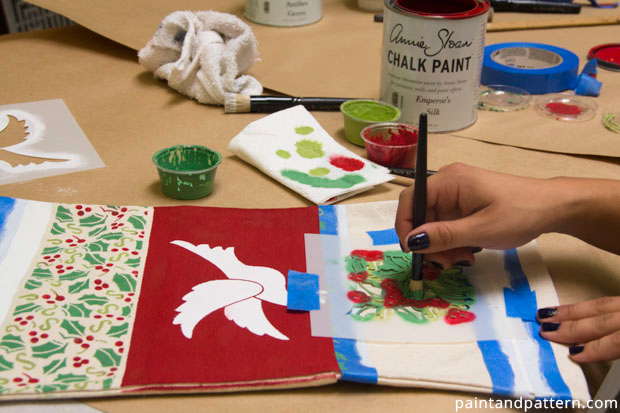
Step 2: Secure your Christmas Tag #3 Stencil in place with painter's tape. Stencil with the dark green blend of chalk paint using a 1 " inch brush.
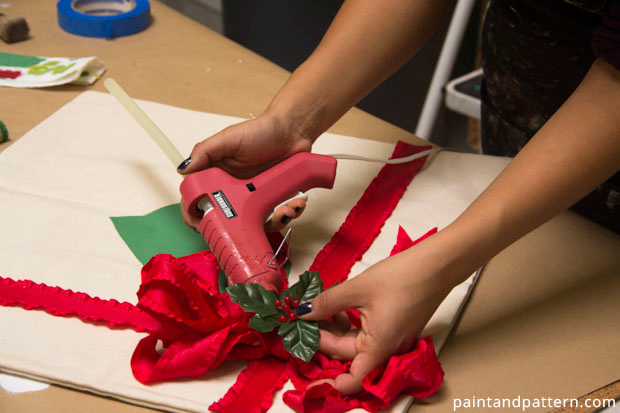
Step 3: While you wait for the chalk paint to dry, use a hot glue gun to paste the ribbon to the pillow case.
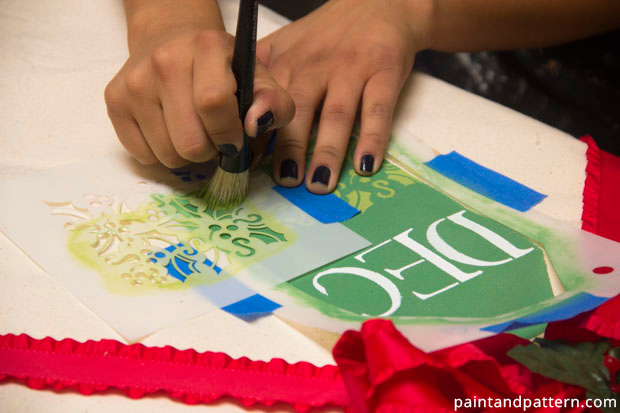
Step 5: Replace the Christmas Tag stencil. Then stencil on top of it with the Holly Berry Christmas stencil. Use the light green blend of Chalk Paint for a subtle contrast.
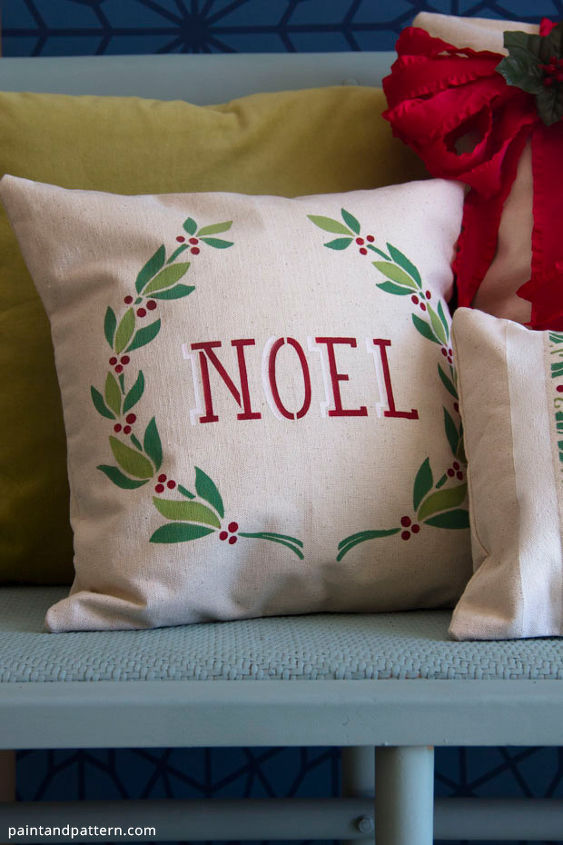
A Wonderful Noel Pillow
Comments
Join the conversation
4 comments
-
good ideas, great job :)
-
These are just lovely! I really like the dove. Where did you get the Stencil?


Frequently asked questions
Have a question about this project?