


DIY Orb Light Fixture

by
Julia Fabens
Hi! I am ready to tell you about the light fixture I made for our little bathroom. After the sisal mirror and the painted floor, the only thing left was to update the light.
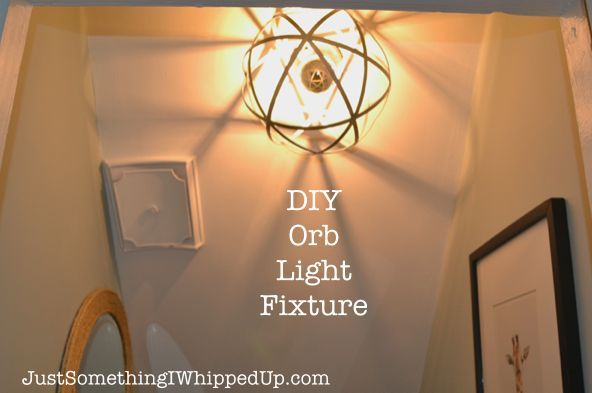
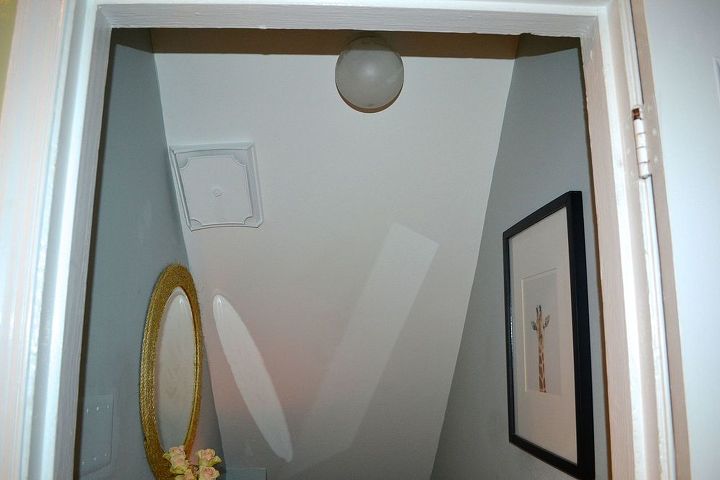
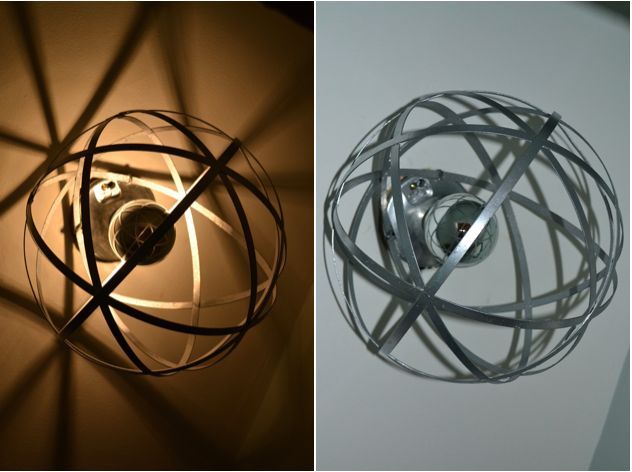
This is what I came up with to replace this dismal little blob:
Materials
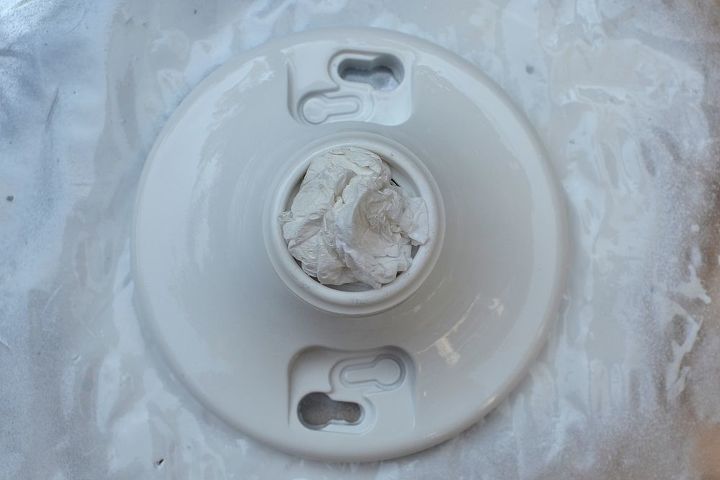
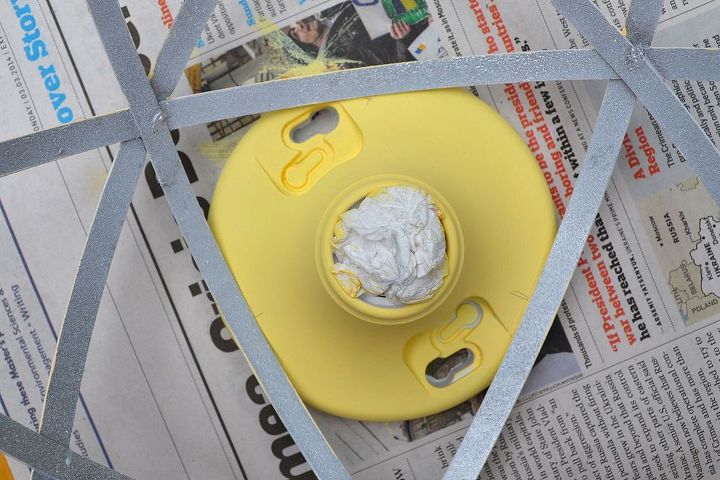
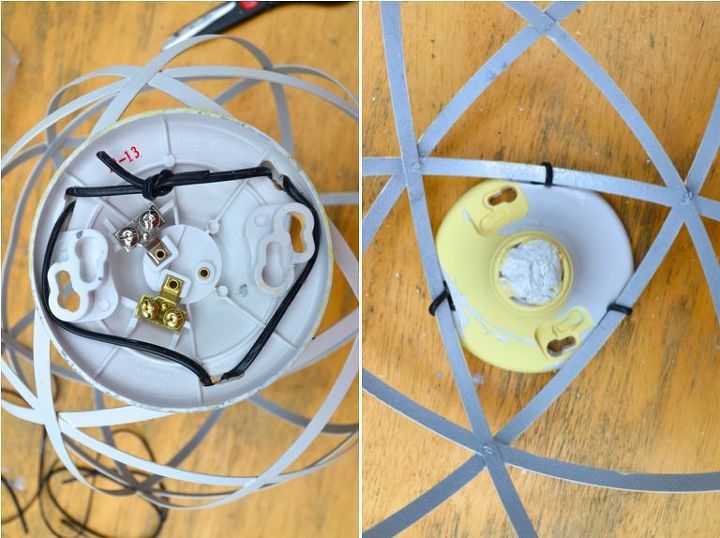
After the pieces dried, I lined the orb up on the lamp holder and drew lines on the lamp holder where the three metal strips touched it. I also marked the strips so I remembered which ones I was using. Important: I made sure the light bulb I was using fit through at least one of the triangles so that I could screw it in.
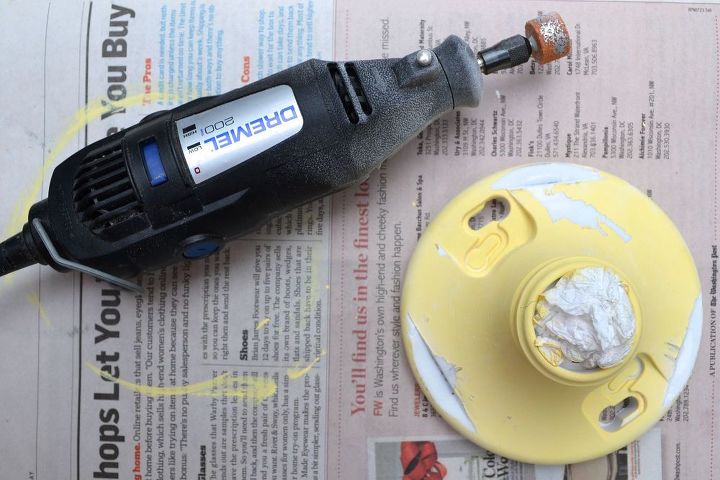
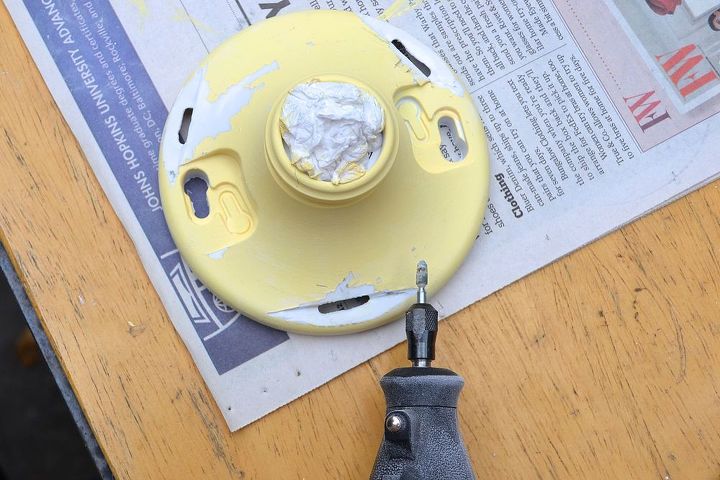
Using a Dremel tool with the sanding attachment, I started making flat sections for the straps to rest on. Once I had a nice flat spot, I used one of the finer grinder tips to go all the way through the plastic.
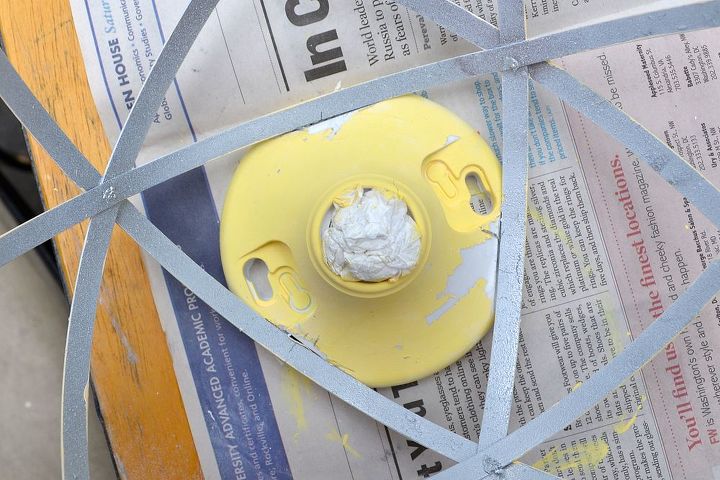
I originally considered gluing the pieces together, but while it might have worked, it seemed flimsy. I then considered wire, but we didn’t have any that looked like it would hold up – the Dremeled slits are still pretty sharp looking. Wire would probably work, but I settled on phone cord because a. we had some, and b. it was easy to pull tight and once wedged in the slots the rubber really made it stay put. I threaded the phone cord out through the hole, around the strap and back down through the hole and repeated for all three straps. The I pulled it as tight as I could, pushed it down around the screw holes and tied it off with a square knot. I shook it around a bit and those pieces are not loose at all.
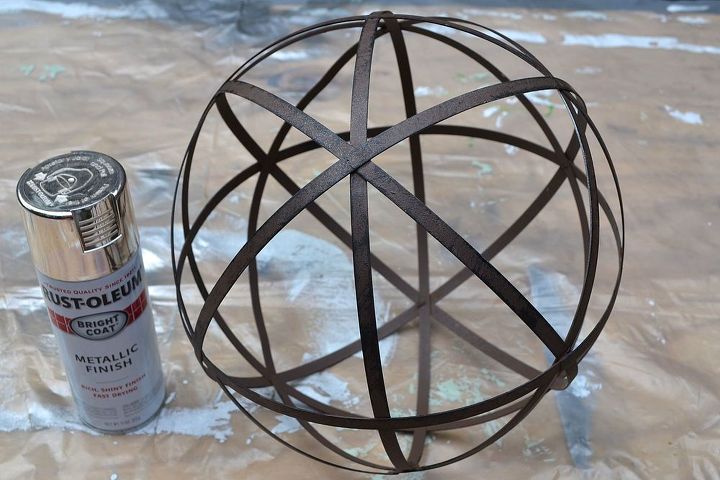
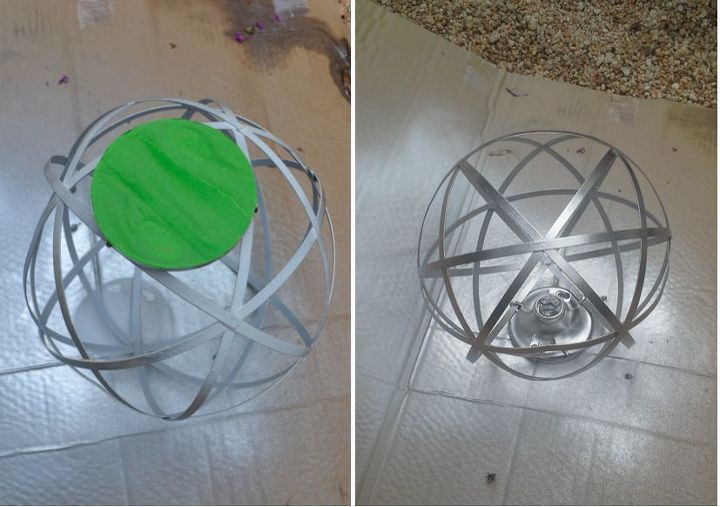
I taped over the business side of the socket and I spray painted the whole shebang silver, using a bunch of light coats. I love Rustoleum’s Bright Coat Metallic Finish in Silver. Using a spray paint trigger like this one saves my fingers from some serious cramping when I have to do several coats.
There are a few other things I wanted to do to the bathroom – a coral painted trashcan and some coral details on the door, but no I think it is time to call it a day in there. A tiny space can only handle so many projects before it looks like Pinterest got ill in it and I am getting dangerously close… (Already there?) After telling you how I installed the light, I promise that will be all on this bathroom for a nice long time!
Want more details about this and other DIY projects? Check out my blog post!
Comments
Join the conversation
2 comments
-
Love the look of this :) I feel like it would look great in a hallway as well!
-
@Julia Fabens this turned out really good love the shadows thanks for sharing xx


Frequently asked questions
Have a question about this project?