


How to Build a Fire - 6 Easy Steps

by
Cassie
When my husband and I moved from southern Arizona (very AZ-like desert) to northern Arizona (very non-AZ-like mountains), I had a little bit of culture shock. One of the many things I needed to learn was how to build a fire!
After a lot of trial and error (and four winters of practice), I've got my process down pretty well! I'll post all of my "ingredients" here, but ask that you visit my blog, Lovely Weeds (link below), for the full tutorial. I wanted to be as detailed as possible, so there's a lot of great information over there!
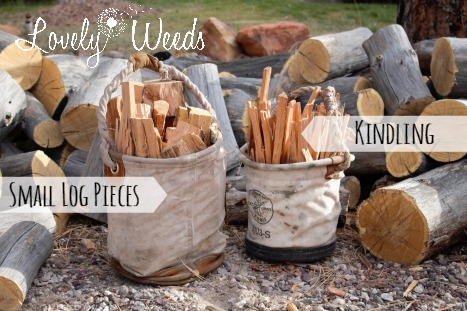
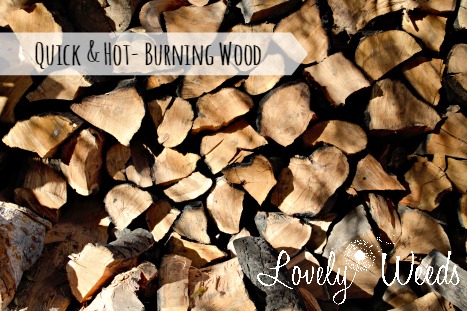
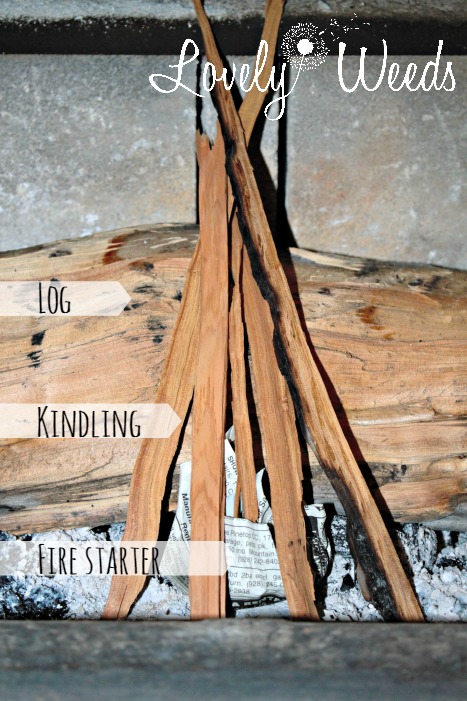
Probably the most important part of a building a fire is getting your kindling right! This is the olive oil in the pan, the perfectly seasoned cast iron skillet, the great wine base for your sauce. Ok, so I'm not a chef. But I do know that the type of wood you use for starting a fire is extremely important. You want something that will burn quickly and very hot. In the AZ mountains, that's juniper.
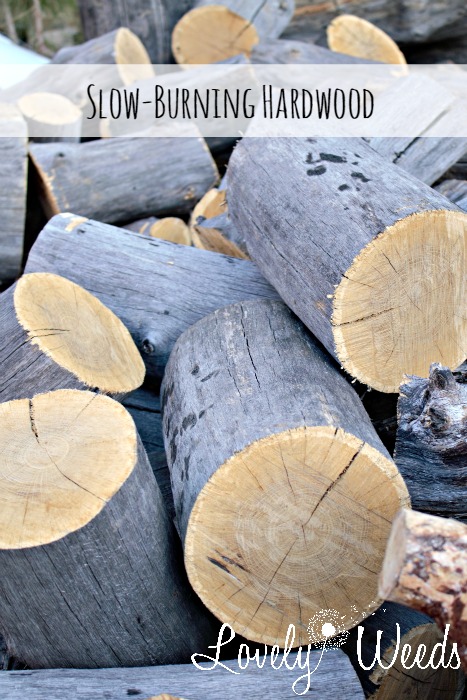
Once your fire is established, you'll want a dense hardwood for keeping it going. We use oak, it burns beautifully and lasts a good, warm, long time.
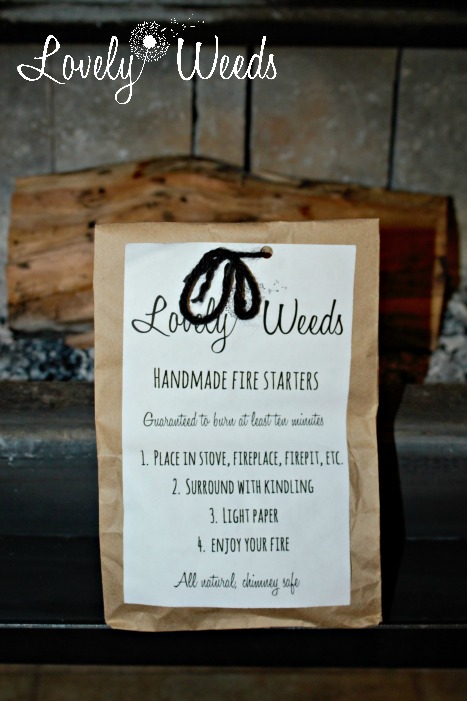
To get the fire rolling, I use my home made fire starters (the tutorial for those is also on my blog!). They burn for 10-15 minutes, giving you plenty of time to get a great base fire going, without the chimney-clogging yuckiness of newspaper.
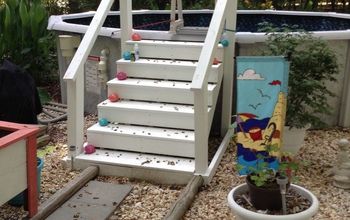
This is a preview of how I set up my kindling. I go with a lean-to structure, patent pending (just kidding). I go into more detail in by blog post, along with how to get yourself set up for a cozy day with minimal fire up-keep!
When you visit, please remember to leave me a comment! I'd love to hear what you think about my method of building a fire, or hear any tips!
Want more details about this and other DIY projects? Check out my blog post!
Comments
Join the conversation
3 of 6 comments
-
Heck, you don't need to do all of that. In the fall, I gather small pine cones. When they are dry, I melt old candles in a large fruit can, then I dip the cones in the wax, lay on a piece of cardboard. Sometimes, I take a small piece of paper towel or you could use a piece of newspaper about a 1 1/2 inches square and poke it in the cone. This is your wick to start the fire. Lay the cone on a piece of wood with bark and no kindling is needed. You can also put them in a small gift box and label them "Redneck fire starters" and give as a gift to those that enjoy a fireplace or a campfire. It's an unique gift. I have people coming to me and asking me for them.
-
Almost everyone I know has their own way of building a fire & this is a pretty good tutorial, though a bit too labor intensive for my personal taste. I'm 66 years old & have had either a fireplace or wood stove in almost every house I've lived in so I've built more than a few fires in my day. We have an outdoor wood furnace & this is how I start a fire in it. First lay down small (1/2" to 3/4" thick) cedar or pine kindling in a criss-cross pattern, then top with larger pieces (about 2" thick) pine or fir, also criss-crossed. Drizzle about 1/4 cup of kerosene (Hubs uses old deep-fry oil drizzled on a few twists of newspaper as a first layer) over the top then add the 3" to 4" pieces of fir criss-crossed on top of it all. Light the kerosene, leaving the door cracked slightly & wait a few minutes for the kerosene (or oil) to burn away & for the wood to be burning well. Top with a few small pieces of hardwood & close the door, making sure that the bottom vents are fully open. In about an hour there is a good bed of coals & I can put two or three large pieces of hardwood (we use madrone) & shut the door & vents. For an indoor wood stove I would replace the kerosene with scented lamp oil, being careful to keep the stove door barely cracked & all vents & dampers open until it has completely burned away to prevent fumes in the house. One other thing I noticed in your post is that you seem to use the word "damper" interchangeably with "vent". In order for a wood stove to do its duty there must be airflow coming in from the bottom through vents & going out the stovepipe on top, which has a damper either in the pipe or just below the bottom of the stovepipe if it's built into the wood stove. Enjoy your cozy wood fires & please excuse me, it's time to go tend my fire now..........lol


Frequently asked questions
Have a question about this project?
Is this flammable?