


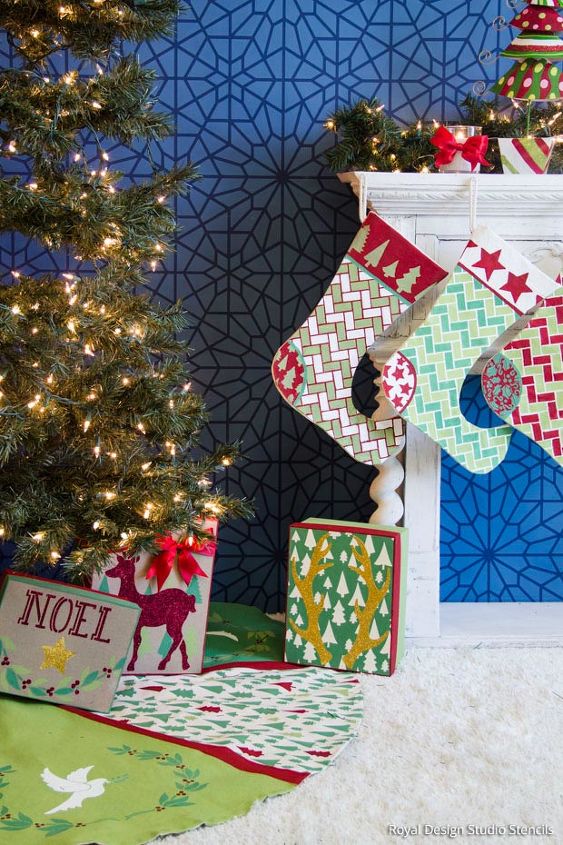
How to Stencil a Handmade Tree Skirt and Christmas Stockings

Personalize your Christmas tree with a handmade tree skirt and finish off your mantel with matching stenciled stockings! This tutorial was crafted with our Mix and Match Christmas Stencil Collection, however, you can use any stencil to create any style you want! Read below for expert tips and details on how to recreate our design or get inspired for your own project!
stencils
stencils
Supplies
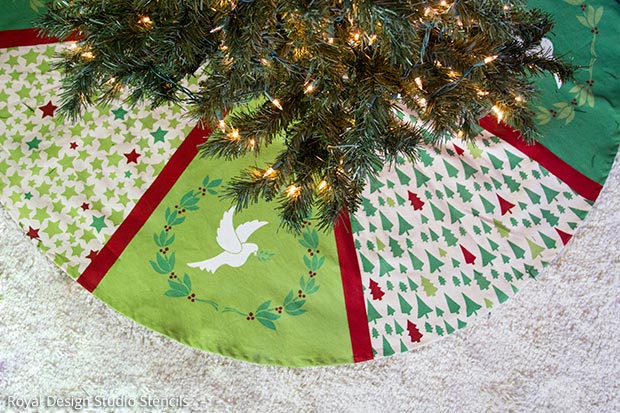
Handmade Tree Skirt

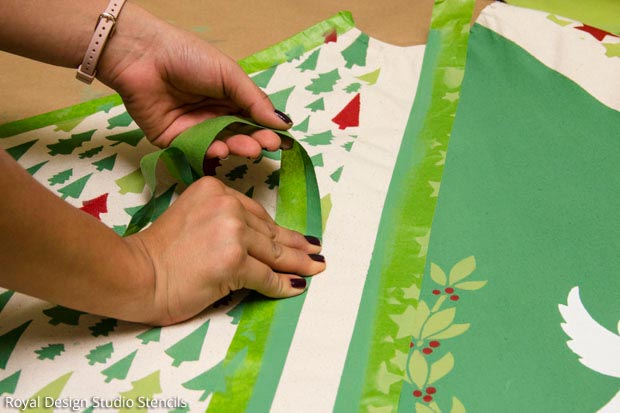
Step 1: To create this paneled tree skirt, start by measuring the canvas tree skirt in to 8 parts. The easiest way to create 8 equal parts is to fold the tree skirt in half 4 times while marking each fold. Then using a straight edge ruler, join the 2 points created by each fold in a straight line. Using a 1 " wide painter's tape, tape over the lines to frame each panel.
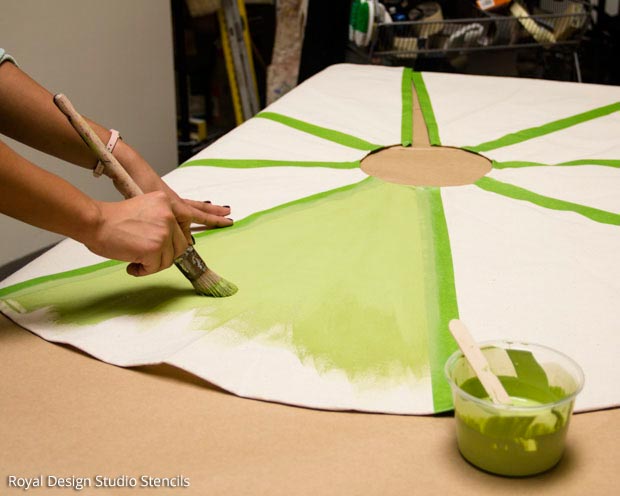
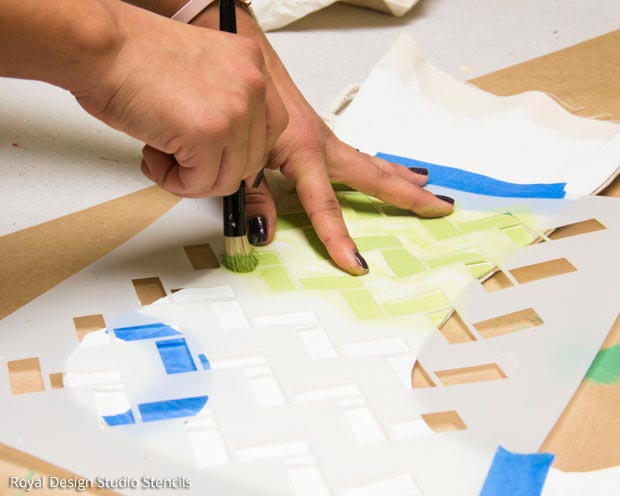
Step 3: While those panels dry, stencil the ones left using a stencil brush. Remember to off load excess paint onto a Bounty paper towel to avoid bleed under.
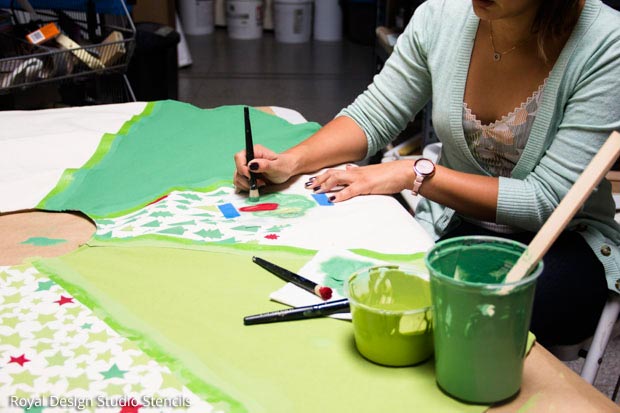
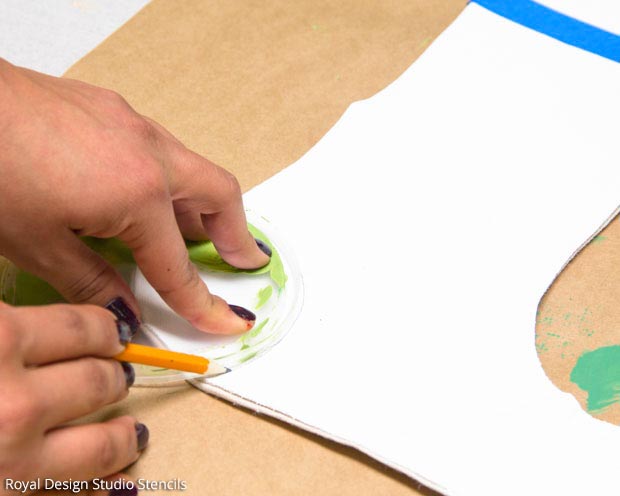
Step 4: The panels that were painted in Step 2 should be dry by now and you can add a motif stencil to finish it off. For our project, we used two motif stencils. First we stenciled the Holiday Garland Christmas Stencil with the opposite shade of green as the panel and used Emperor's Silk for the berries. Once finished with the first side of the garland, we flipped the stencil over to create a wreath.
Step 6: Move the tape that was used to divide each panel to one of the sides of the border. You will cover the pattern now. Use a second piece of tape to mask the other side. This will leave an unpainted space with straight lines.
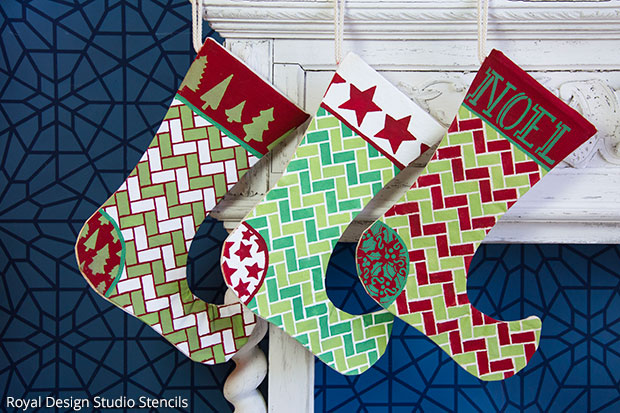
Stenciled Christmas Stockings
Step 1: Paint the canvas stocking with a base color using a Large Pointed Sash brush. Allow To Dry. We opted for Pure White Chalk Paint. Next, tape off 8" from the top of your stencil, to create a border.
Step 3: Paint an allover stencil pattern or a motif stencil between the taped off areas. For this project, we used Zig Zag Tiles Moroccan Christmas Stencil, which is an allover pattern. Once you are finished with the first layer of the stencil, use a second color to stencil the second paste of the allover pattern placing your stencil in between what was previously stenciled.
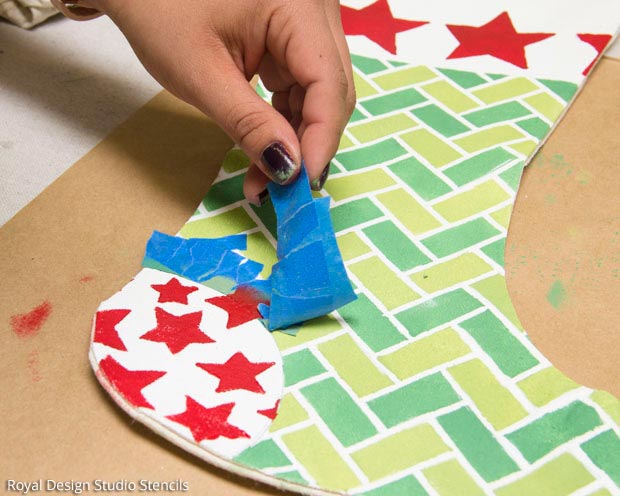
Step 4: Move the painter's tape on the heel of the stocking to cover the area you just painted and stencil your design. We used Emperor's Silk Chalk Paint to stencil the Falling Stars Christmas Stencil on the heel and the Marching Stars Christmas Stencil on the top border.
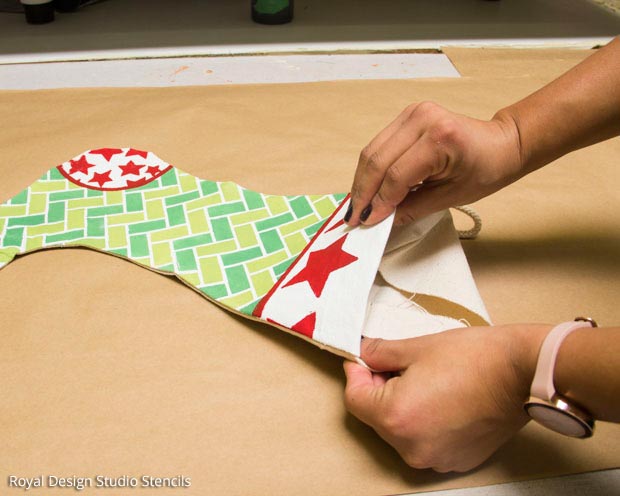
If your stocking is unfinished at the top, fold inward the excess fabric to give it a nice finished edge.


Frequently asked questions
Have a question about this project?