


Spooky Halloween Sign, Using the ink transfer method and old wood
Easy
Halloween has been growing on me over the last few years...not sure why, but I have been really getting into the Spooky decor that comes with this holiday. It has especially been fun to let my kids get involved and this project was perfect for them. With a piece of old wood and some scrap chain I made a funky sign that quickly turned spooky with the help of some free Halloween dingbats...which my kids helped me pick!
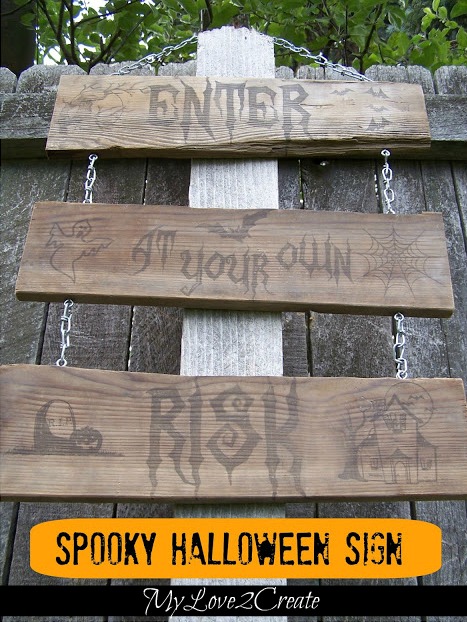
Spooky Halloween Sign
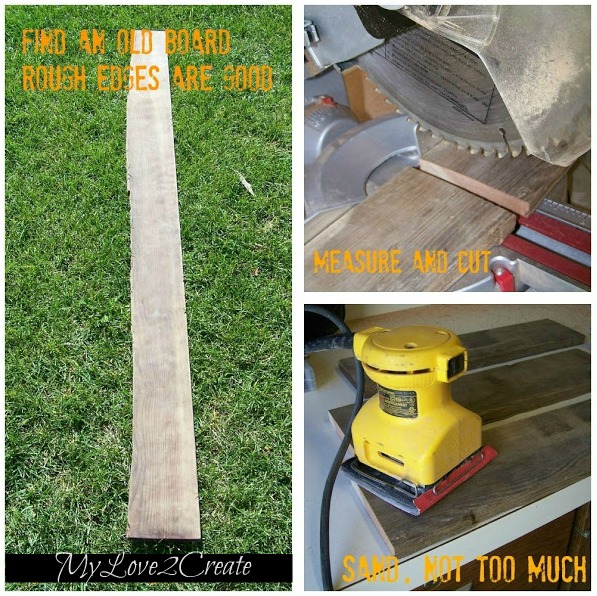
Start with an old wood piece, cut it, and lightly sand.

Using screw eyes and chain I attached the boards together. Since the edges of the board I used were uneven I had to do different lengths of chain on some sides, which only added to the "spooky" look.
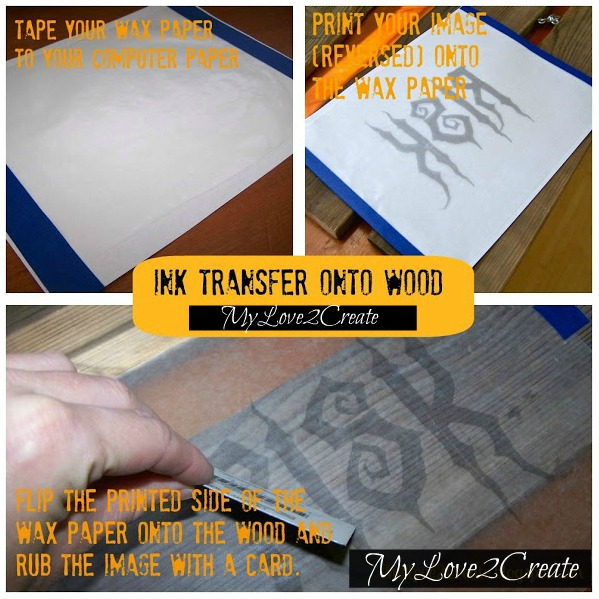
Using an inkjet printer, I printed my dingbat images reversed onto wax paper. Then I placed the waxed paper onto the wood and rubbed the image with a card...instant image transfer!
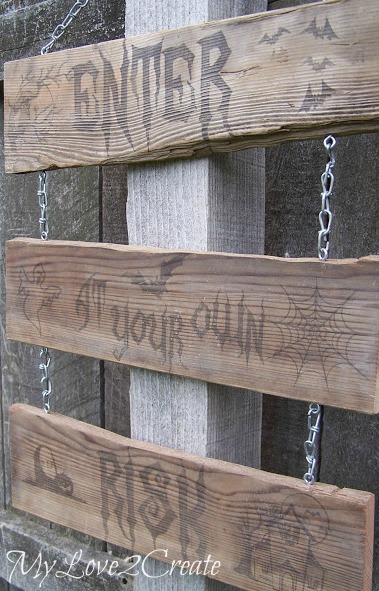
Now we have a fun spooky Halloween Sign to hang on our door or front porch! For more details check out my blog post!

Want more details about this and other DIY projects? Check out my blog post!
Comments
Join the conversation
3 of 10 comments
-
@Mindi @ MyLove2Create.com Ooohhhhhh..... I didn't know about the ink transfer with wax paper, will have to try that! I <3 Halloween! Thanks for sharing!
-
Mindi ~ Have you ever tried clear velum thru your computer. I have an idea for a picture of my late husband and I want to put the poem on clear velum so the picture will show thru the poem when framed> Thanks, Dotti


Frequently asked questions
Have a question about this project?